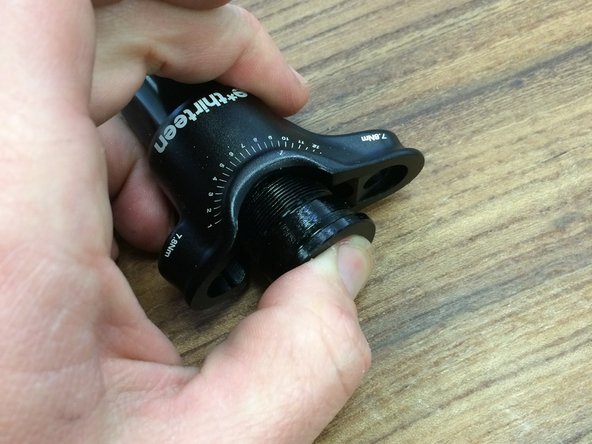
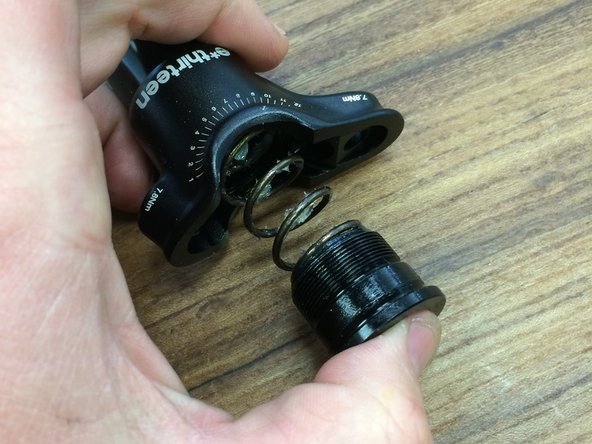
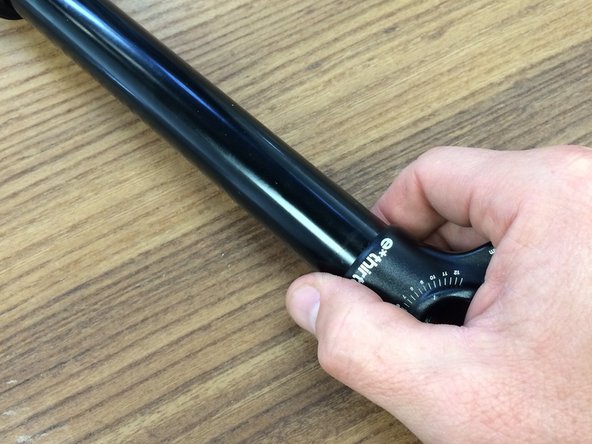
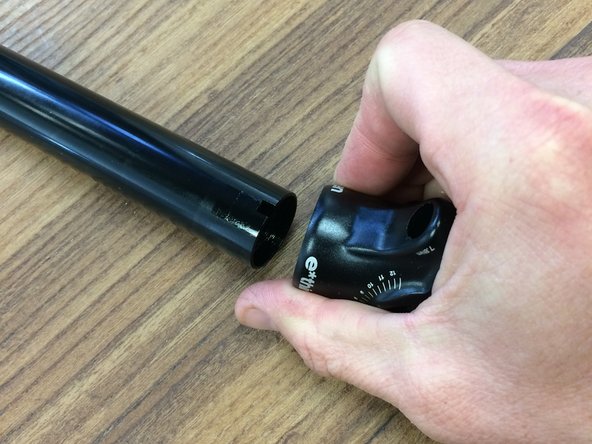
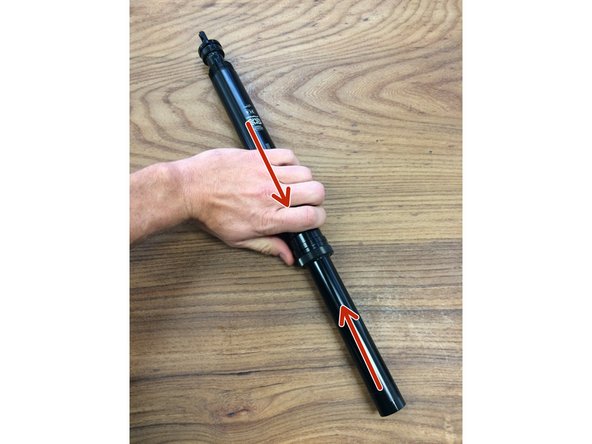
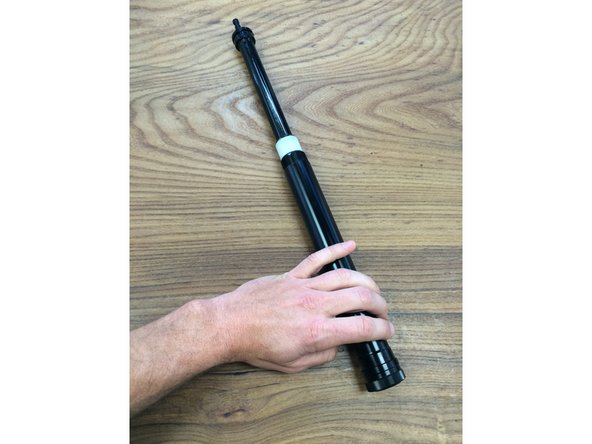
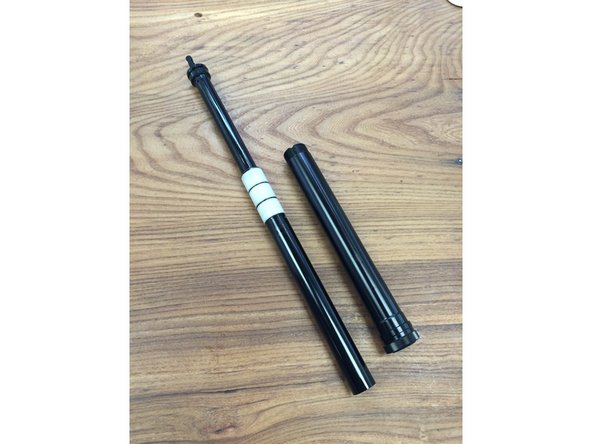
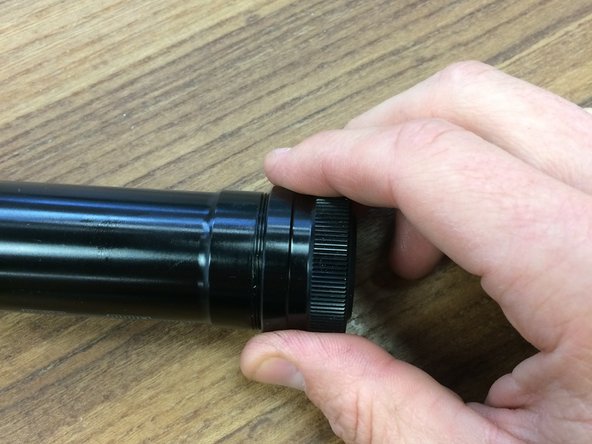
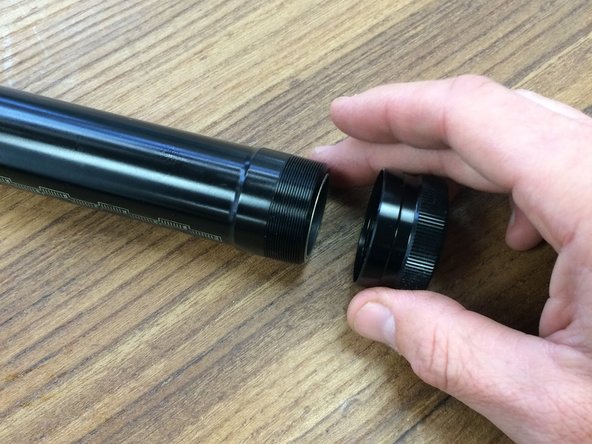
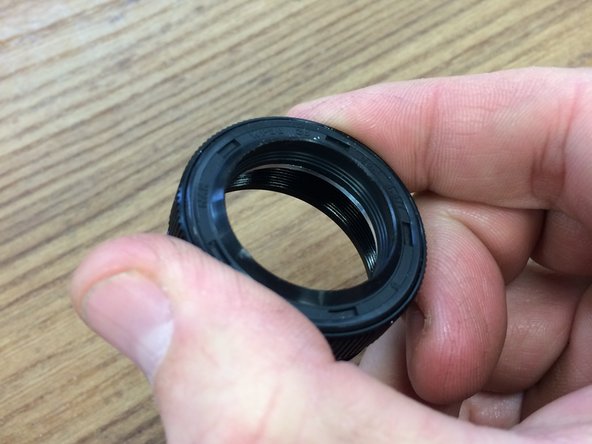
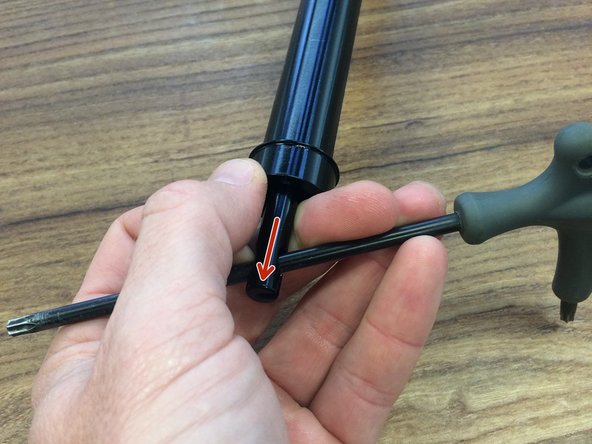
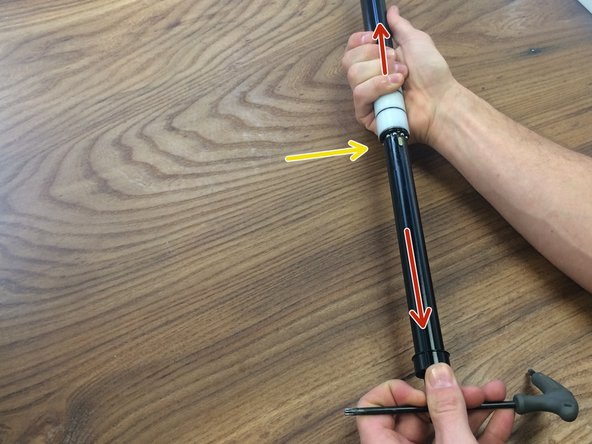
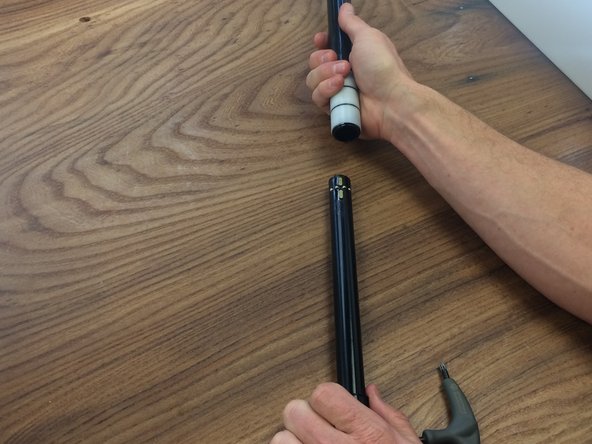
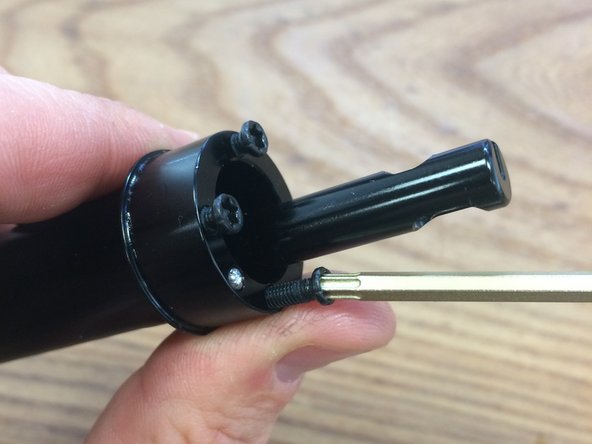
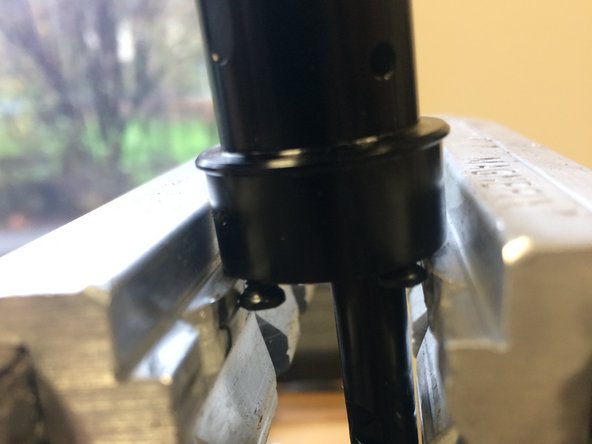
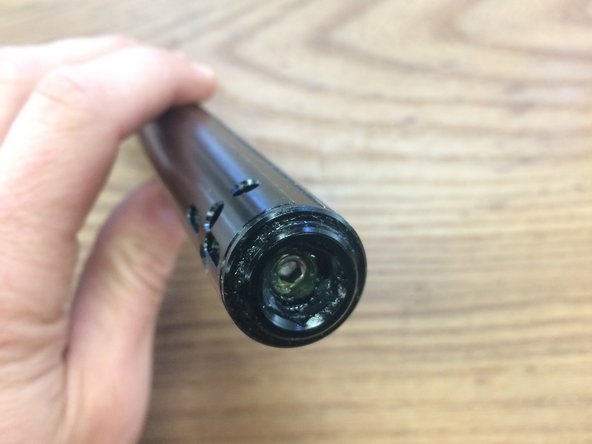
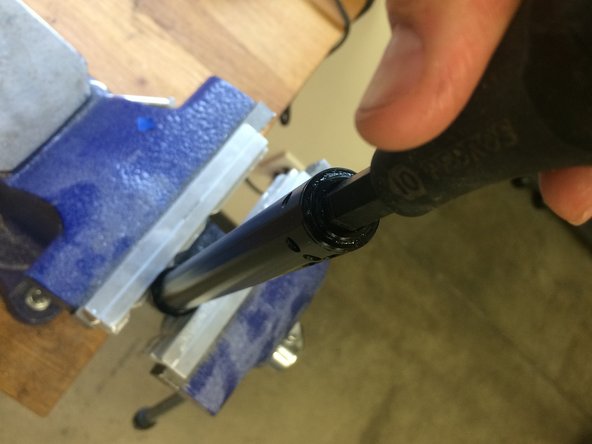
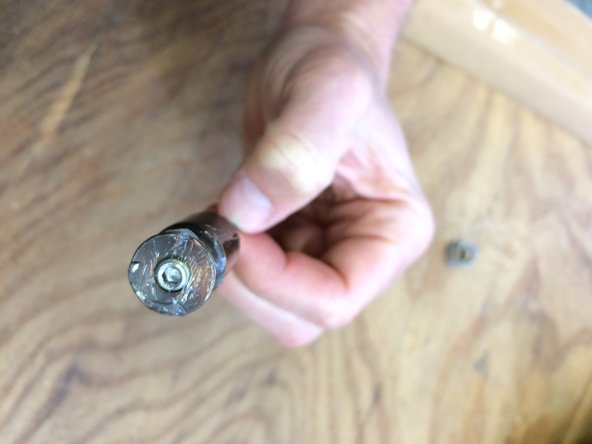
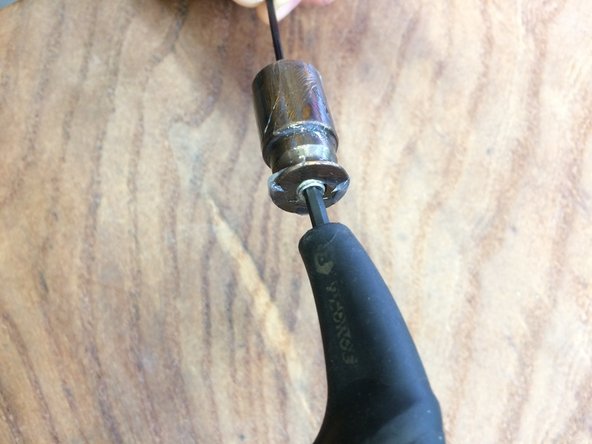
1. Start by making sure the post is fully extended Remove the saddle cradle using a T25 Torx driver
    • Start by making sure the post is fully extended

    • Remove the saddle cradle using a T25 Torx driver

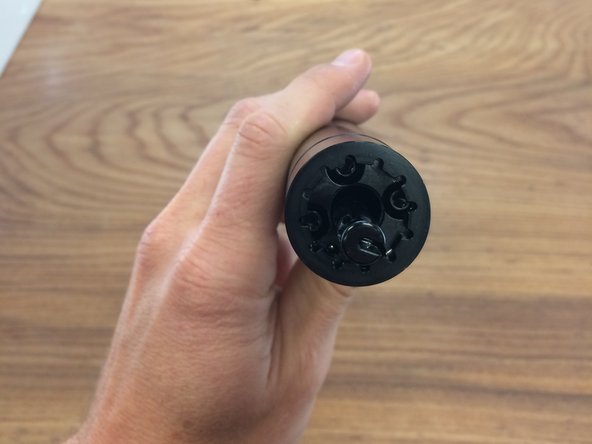
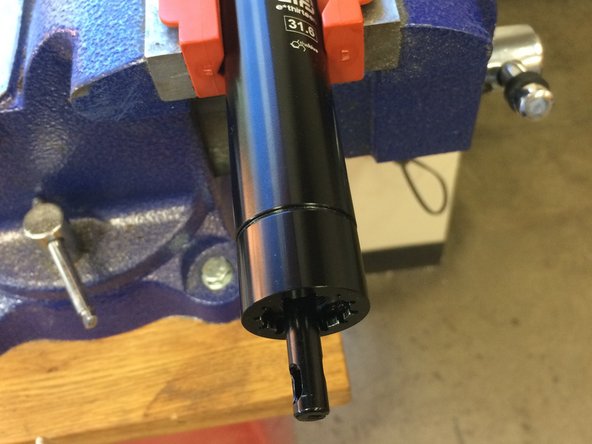
  2. Remove the cable tower at the bottom of the post using a 15mm wrench. Turn counter-clockwise to remove If needed, clamp the seatpost in softjaws or use a strap wench to hold the post If needed, clamp the seatpost in softjaws or use a strap wench to hold the post
    • Remove the cable tower at the bottom of the post using a 15mm wrench. Turn counter-clockwise to remove

    • If needed, clamp the seatpost in softjaws or use a strap wench to hold the post

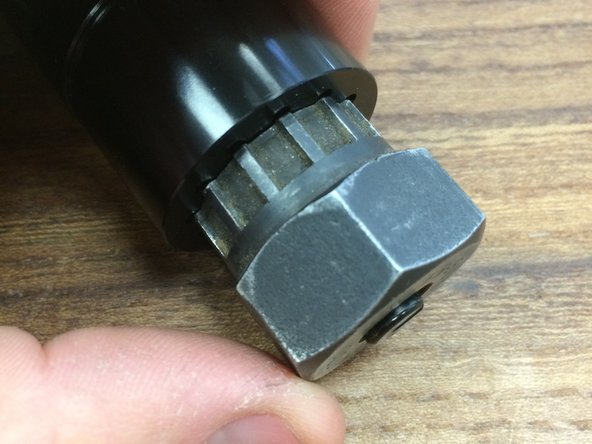
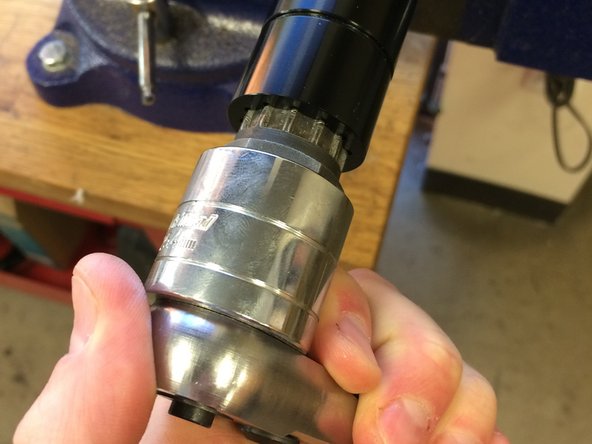
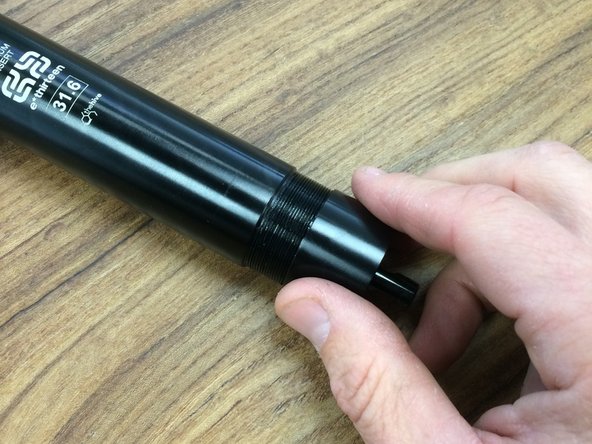
  3. Next, remove the bottom cap of the post using a Park Tool FR5 or other Shimano compatible cassette tool. Turn counter-clockwise to loosen Clamp the seatpost in softjaws or use a strap wench to hold the post Clamp the seatpost in softjaws or use a strap wench to hold the post
    • Next, remove the bottom cap of the post using a Park Tool FR5 or other Shimano compatible cassette tool. Turn counter-clockwise to loosen

    • Clamp the seatpost in softjaws or use a strap wench to hold the post

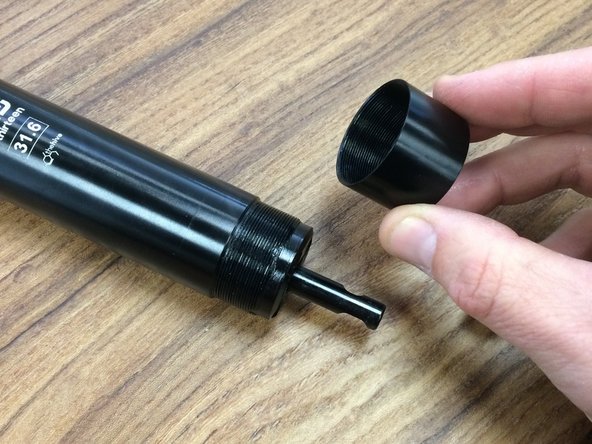
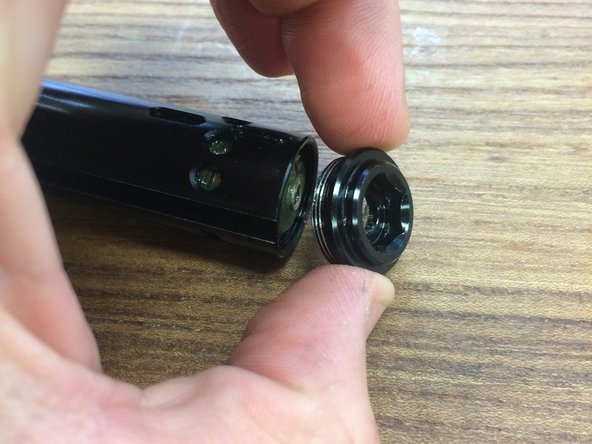
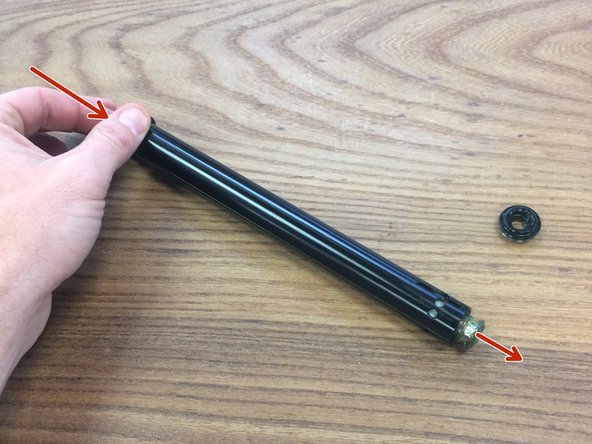
  4. Remove the cap Remove the cap Remove the cap
    • Remove the cap

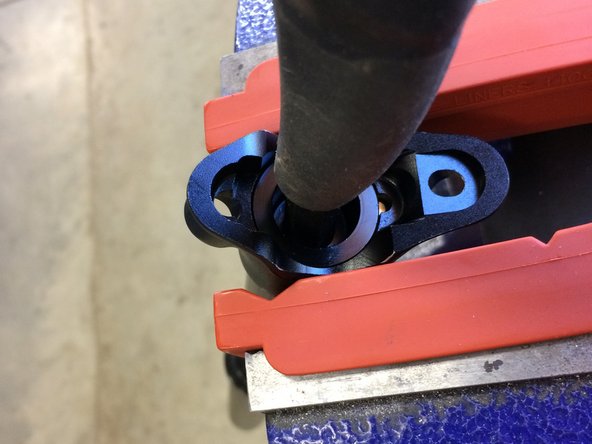
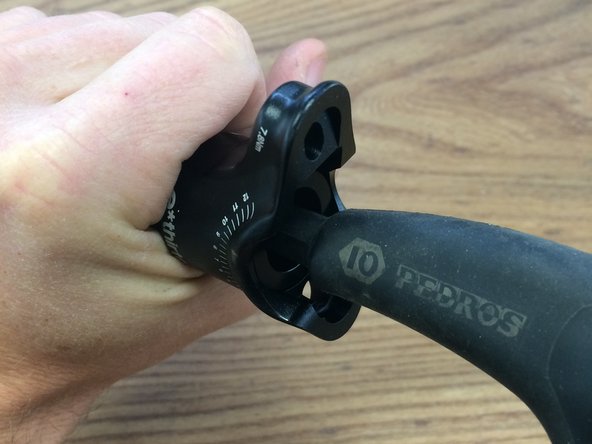
  5. Moving to the head of the post, insert the head of the post into the soft jaws of the vise Using an M10 hex wrench break the screw free by turning counter-clockwise and loosen it slightly, but do not remove
    • Moving to the head of the post, insert the head of the post into the soft jaws of the vise

    • Using an M10 hex wrench break the screw free by turning counter-clockwise and loosen it slightly, but do not remove

    • The main spring is located under this screw, so caution must me used when removing the screw

    • The head, and only the head of the post must be supported while removing this screw. Supporting the main tube or shaft of the post while turning this screw may result in damage/binding of the seatpost keys

  6. While supporting the cap and post, carefully unthread the cap and remove the spring It is recommended to leave the seatpost in the vise for this step The spring is under preload and will eject with force if not supported while removing. Use caution!
    • While supporting the cap and post, carefully unthread the cap and remove the spring

    • It is recommended to leave the seatpost in the vise for this step

    • The spring is under preload and will eject with force if not supported while removing. Use caution!

  7. Remove the spring The spring is not directional, so either side can go up or down Wiggle the post head while pulling to remove
    • Remove the spring

    • The spring is not directional, so either side can go up or down

    • Wiggle the post head while pulling to remove

  8. Slide the outer tube up to remove it from the post Slide the outer tube up to remove it from the post Slide the outer tube up to remove it from the post
    • Slide the outer tube up to remove it from the post

  9. Remove the main seal from the outer tube by turning it counter-clockwise Remove the main seal from the outer tube by turning it counter-clockwise Remove the main seal from the outer tube by turning it counter-clockwise
    • Remove the main seal from the outer tube by turning it counter-clockwise

  10. Now we will remove the pillar assembly from the inner tube of the seat post Using your T25 of another tool that fits, actuate the post just as a cable would if the post were installed While pulling the cable tower down to release the locking mechanism, carefully slide the pillar out of the inner tube
    • Now we will remove the pillar assembly from the inner tube of the seat post

    • Using your T25 of another tool that fits, actuate the post just as a cable would if the post were installed

    • While pulling the cable tower down to release the locking mechanism, carefully slide the pillar out of the inner tube

    • Be careful here as the balls that lock the post may fall out once released. To prevent this, you can wrap the assembly in a rag before removal to contain the balls

  11. With pillar removed from the inner tube, use a magnet to keep the balls from disappearing With pillar removed from the inner tube, use a magnet to keep the balls from disappearing With pillar removed from the inner tube, use a magnet to keep the balls from disappearing
    • With pillar removed from the inner tube, use a magnet to keep the balls from disappearing

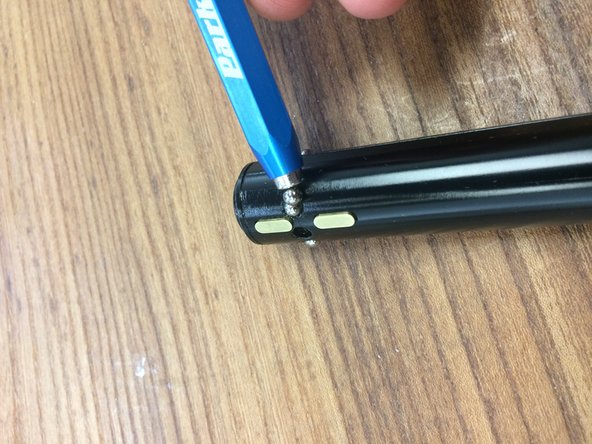
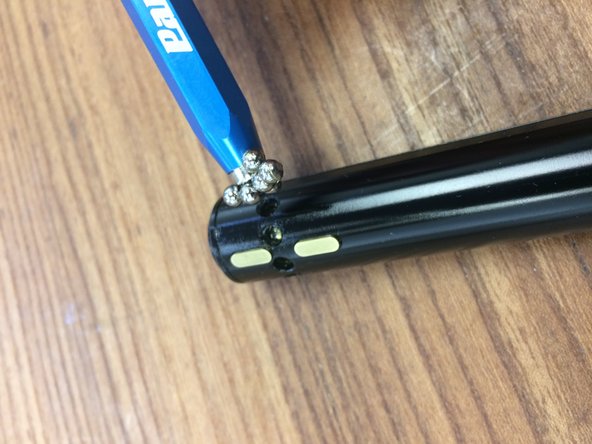
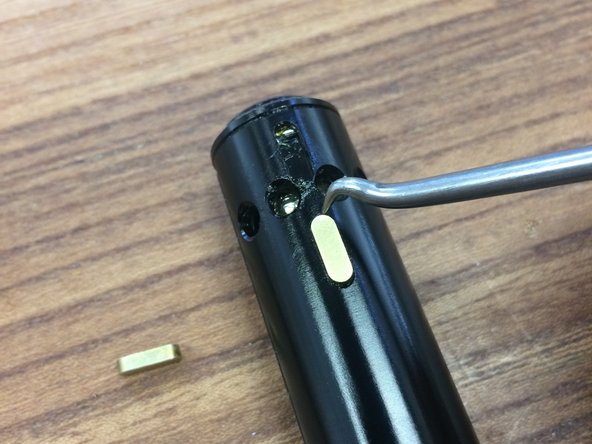
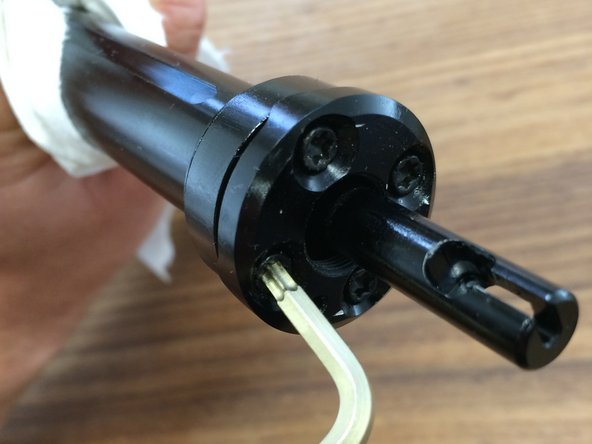
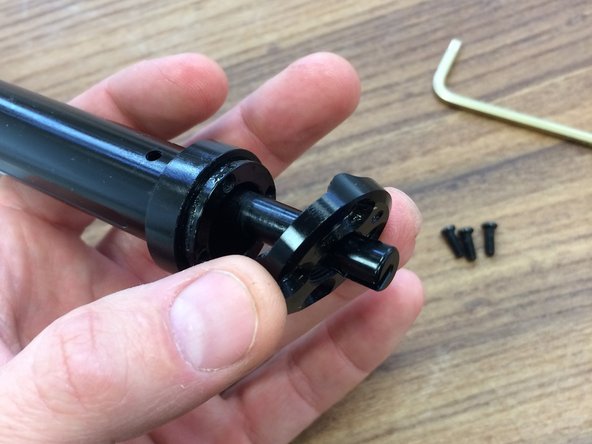
  12. If needed, remove the brass post keys with a pick The bushing at the bottom of the pillar can be replaced by removing the four T15 Torx screws at the bottom of the post, then removing the cap and sliding the bushing off The bushing at the bottom of the pillar can be replaced by removing the four T15 Torx screws at the bottom of the post, then removing the cap and sliding the bushing off
    • If needed, remove the brass post keys with a pick

    • The bushing at the bottom of the pillar can be replaced by removing the four T15 Torx screws at the bottom of the post, then removing the cap and sliding the bushing off

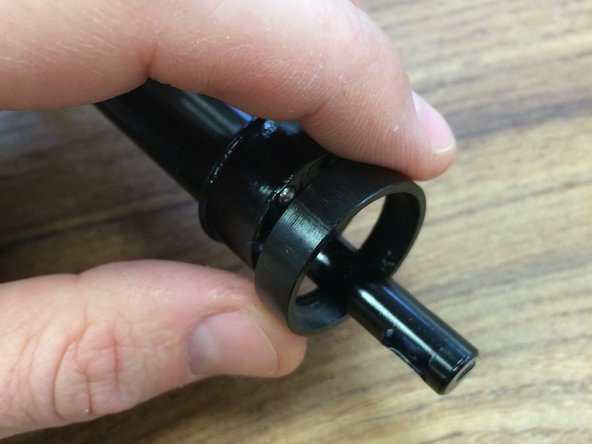
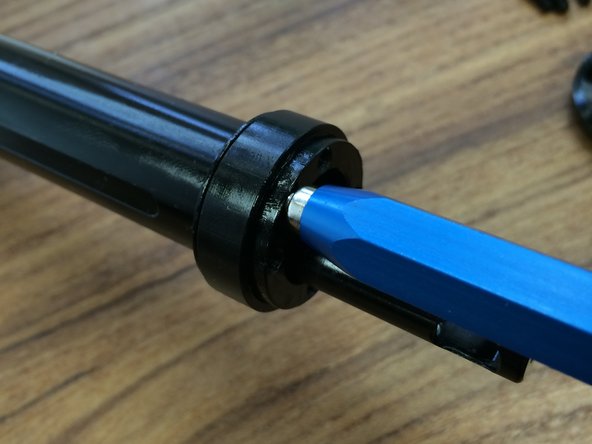
  13. Slide the busing off Use a magnet to capture the ball at the bottom of the pillar if needed If you need to disassemble the pillar, re-install the 4 screws without the cap
    • Slide the busing off

    • Use a magnet to capture the ball at the bottom of the pillar if needed

    • If you need to disassemble the pillar, re-install the 4 screws without the cap

  14. Using the 4 screws at the bottom of the pillar as flats, gently clamp them in your vise Using an M10 hex wrench, turn the pillar cap counter-clockwise to loosen Using an M10 hex wrench, turn the pillar cap counter-clockwise to loosen
    • Using the 4 screws at the bottom of the pillar as flats, gently clamp them in your vise

    • Using an M10 hex wrench, turn the pillar cap counter-clockwise to loosen

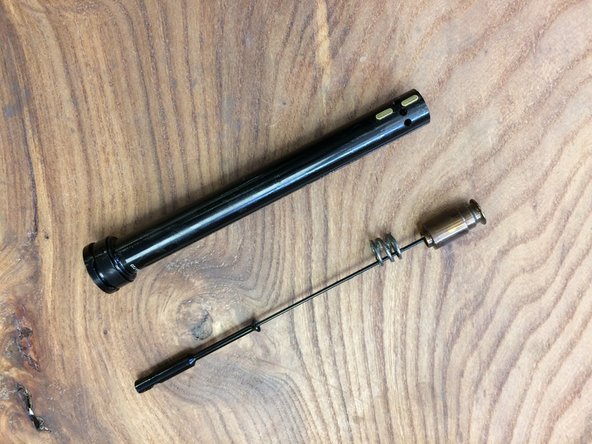
  15. Remove the cap Push the cable holder from the bottom to slide the cam assembly out of the pillar Push the cable holder from the bottom to slide the cam assembly out of the pillar
    • Remove the cap

    • Push the cable holder from the bottom to slide the cam assembly out of the pillar

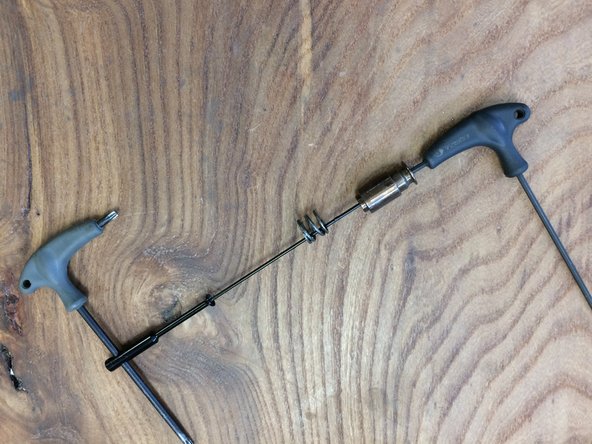
  16. Use an M3 hex wrench and any tool that will fit into the cable slot to un-thread the cable holder from the spoke Use an M3 hex wrench and any tool that will fit into the cable slot to un-thread the cable holder from the spoke
    • Use an M3 hex wrench and any tool that will fit into the cable slot to un-thread the cable holder from the spoke

  17. If needed, remove the set screw to access and remove the spoke You may need to clamp the cam in the soft jaws to loosen the set screw. Be careful not to mar the cam or cam bushing
    • If needed, remove the set screw to access and remove the spoke

    • You may need to clamp the cam in the soft jaws to loosen the set screw. Be careful not to mar the cam or cam bushing

    • Turn the set screw counter-clockwise to loosen

    • Slide the spoke out of the cam

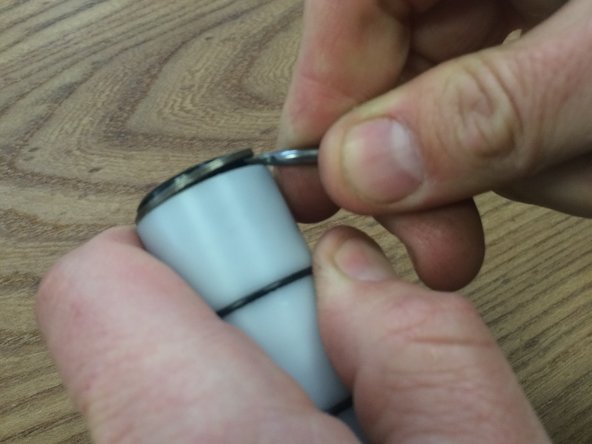
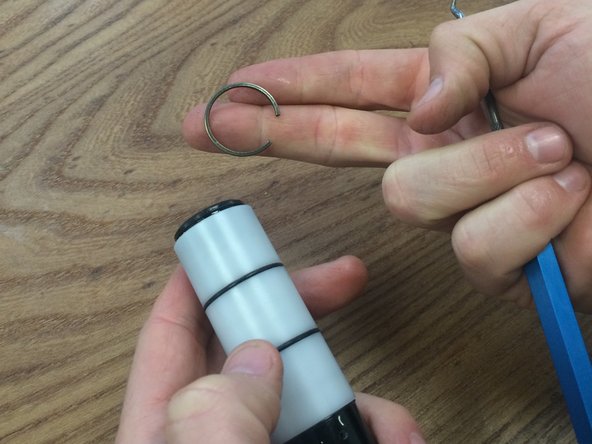
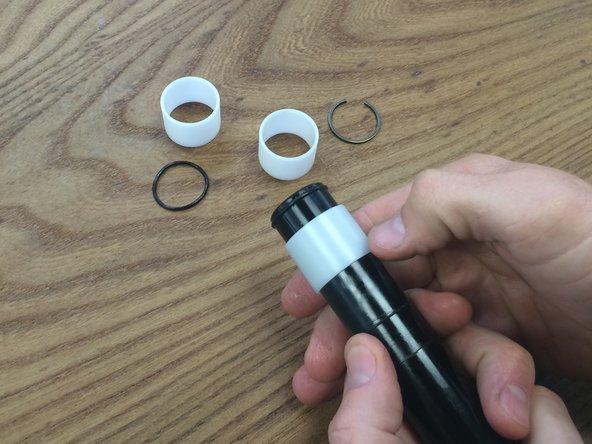
  18. To remove the bushings from the inner tube, remove the C-clip at the bottom and slide the bushings and O-rings off A 150mm post is shown here, 125mm posts will only use 2 bushings. Ready to re-assemble? Then go here
    • To remove the bushings from the inner tube, remove the C-clip at the bottom and slide the bushings and O-rings off

    • A 150mm post is shown here, 125mm posts will only use 2 bushings.

    • Ready to re-assemble? Then go here

Conclusion

Thanks for reading, now get out there and ride!

The Hive - Jeremy

Member since: 12/05/2012

49 Guides authored

0 Comments

Add Comment

View Statistics:

Past 24 Hours: 1

Past 7 Days: 22

Past 30 Days: 158

All Time: 63,581