-
-
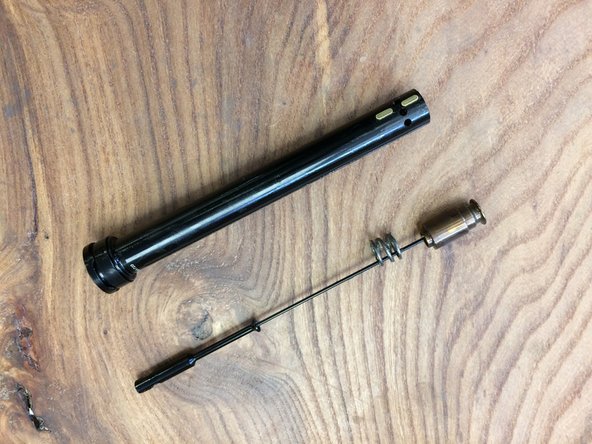
We'll start re-assembly from inside the pillar, want to know how to take the post apart? Go here
-
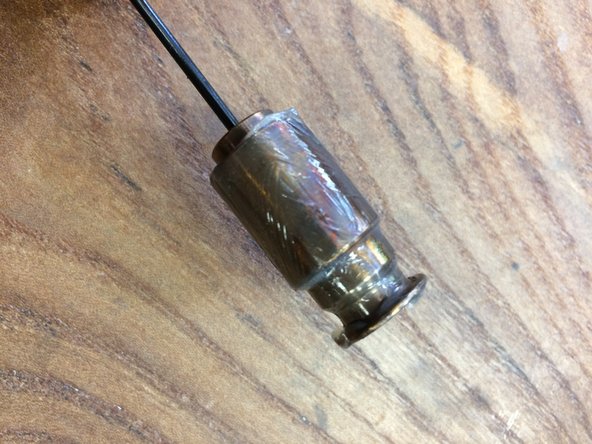
Slide the spoke into the cam. The 138mm spoke is for 125mm posts and the 210mm spoke if for 150mm posts
-
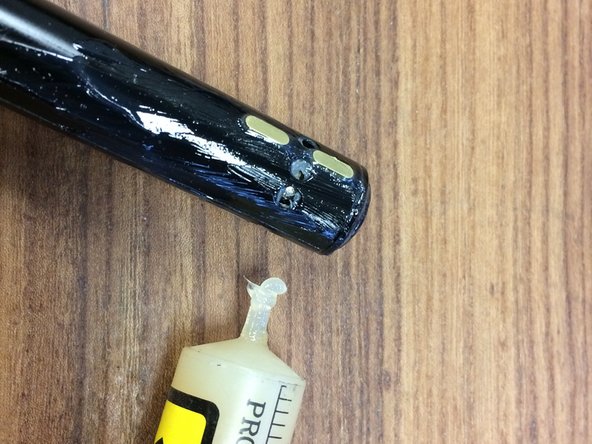
Apply a small amount of medium strength threadlocker to the threads of the set screw
-
Turn the set screw clockwise to tighten. Tighten to 3 N*m
-
You may need to clamp the cam in the soft jaws to tighten the set screw. Be careful not to mar the cam or cam bushing
-
-
-
Apply a small amount of medium strength threadlocker to the threads of the spoke
-
Use an M3 hex wrench and any tool that will fit into the cable slot to thread the cable holder on to the spoke
-
-
-
Slide the cam spring onto the cam assembly
-
Lightly grease the cam and cam bushing using Slick Honey or Slickoleum grease and slide the assembly into the pillar tube
-
It is important to only use a light coating of the approved greases. Too much grease, or the incorrect grease can affect post function
-
-
-
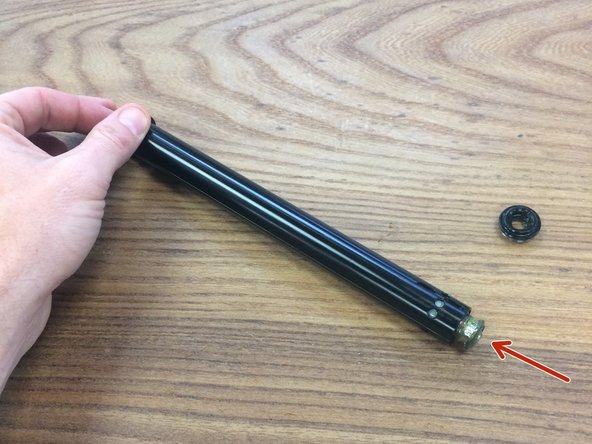
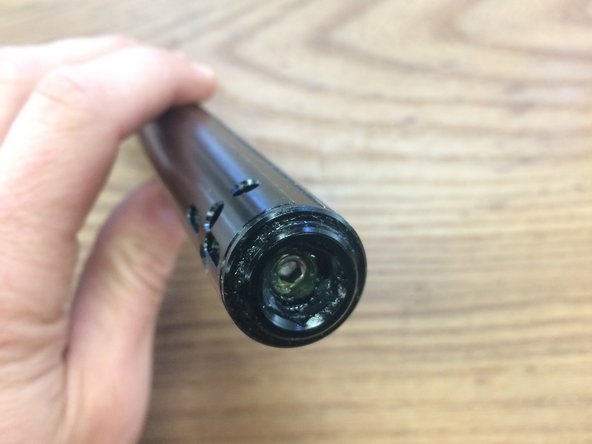
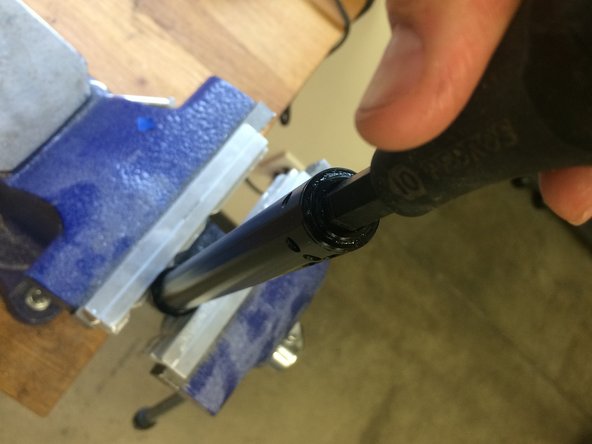
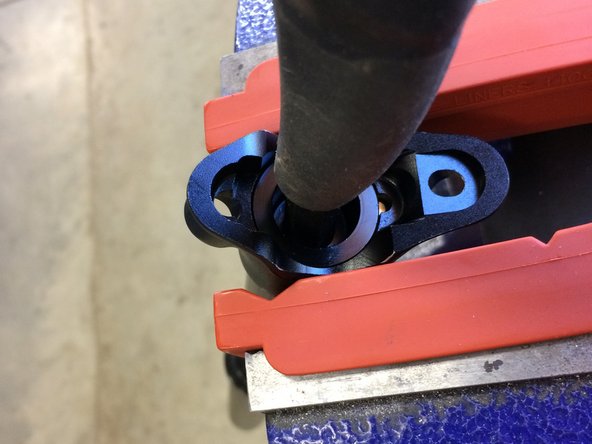
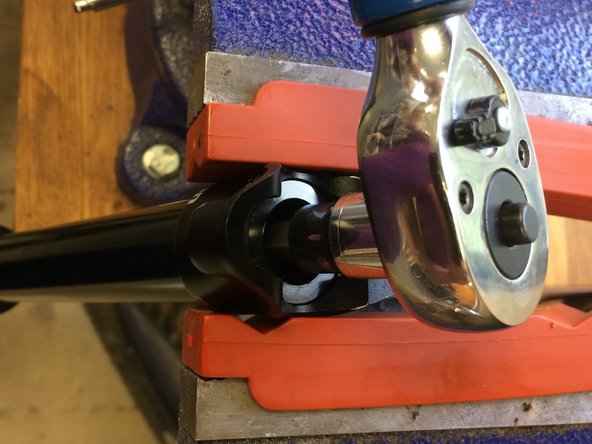
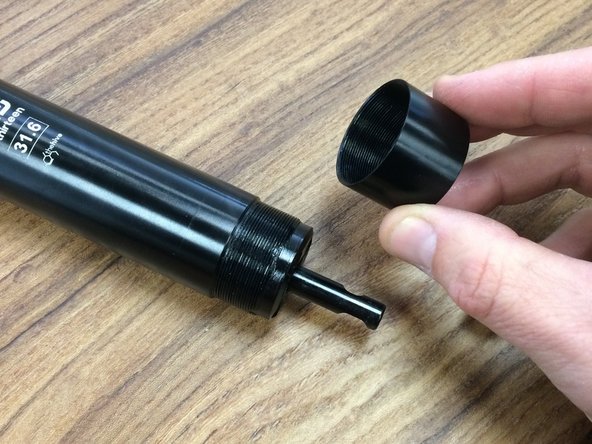
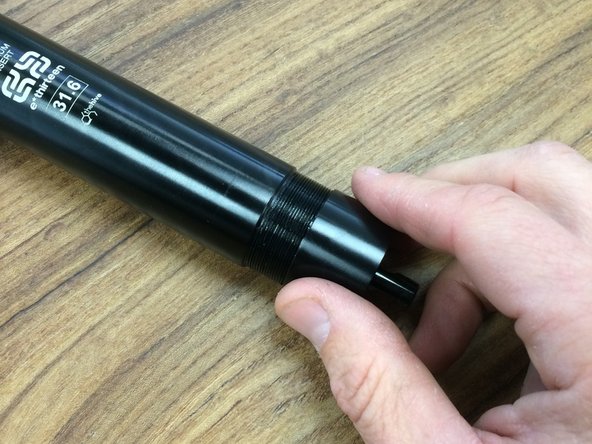
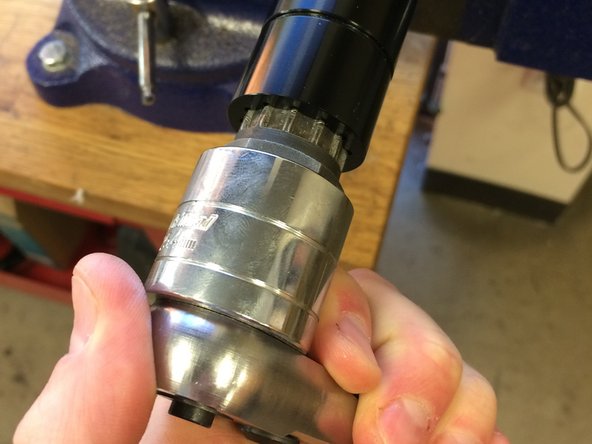
Install the pillar cap and using an M10 hex wrench, turn the pillar cap clockwise to tighten to snug
-
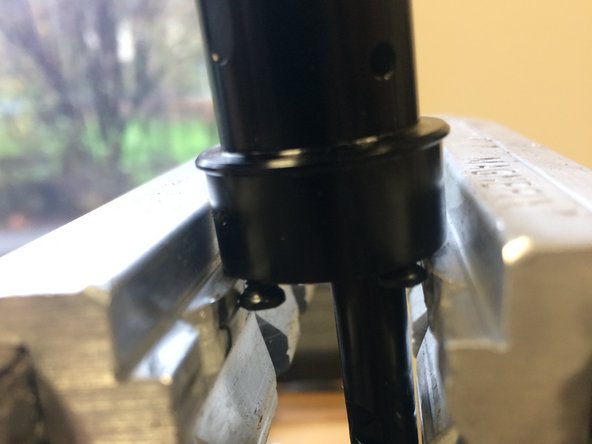
Using the 4 screws at the bottom of the pillar as flats, gently clamp them in your vise
-
Tighten the pillar cap to 2 N*m
-
-
-
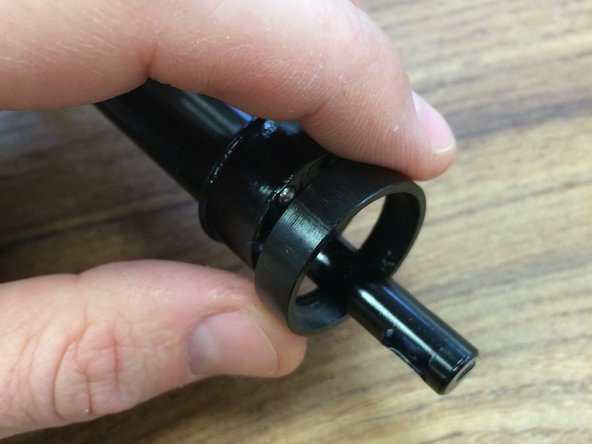
Slide the pillar bottom bushing on
-
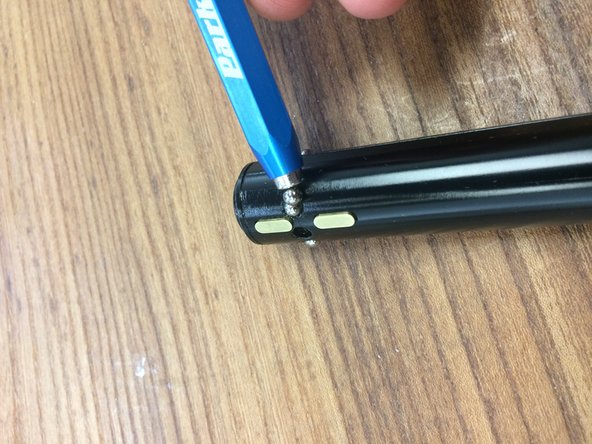
Install the ball at the bottom of the pillar
-
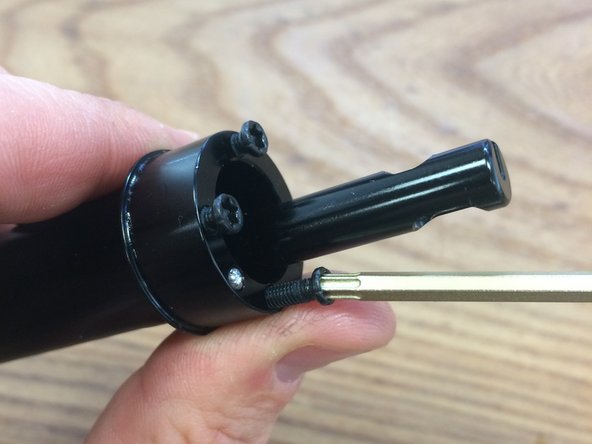
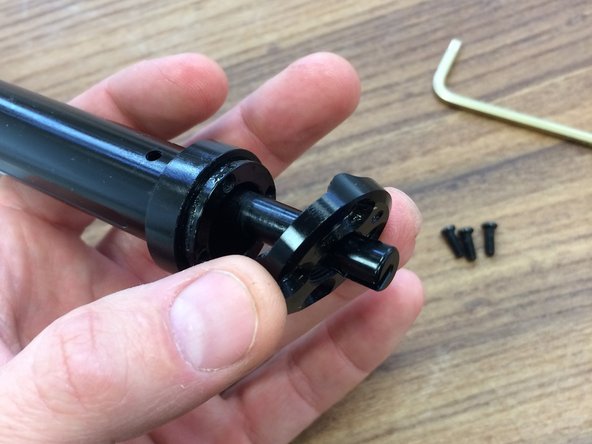
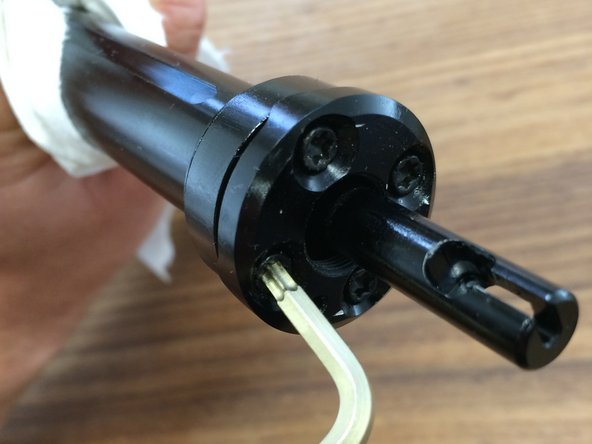
Remove the 4 screws and install the cap
-
-
-
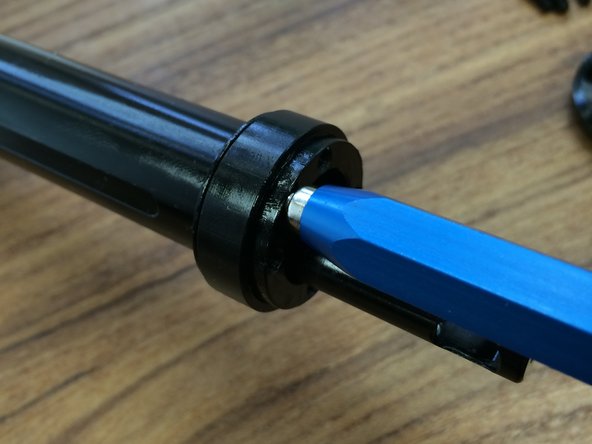
Install the cap, be sure to line the ball up with the hole in the cap
-
Put a small amount of threadlocker on each screw and tighten with a T15 Torx to 3N*m
-
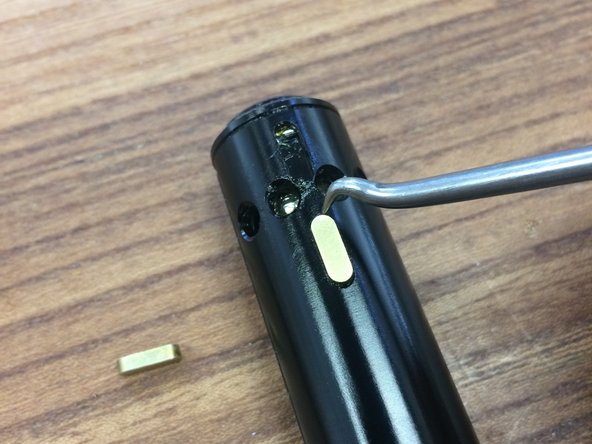
Replace the 4 brass keys as needed
-
The brass keys will wear over time and may be responsible for rotational play in the post. They should be inspected for wear and replaced as needed.
-
-
-
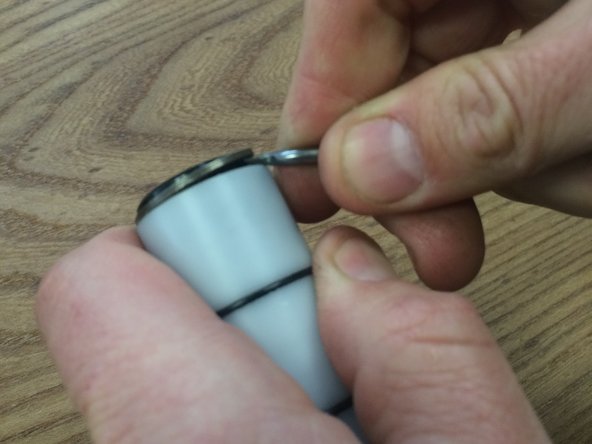
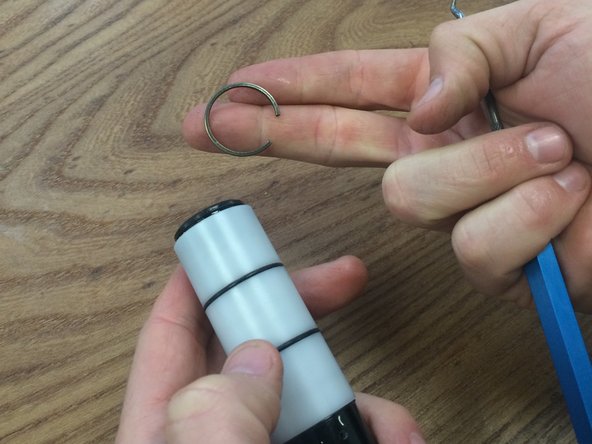
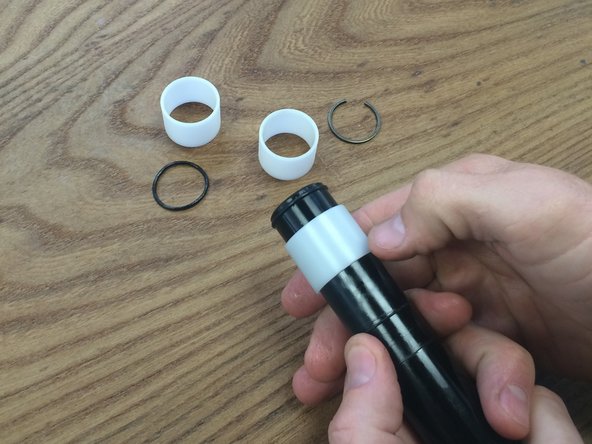
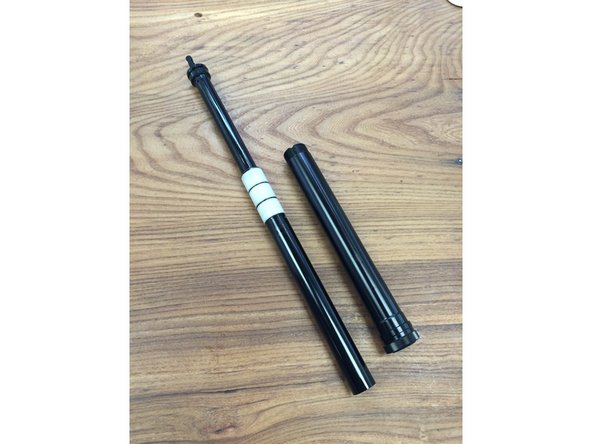
If replacing the bushings on the inner tube, remove the C-clip and replace now
-
150mm posts use 3 bushings, 125mm posts use 2
-
-
-
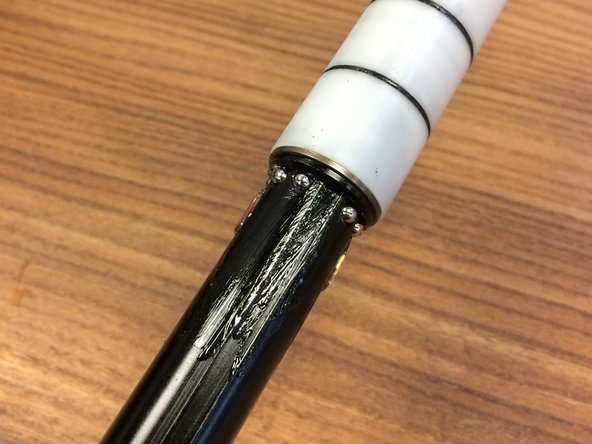
Lightly grease each hole and the brass keys
-
Place the 8 balls into the pillar
-
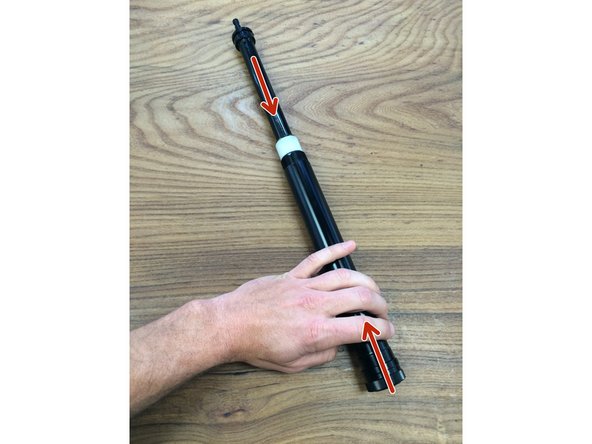
Slide the pillar into the inner tube
-
-
-
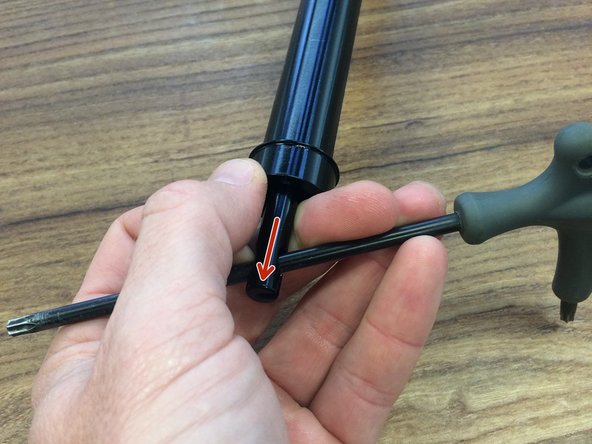
Using your T25 or another tool that fits, actuate the post just as a cable would if the post were installed by pulling on the cable tower
-
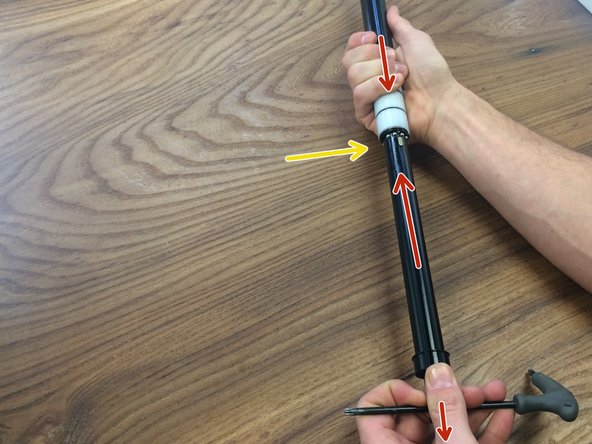
While pulling the cable tower down to release the locking mechanism, carefully slide the pillar in to the inner tube
-
Once the balls are inside the inner tube, release the cable tower and continue sliding the pillar into the inner tube until you hear them click into the first position
-
-
-
Install the main seal on the outer tube
-
Lightly grease inside the main seal
-
Remember, only a light coating of grease is needed
-
-
-
Lightly grease the bushings on the pillar/inner tube assembly
-
Gently slide the outer tube over the pillar/outer tube assembly
-
-
-
Clean and lightly grease inside the head of the post
-
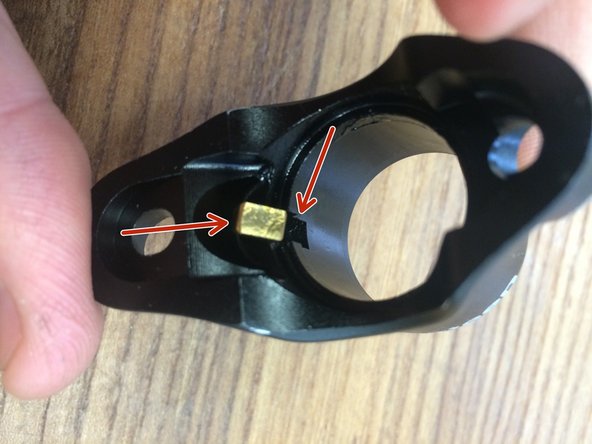
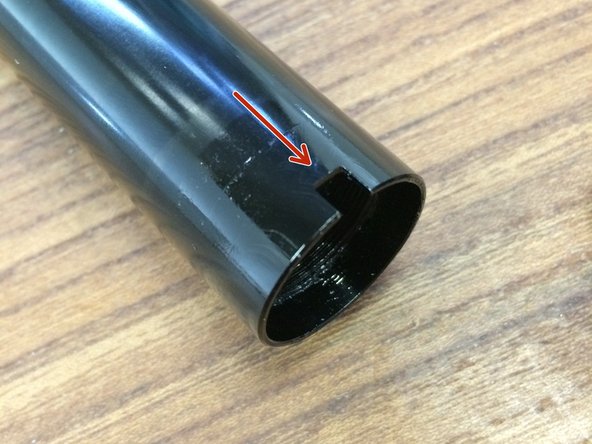
Next, install the head of the post making sure the brass key is properly seated in the head and in the keyway in the inner tube of the post
-
Wiggle the post head while pushing to install
-
-
-
Lightly grease each end of the spring and install the spring in to the post
-
The spring is not directional, so either side can go up or down
-
It is recommended to put the seatpost in the vise and soft jaws for this step
-
The spring is under preload and will eject with force if not supported while installing. Use caution!
-
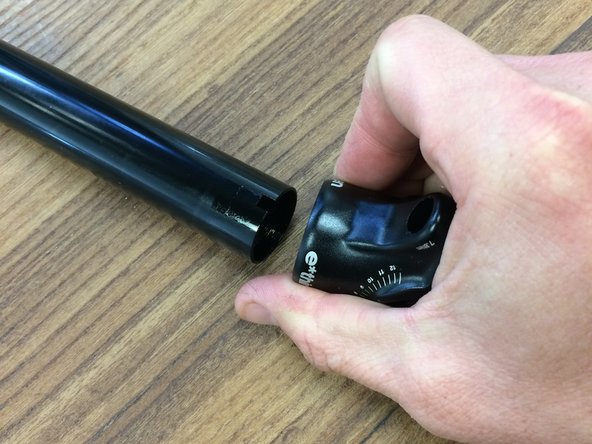
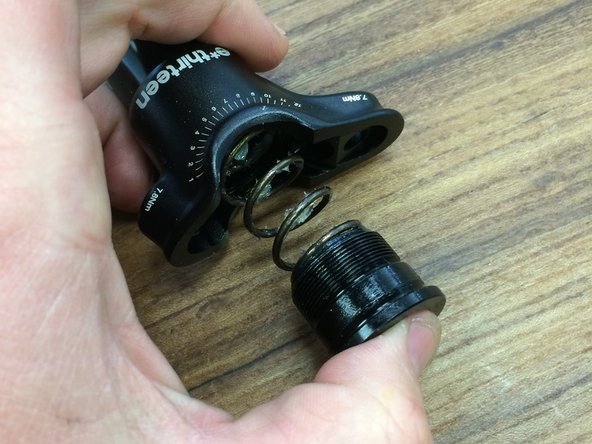
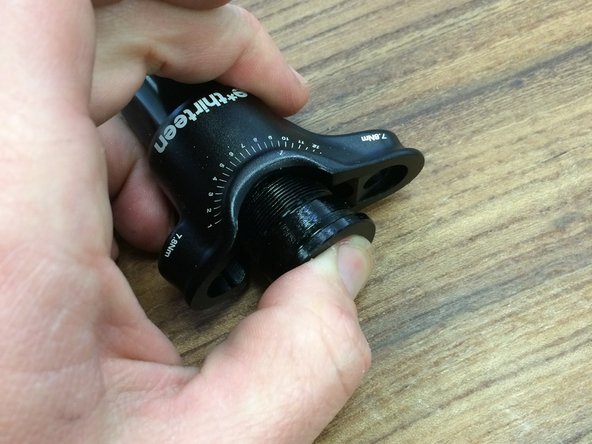
Next, apply a medium strength thread locker (blue loc-tite) to the threads and install the spring cap by compressing the spring while turning the cap clockwise
-
Tighten the spring cap to snug
-
-
-
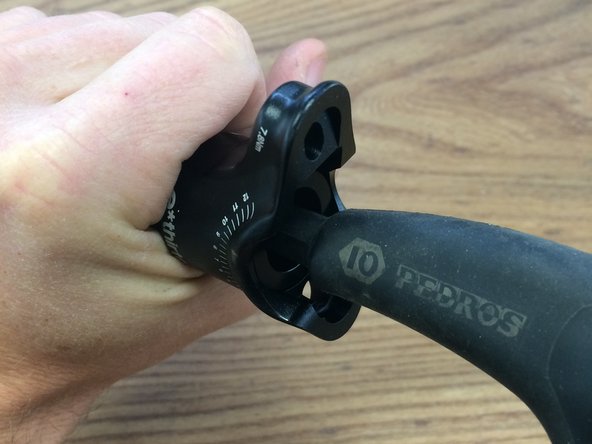
To tighten properly, you must insert the head of the post into soft jaws and a vise
-
Using an M10 hex wrench tighten to 20N*m
-
The main spring is located under this screw, so caution must me used when removing or tightening the screw
-
The head, and only the head of the post must be supported while removing this screw. Supporting the main tube or shaft of the post while turning this screw may result in damage/binding of the seatpost keys
-
-
-
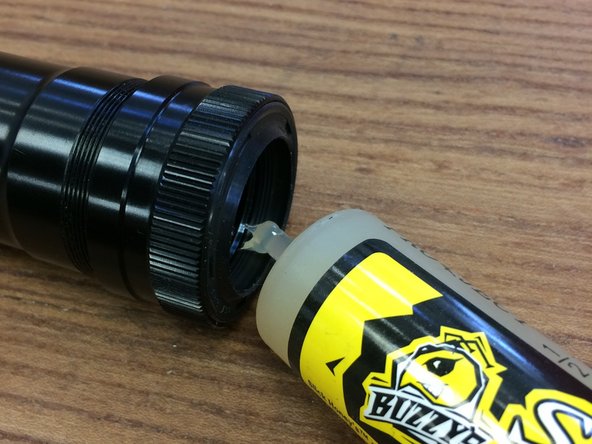
Lightly grease the threads and install the bottom cap
-
Clamp the post in soft jaws
-
Tighten to 6N*m
-
-
-
Put a small amount of threadlocker on the threads of the cable tower
-
Slide the spacer/washer over the threads
-
In some cases the spacer/washer may be pressed on to the cable tower
-
Tighten the cable tower to 6N*m
-
If needed, clamp the seatpost in softjaws or use a strap wench to hold the post
-
-
-
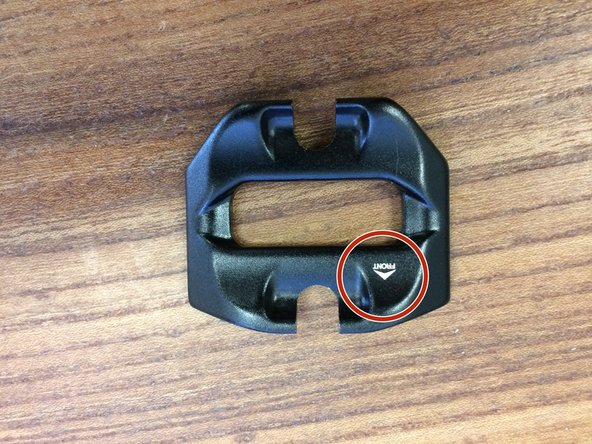
Lightly grease the clamp screws and install the saddle cradle using a T25 Torx driver
-
Be sure to install the saddle cradle plates in the correct orientation
-
Thanks for reading, now get out there and ride!
Thanks for reading, now get out there and ride!


