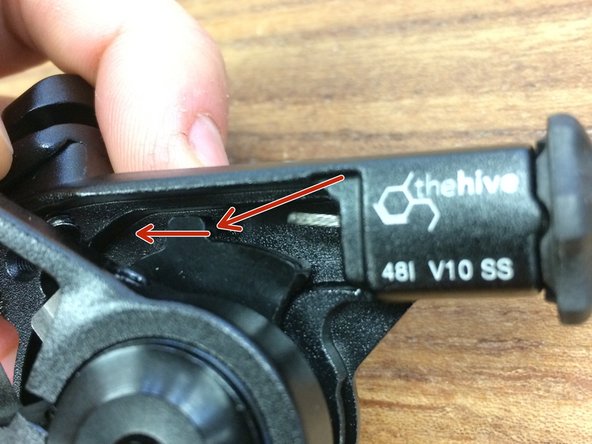
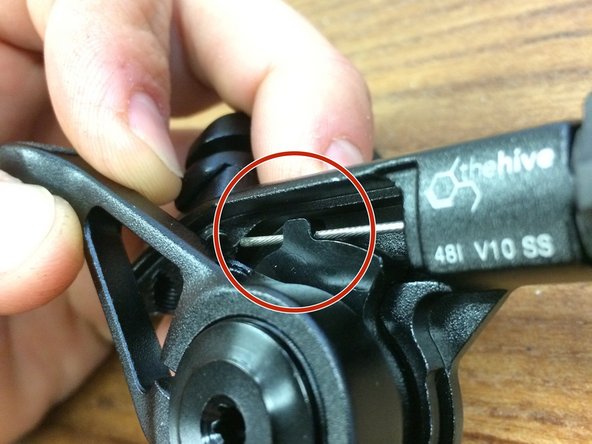
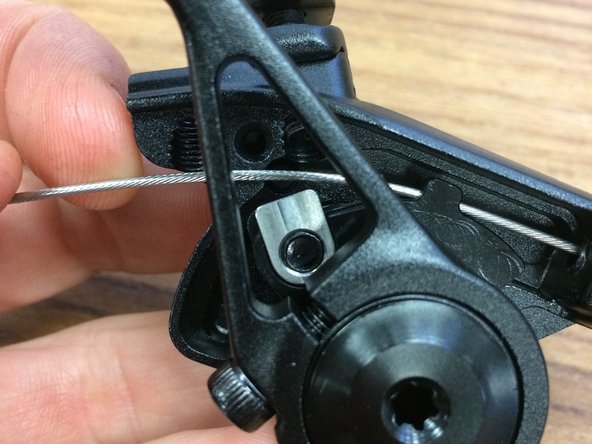
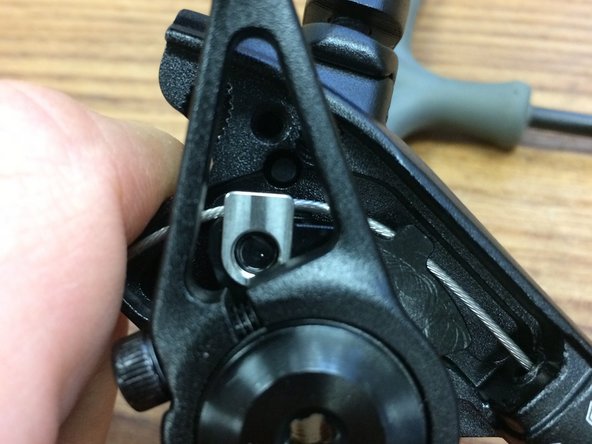
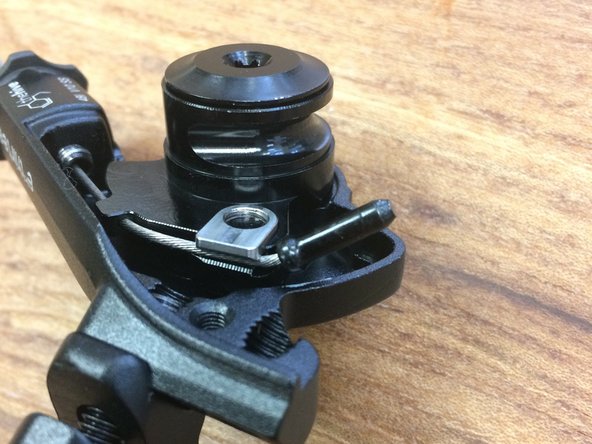
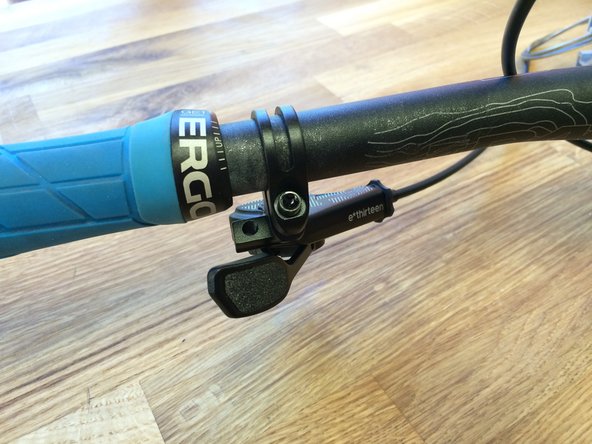
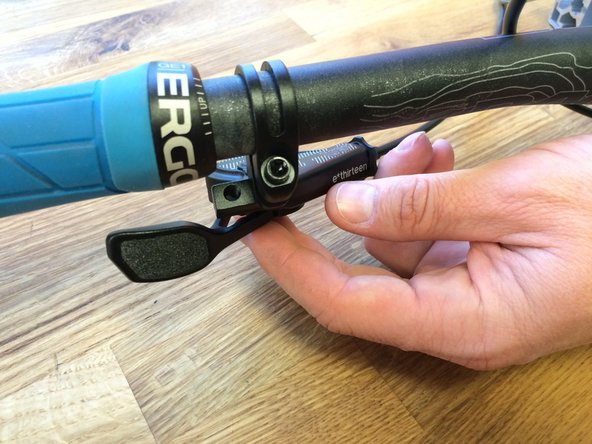
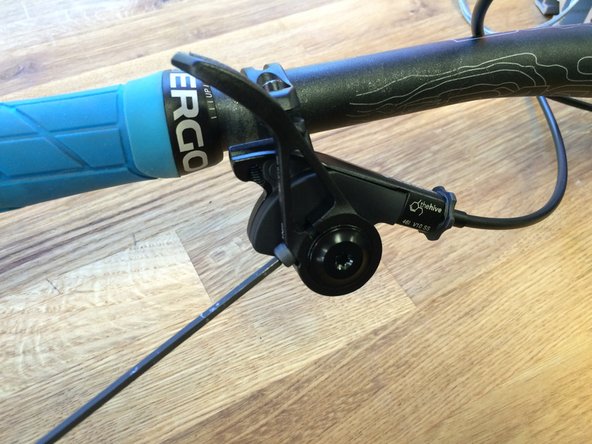
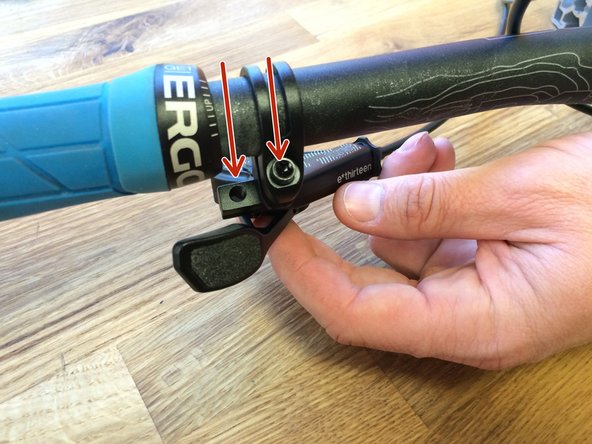
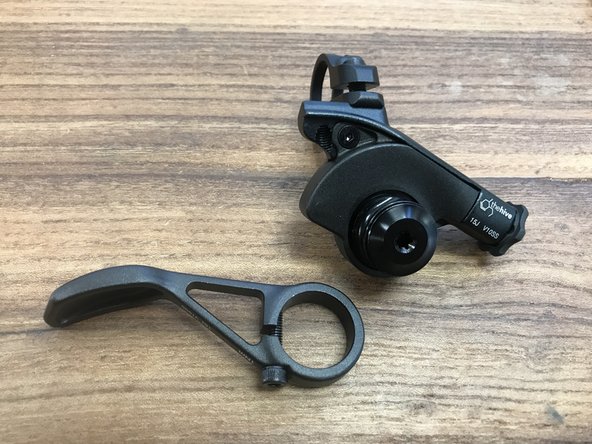
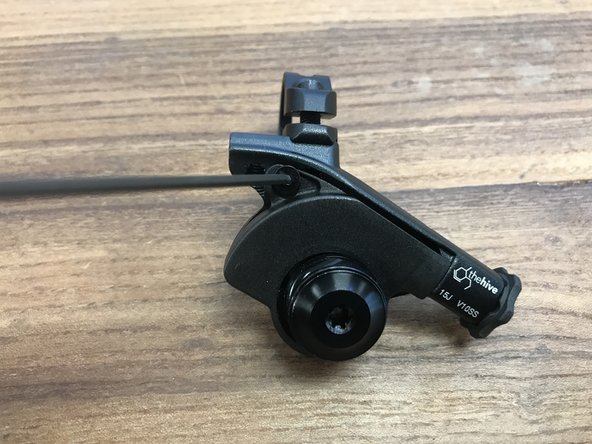
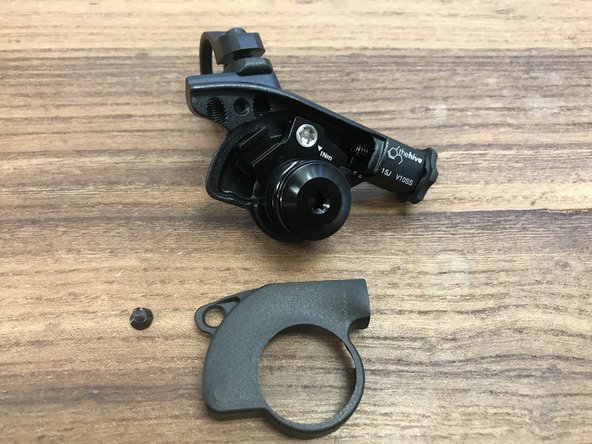
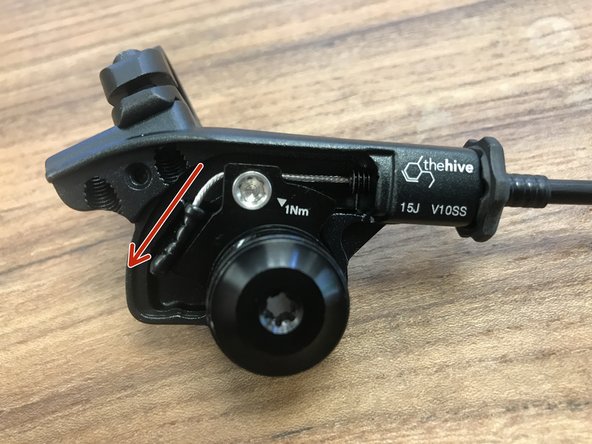
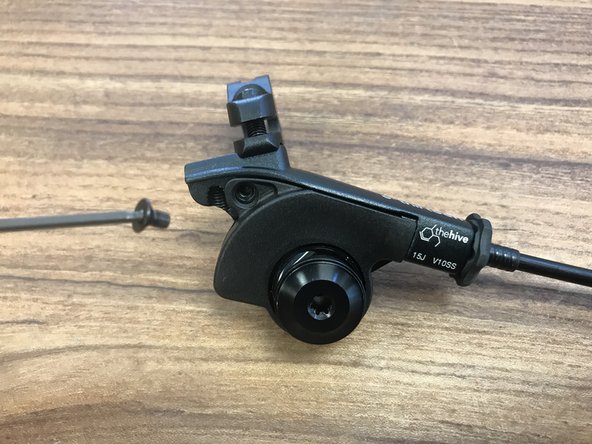
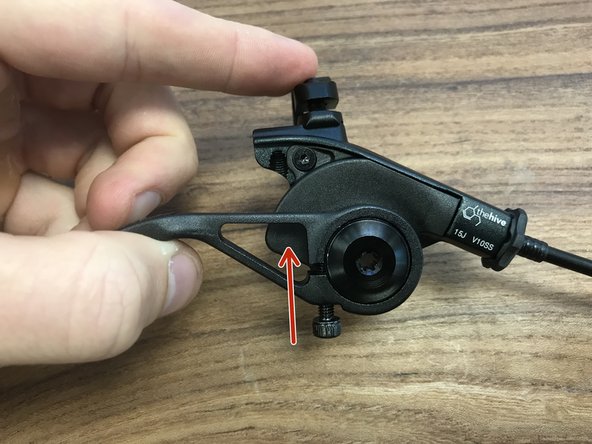
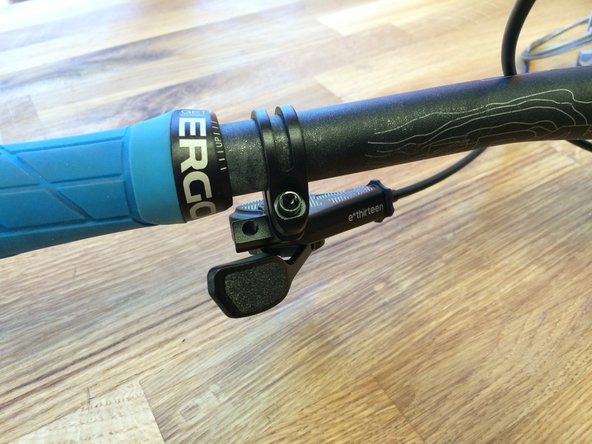
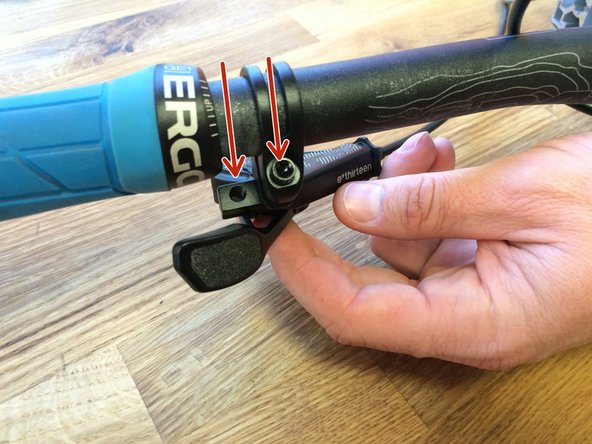
1. Start by identifying your lever: generation 1 or generation 2.
    • Start by identifying your lever: generation 1 or generation 2.

    • Gen 1 lever is pictured on the left. Gen 2 lever is pictured on the right.

    • If you have a generation 1 lever use steps 2-7.

    • If you have a generation 2 lever use steps 8-12.

  2. At this point you should already have your seatpost installed in your frame and the housing length sorted. Haven't done that yet? See here
    • At this point you should already have your seatpost installed in your frame and the housing length sorted. Haven't done that yet? See here

    • Open the rubber access plug on the top of the lever revealing the T25 Torx cable fixing screw

    • Loosen the screw by turning it counter clockwise

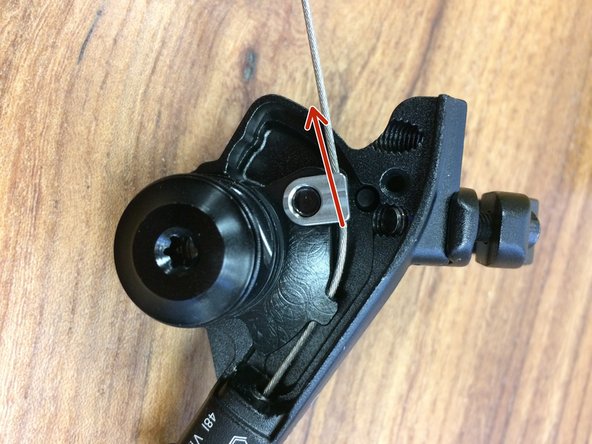
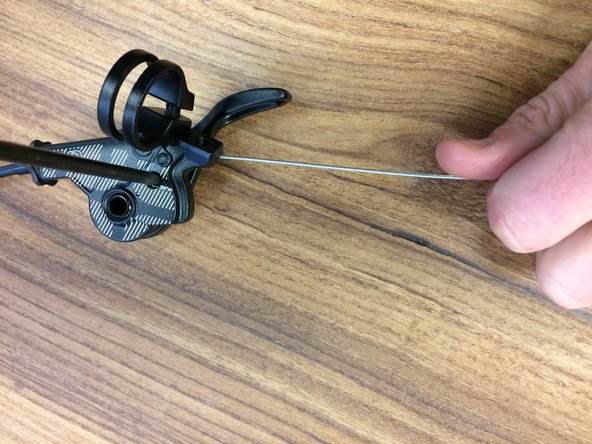
  3. Slide the cable into the lever Be sure the cable passes through the hole in the small aluminum block Pull cable through until it is tight
    • Slide the cable into the lever

    • Be sure the cable passes through the hole in the small aluminum block

    • Pull cable through until it is tight

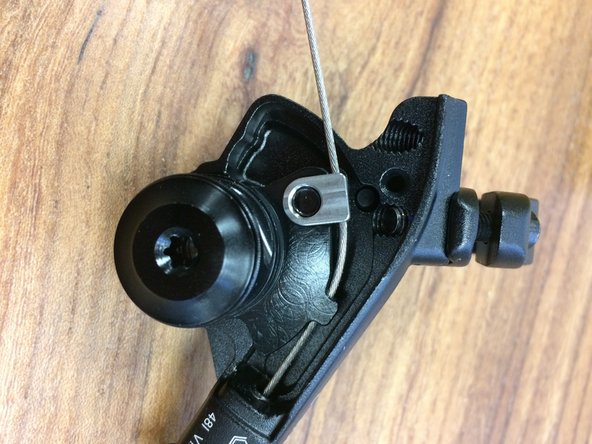
  4. Slide the cable into the clamp While pulling the cable tight, snug the clamp screw using a T25 Torx If using new housing it is recommend to actuate the lever a few times to seat the housing ferrules onto the housing. After doing so, adjust the cable tension again.
    • Slide the cable into the clamp

    • While pulling the cable tight, snug the clamp screw using a T25 Torx

    • If using new housing it is recommend to actuate the lever a few times to seat the housing ferrules onto the housing. After doing so, adjust the cable tension again.

    • Check the function of the lever and post, adjust cable tension as needed using the barrel adjuster

    • Tighten cable fixing screw to 3N*m

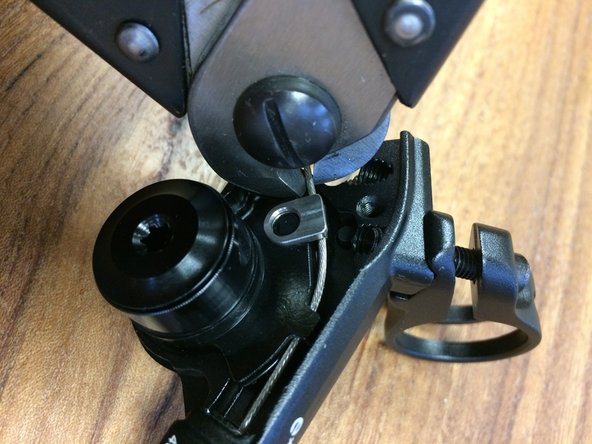
  5. Using cable cutters, trim the cable You can trim it close to the clamp or bend it down slightly and install a cable end close to the clamp (we removed the lever for a better view) You can trim it close to the clamp or bend it down slightly and install a cable end close to the clamp (we removed the lever for a better view)
    • Using cable cutters, trim the cable

    • You can trim it close to the clamp or bend it down slightly and install a cable end close to the clamp (we removed the lever for a better view)

  6. With the lever installed on the bike, adjust the paddle position to your preference and tighten the screw to 1N*m With the lever installed on the bike, adjust the paddle position to your preference and tighten the screw to 1N*m With the lever installed on the bike, adjust the paddle position to your preference and tighten the screw to 1N*m
    • With the lever installed on the bike, adjust the paddle position to your preference and tighten the screw to 1N*m

  7. You can also move the lever between the two mounting positions
    • You can also move the lever between the two mounting positions

    • Do a final check on the post function, seatpost clamp torque and lever clamp torque

  8. At this point you should already have your seatpost installed in your frame and the housing length sorted. Haven't done that yet? See here Loosen the 2mm cover screw and  remove the cover screw and cover Loosen the 2mm cover screw and  remove the cover screw and cover
    • At this point you should already have your seatpost installed in your frame and the housing length sorted. Haven't done that yet? See here

    • Loosen the 2mm cover screw and remove the cover screw and cover

  9. Slide the cable into the lever While pulling the cable tight, snug the T25 Torx until it bottoms in the hole. DO NOT EXCEED 1Nm The unique cable-clamp design does not benefit from over-tightening.. so don't do it!
    • Slide the cable into the lever

    • While pulling the cable tight, snug the T25 Torx until it bottoms in the hole. DO NOT EXCEED 1Nm

    • The unique cable-clamp design does not benefit from over-tightening.. so don't do it!

    • If using new housing it is recommend to actuate the lever a few times to seat the housing ferrules onto the housing. After doing so, adjust the cable tension again.

    • Check the function of the lever and post, adjust cable tension as needed using the barrel adjuster

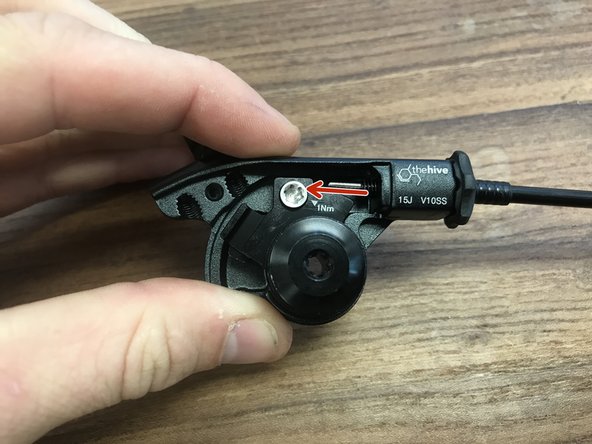
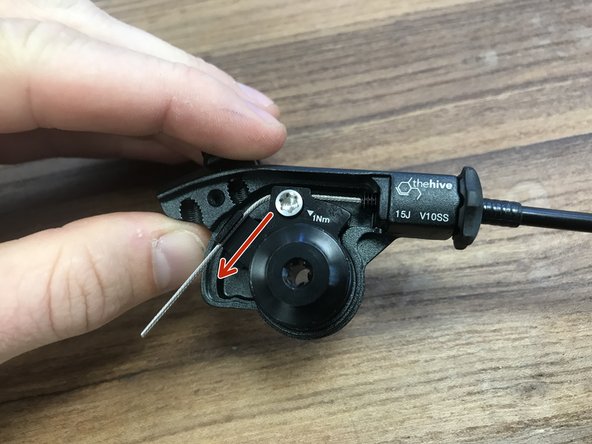
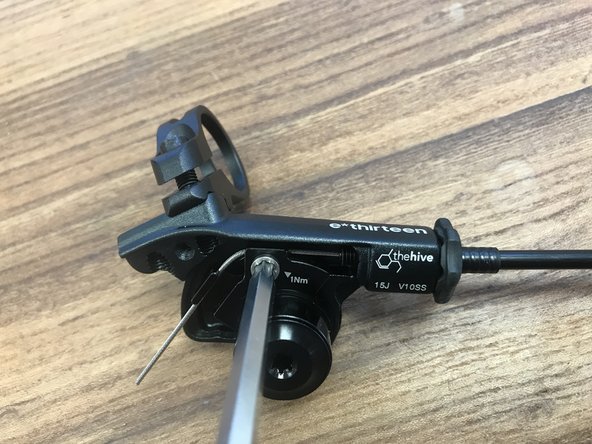
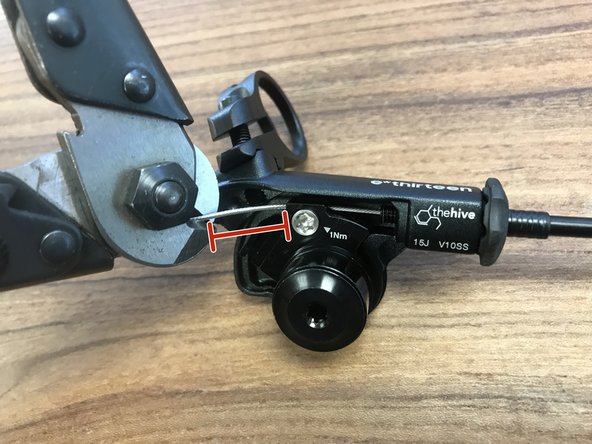
  10. Make sure you have about 15mm of cable exposed from the T25 cable fixing bolt Using cable cutters, trim the cable.
    • Make sure you have about 15mm of cable exposed from the T25 cable fixing bolt

    • Using cable cutters, trim the cable.

    • Install the cable crimp and bend the cable slightly so it is tucked into the cable groove

  11. Re-install the lever cover and tighten cover fixing screw to 1Nm Install the paddle lever and install the fixing bolt
    • Re-install the lever cover and tighten cover fixing screw to 1Nm

    • Install the paddle lever and install the fixing bolt

  12. With the lever installed on the bike, adjust the paddle position to your preference and tighten the screw to 1N*m You can also move the lever between the two mounting positions
    • With the lever installed on the bike, adjust the paddle position to your preference and tighten the screw to 1N*m

    • You can also move the lever between the two mounting positions

    • Do a final check on the post function, seatpost clamp torque and lever clamp torque

Conclusion

Thanks for reading, now get out there and ride!

The Hive - Jeremy

Member since: 12/05/2012

49 Guides authored

0 Comments

Add Comment

View Statistics:

Past 24 Hours: 4

Past 7 Days: 26

Past 30 Days: 87

All Time: 28,478