


Tools
Parts
-
-
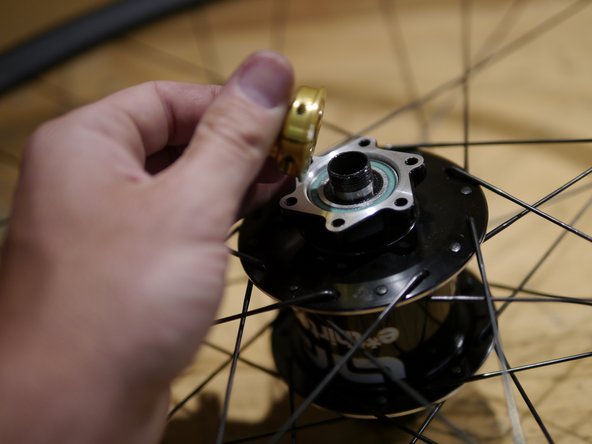
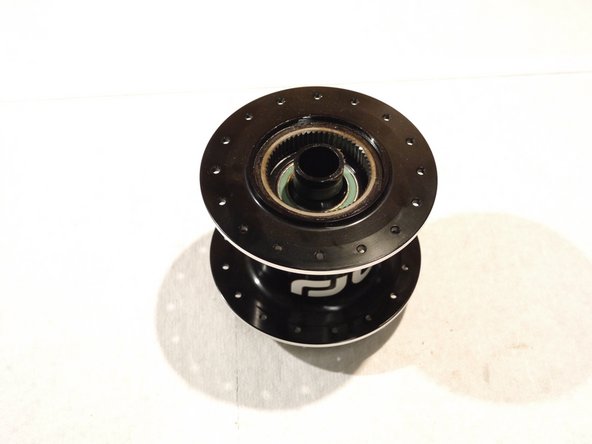
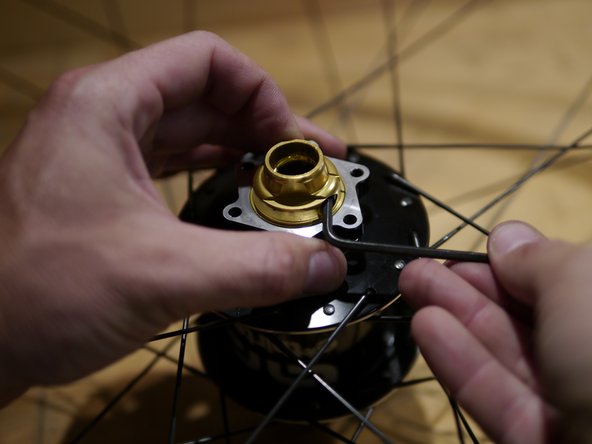
Remove the Freehub lockring
-
2016+ hubs and freehubs use a one piece seal and no lockring, so skip this step if you don't see the lockring
-
-
-
Loosen the 3mm hex endcap screw, by turning counterclockwise
-
-
-
Loosen the non-drive side endcap by turning it clockwise.
-
Remove the non-drive endcap
-
-
-
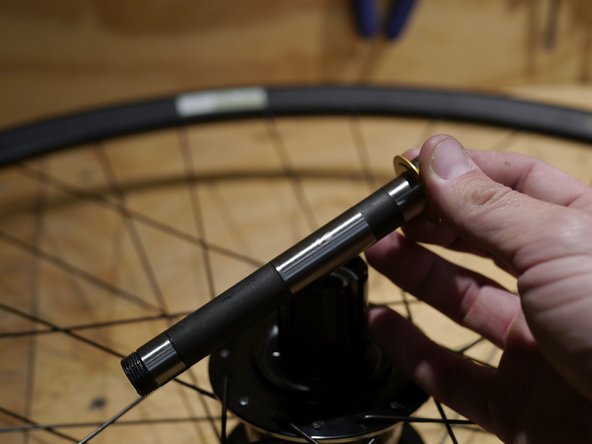
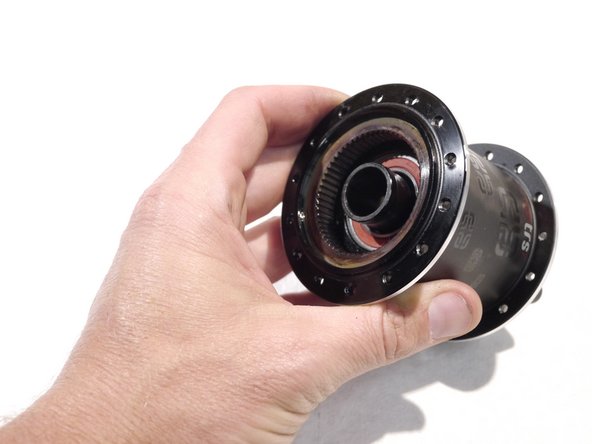
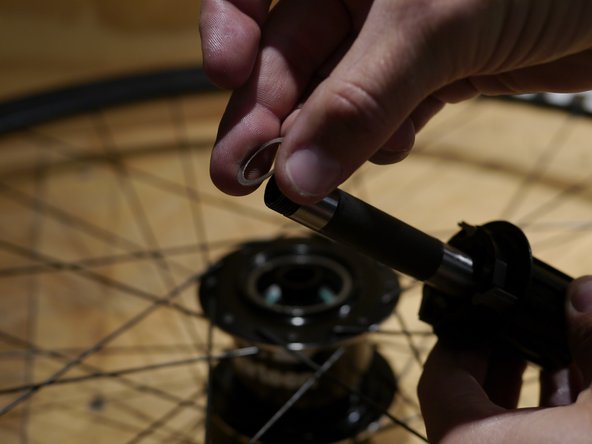
Slide the steel axle out of the drive side of the hub
-
Be careful not to dislodge the freehub body
-
-
-
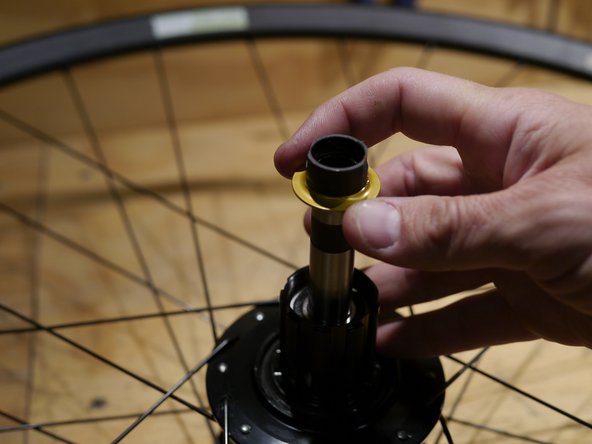
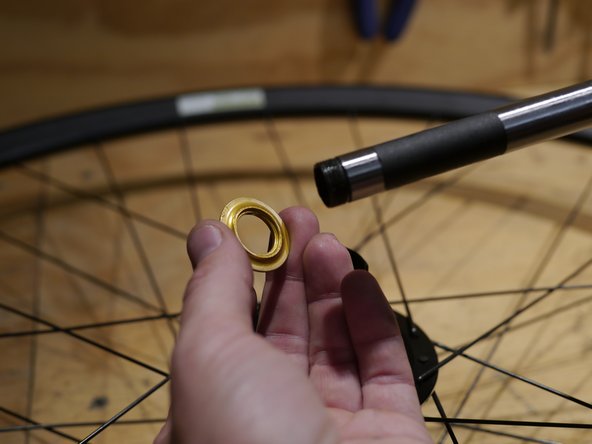
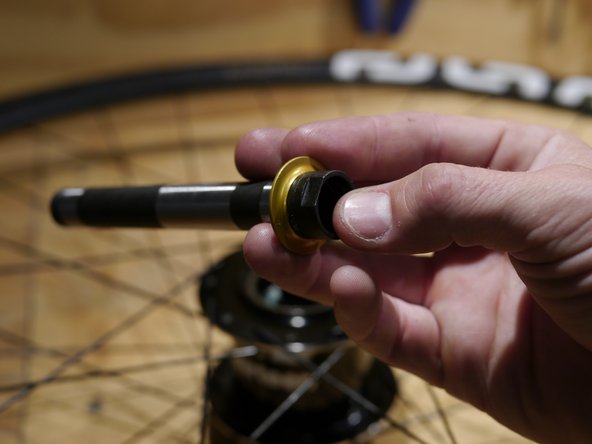
Remove the freehub spacer.
-
Note: this spacer is not used with the XX1 freehub body
-
Note: This spacer may be black or gold in color
-
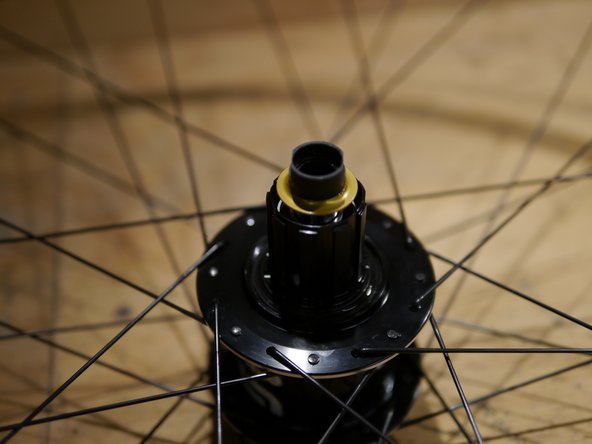
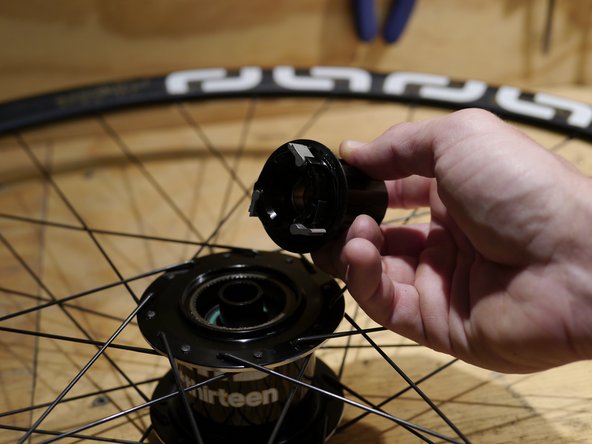
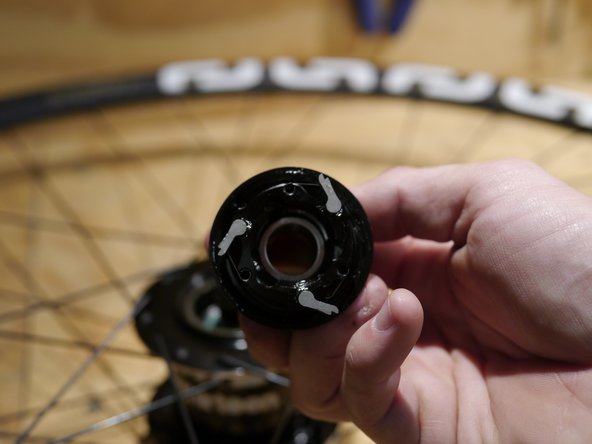
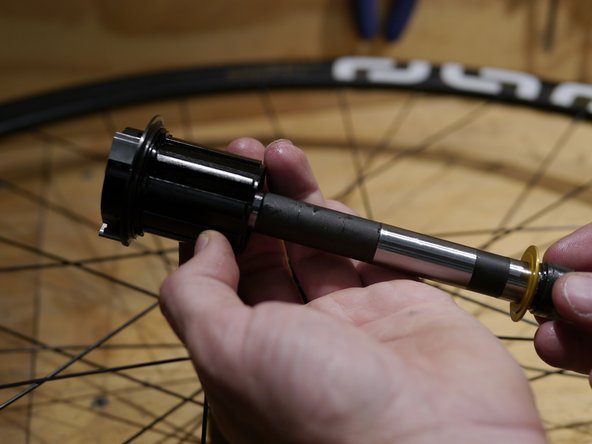
Remove the freehub body
-
Be careful not to lose any of the pawls or the pawl springs
-
-
-
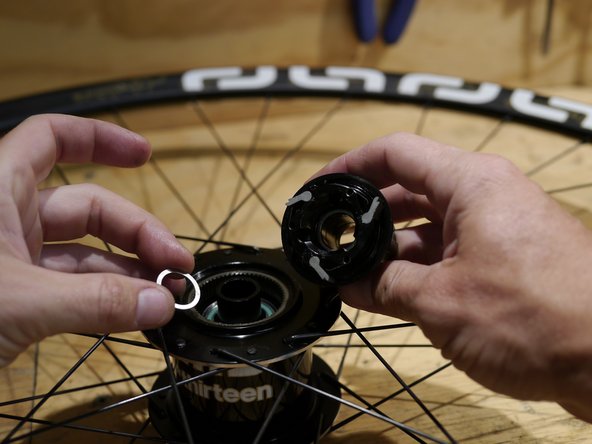
Remove the freehub shim
-
This is a thin washer. Be careful as sometimes this can stick to the inside of the freehub body or the bearing spacer
-
-
-
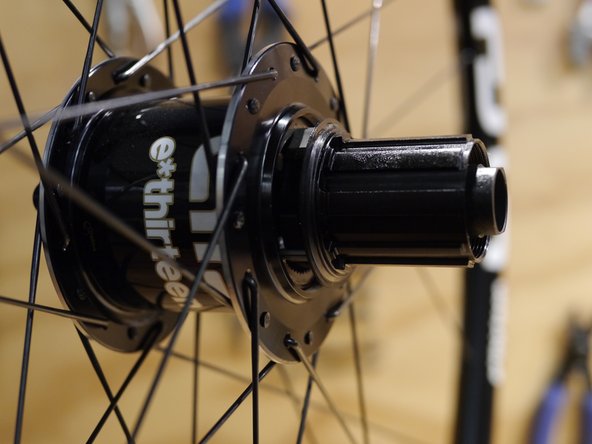
At this point the hub is most of the way apart, you can service bearings, replace worn parts or just clean things up
-
-
-
Next, slide the freehub spacer onto the axle.
-
Install the spacer so the flat side is against the bearing and the tapered side is facing out from the hub
-
Note: This spacer is not used with the XX1 compatible XD driver
-
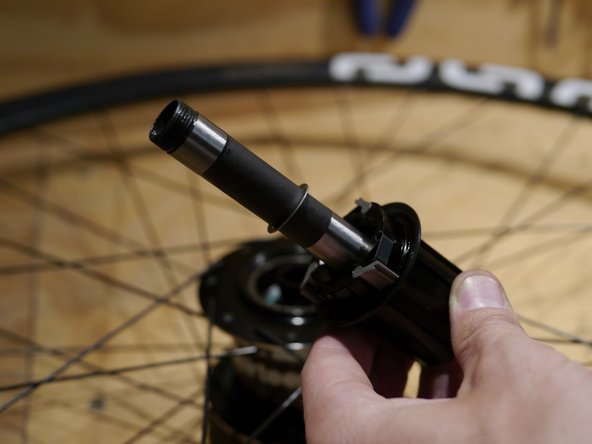
Install the freehub body into the axle
-
-
-
Slide the freehub shim onto the axle after the freehub body
-
You should now have the axle, freehub spacer (not used with the XD driver), freehub body and freehub shim installed on the axle.
-
-
-
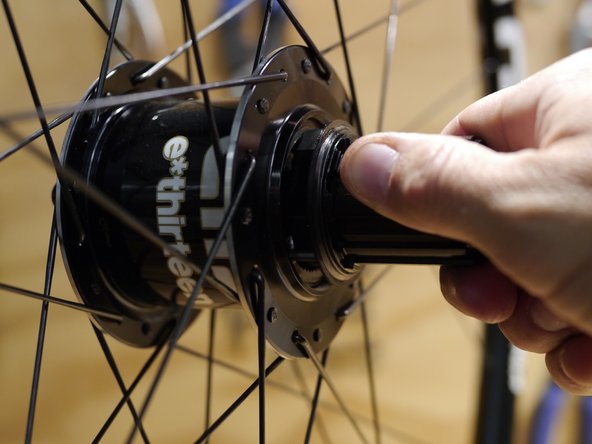
Slide the axle assembly into the freehub spacer and hub shell
-
Turn the freehub body counter-clockwise to compress the pawls into the ratchet ring in the hub shell
-
For information on lube and service for the freehub body please see our freehub service instructions
-
-
-
flip the hub over and install the non-drive endcap
-
Remember, this endcap uses a reverse thread so turn it counter-clockwise to tighten
-
Turn the endcap by hand to adjust bearing preload until the hub no longer has bearing play
-
Cone wrenches can be used, but are rarely needed
-
Tighten the non-drive endcap using a 3mm hex wrench to 3nm
-
-
-
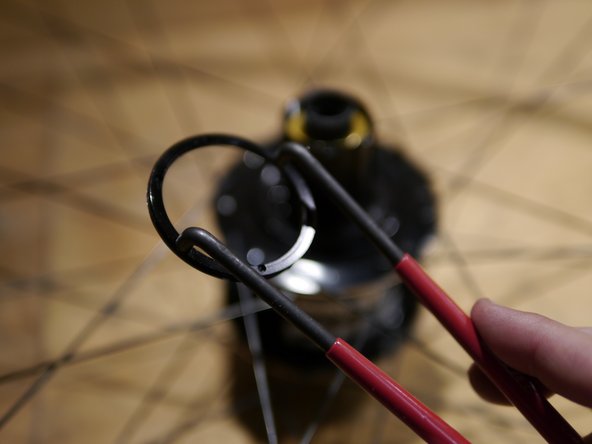
Put one drop of freehub oil on the rubber dust seal and install the freehub dust seal lockring
-


Thanks for reading, now get out there and ride!
Thanks for reading, now get out there and ride!