


Parts
No parts specified.
-
-
You will need a 17mm and 18mm cone wrench. **The tools located in the bottom of the photo are included with aftermarket rear wheels.**
-
-
-
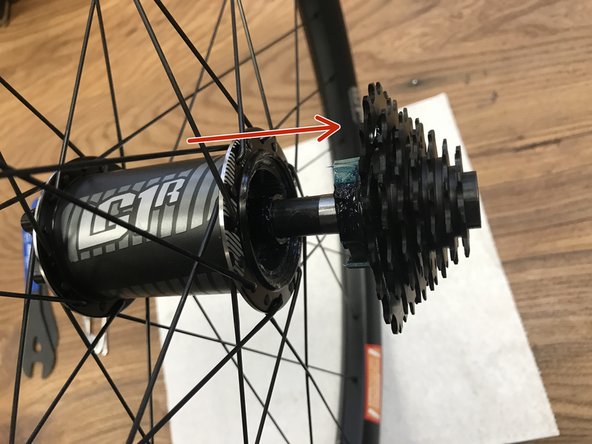
Place the 18mm cone wrench on the non-drive side axle end cap. Secure the drive side endcap with the 17mm cone wrench. This is a regular thread endcap. Turn the 18mm cone wrench counter clockwise.
-
Once the non-drive side endcap is loose fully remove the endcap from the axle.
-
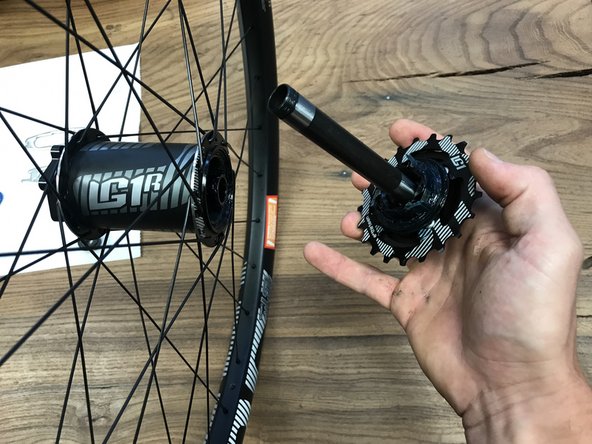
You can then remove the integrated cassette/freehub body from the hub shell. Remove by pulling the cassette away from the hub. The axle will come out along with the cassette.
-
-
-
Make sure the pawls do not fall out of the integrated freehub body.
-
Our LG1 integrated cassette/freehub is proprietary to our specific LG1 7 speed wheels. **This is one solid unit and the cassette can not be removed from the freehub. It is one piece.**
-
-
-
Once you have replaced or serviced your 7 speed freehub. You can insert the axle and cassette/freehub back into the hubshell.
-
While pushing the cassette back into the hub shell apply some light pressure and rotate counter clockwise until the pawls pop snap down and the freehub sits fully into the hub shell.
-
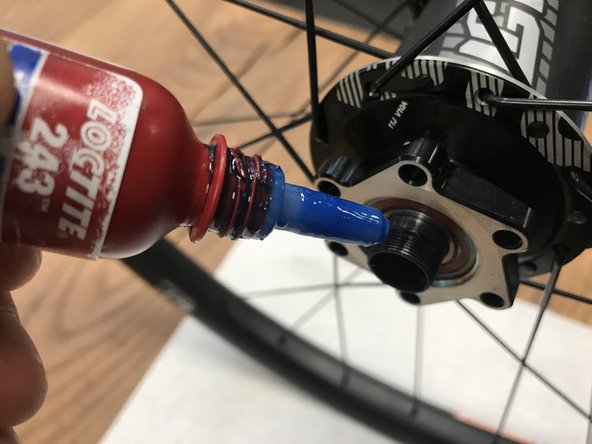
Add a small drop of medium strength thread locker to the threads of the axle.
-
-
-
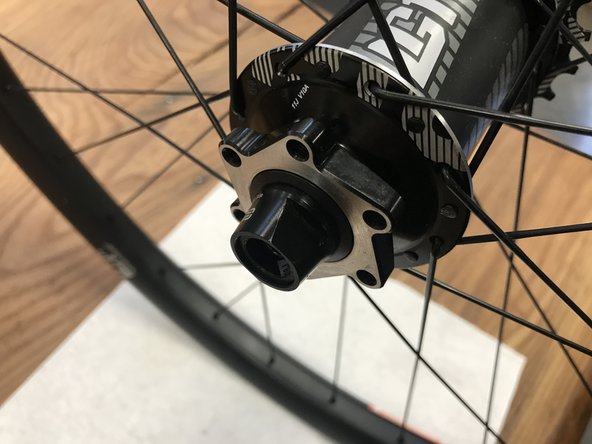
Install non-drive side axle endcap.
-
Using your 17mm and 18mm cone wrenches tighten the non-drive side end cap to snug plus 1/2 turn.
-
Install the wheel back on your rig and your ready to shread!
-


Thanks for reading, now get out there and ride!
Thanks for reading, now get out there and ride!