Tools
Parts
-
-
Insert the spider lockring tool into a vise
-
Be sure the vise will accommodate the spindle
-
Insert the spindle and lockring into the tool
-
-
-
Press down on the driveside arm and spindle assembly to ensure that is does not slip in the tool
-
Turn the crank counter-clockwise (as seen from above) too loosen the lockring
-
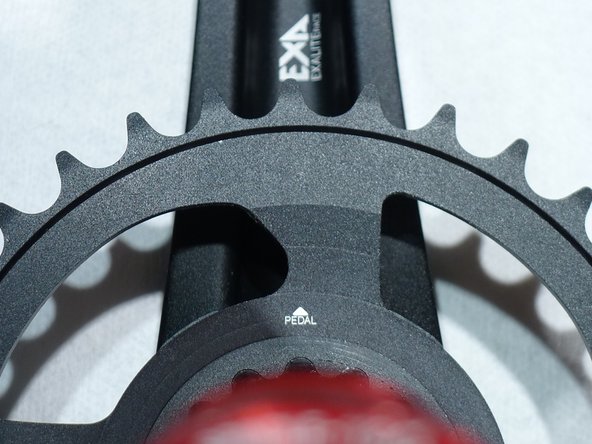
Be careful not to injury yourself on the sharp chainring teeth
-
I can be helpful to bump the arm loose rather than just applying steady pressure
-
-
-
Once the lockring is loose, unthread it completely
-
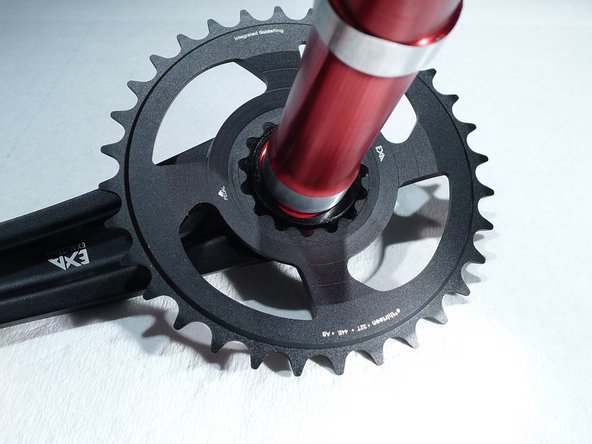
Remove the spider or integrated ring from the splines
-
The spider or ring will fit snuggly on the crank arm splines, it can be helpful to rock it in order to free it from the arm
-
Do not use a hammer to remove the spider or integrated ring
-
-
-
Thoroughly clean the splines on both the spider and arm
-
Clean the lockring
-
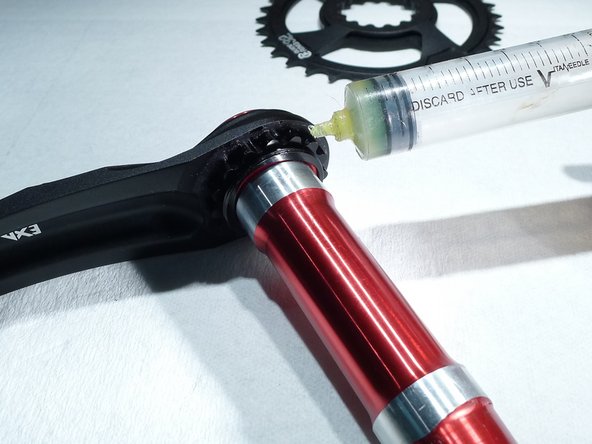
Lightly grease the splines on both the spider and the arm
-
-
-
Install the spider or integrated ring on the arm
-
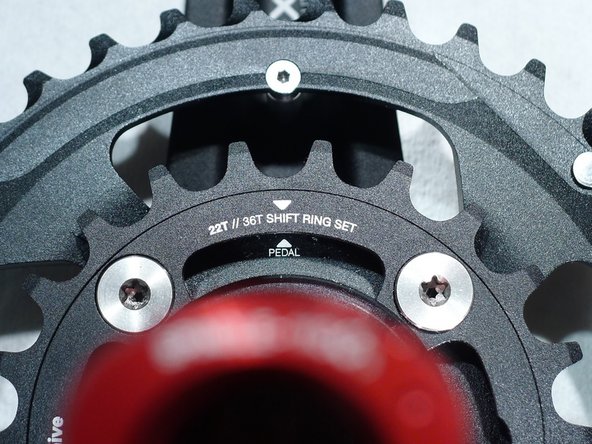
Be sure to clock the spider properly such that the rings will line up in the right place
-
Press firmly to seat the splines
-
-
-
Since you will not be able to use a torque wrench, follow the procedure below to ensure proper torque
-
Lightly grease lockring threads
-
Install lockring
-
Put lockring and crank back into lockring tool in vise
-
Turn lockring until it begins to tighten on the spider face
-
Turn crank (or lockring) 90 degrees from touching the spider face to reach proper torque spec (approximately 30Nm)
-
Turn crank clockwise (as seen from top) to tighten
-