


Introduction
Setting up an e*thirteen 12s 9-46T TRS+ cassette to work with Shimano® 12 speed drivetrains - With a few simple tips in mind, you'll have your bike up and running in no time.
-
-
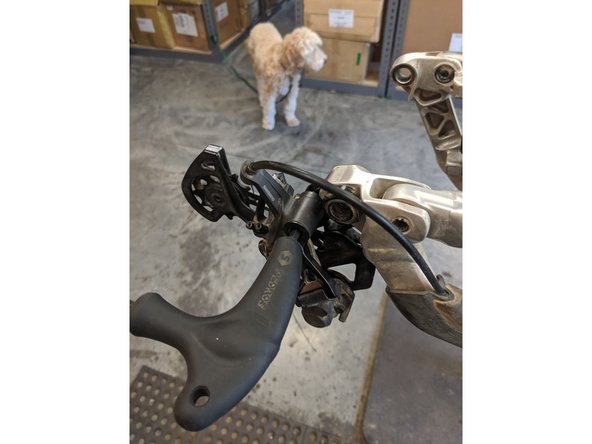
e*thirteen 12s Cassettes are only compatible with Shimano® SGS Long Cage 12s derailleurs, Including the Following:
-
RD-M9100-SGS XTR 1X Long Cage
-
RD-M8100-SGS XT 1X Long Cage
-
RD-M7100-SGS SLX 1X Long Cage
-
NOT COMPATIBLE with the following:
-
GS Medium Cage Derailleurs
-
SGS Long Cage Derailleurs for double chainring setups.
-
-
-
For best results, use your e*thirteen 9-46T cassette with one of the following 12 speed chains:
-
KMC X12 chains
-
SRAM(tm) Eagle(tm) 12 speed Chains
-
YBN 12 Speed Chains
-
e*thirteen 12 speed chain
-
The e*thirteen 9-46t cassette is NOT compatible with Shimano 12 speed chains.
-
IE CN-9100, etc.
-
-
-
Set the clutch switch lever to OFF
-
Back the b-limit screw out until it no longer protrudes against the stopper plate tab
-
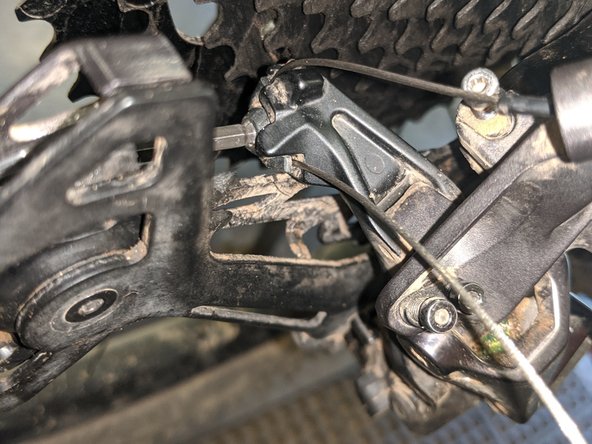
Install the Derailleur using a 5mm hex key
-
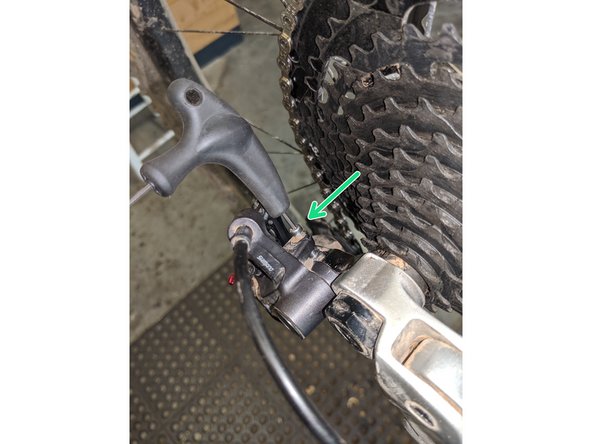
Press the stopper plate tab against the derailleur hanger while tightening the rear derailleur fixing bolt, so that there is no gap between the b-tension stop and the tab
-
Finish tightening using the torque wrench with the 5mm hex bit socket: 8-10Nm
-
-
-
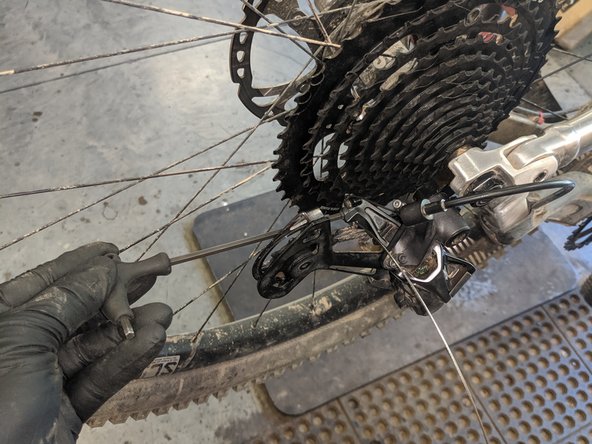
Adjust the derailleur top adjustment bolt so that the upper pulley wheel is aligned with the outer edge of the smallest cassette cog using the 2mm hex key
-
The high-limit screw is labeled “H”
-
-
-
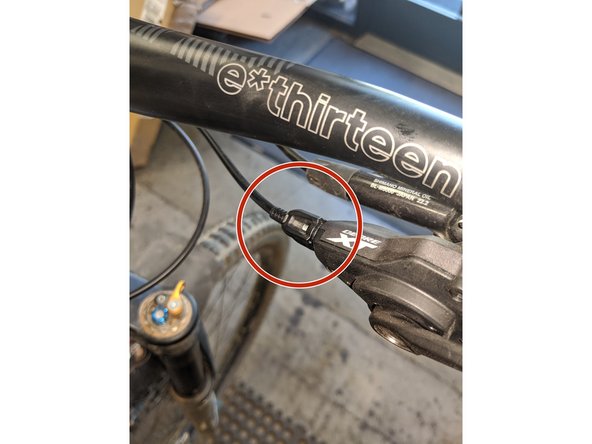
Before installing a new shift cable, inspect your shift housing closely. Dirty, abraded, worn, cracked, or otherwise-damaged housing should be replaced before proceeding.
-
Make sure to use a metal pick, toothpick, or other pointy object to flare the inner sheath of your cable housing at each cut end. This will reduce friction and improve shifting.
-
Make sure the shifter is shifted to the highest gear (smallest cog) by pressing the small shift release lever repeatedly, then install a new cable in your shifter. Route the cable through the shift housing to the derailleur.
-
Route the shift cable through the derailleur and around the groove of the cable anchor washer.
-
Pull the cable taught, and tighten the cable anchor bolt using the 4mm hex wrench.
-
Remove slack from the cable by actuating the shift lever several times or pulling on exposed cable.
-
Resecure the shift cable by loosening the anchor bolt, then pulling the cable just taught, then re-tighten the anchor bolt. Torque the anchor bolt to 6-7Nm.
-
Cut the cable and install a cable end crimp.
-
-
-
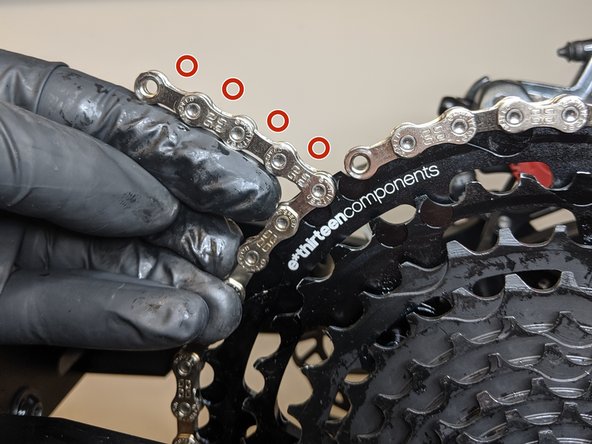
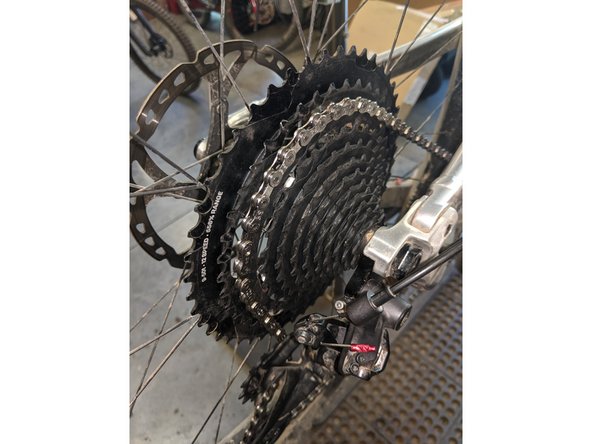
Chain length is Critical to the success of your setup, so inspect your chain length carefully before cutting the chain! When counting the number of extra links, count both narrow and wide chain links.
-
Wrap the uncut chain around the chainring and the largest cog on the cassette. Set the last roller on one end of the chain next to a roller on the long-end of the chain.
-
For Full Suspension bikes - Add 5 or 6 links of extra chain so that the chain will end on a narrow-link.
-
For Hardtail Bikes - Add 4 or 5 links of chain so that the chain will end on a narrow link.
-
Break the chain at your measured length using the chain breaking tool.
-
Install the chain through the derailleur and connect the two ends of the chain, following the chain manufacturers quick-link installations instructions.
-
Remember that some quick-links (Shimano®, SRAM®) are directional
-
Remember that Shimano® chains are directional, and the text stamped on the wide links of the chain should face away from the wheel/cassette
-
-
-
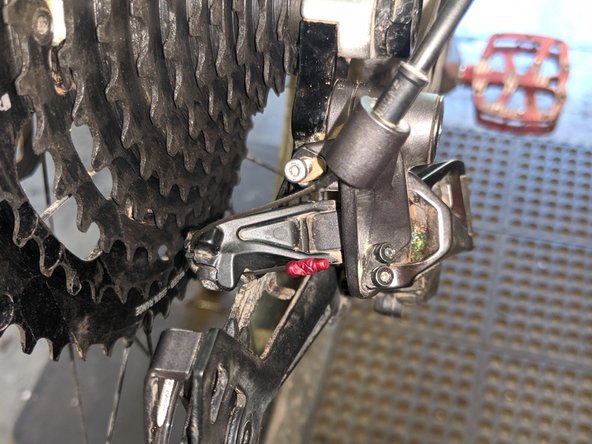
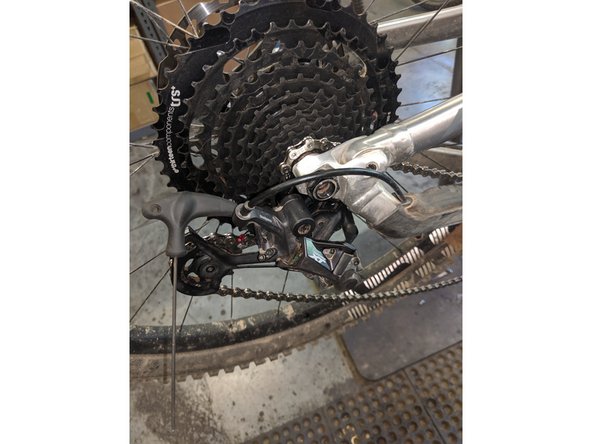
Note that before adjusting the low gear stop screw it may be possible to shift the chain into the spokes! Shift carefully during this process!
-
Thread the B-limit screw in until the slack is taken out of the chain by the derailleur
-
Slowly pedal the cranks forward and shift the derailleur to the lowest gear position, so that the chain is on the largest cassette sprocket.
-
Adjust the low gear stop screw so that the upper guide pulley is centered on the largest cassette sprocket
-
The low limit screw is labeled “L”
-
Verify that the chain will not overshift into the spokes by gently pressing on the downshift paddle while pedaling the cranks forward and watching the chain movement.
-
-
-
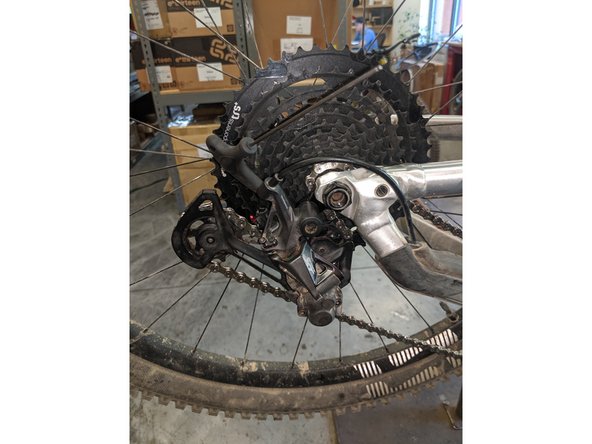
Shift the chain onto the largest cassette cog
-
For Full Suspension Bikes: Adjust the b-limit screw until the alignment mark on the inside surface of the derailleur cage is aligned with the tips of the teeth on the largest cassette sprocket (46T)
-
Note that suspension sag / chainstay length growth will change the position of the derailleur when the suspension is weighted.
-
-
-
Turn the cranks and shift the chain into one of the sprockets in the center of the cassette
-
Adjust the barrel adjuster to eliminate running noise on the cassette if any is present
-
Sight down the back of the bike to see if the chain needs to be adjusted in towards the wheel (turn barrel counter-clockwise) or out (turn barrel clockwise)
-
Shift gears up and down through the cassette, pausing on each sprocket to listen for ticking/running noise, adjusting the barrel 1 click at a time to eliminate noise
-
Shift the cassette into the largest steel sprocket, and listen for rubbing noise between the chain and smallest aluminum sprocket. If rubbing is present, turn the barrel adjuster clockwise 1 turn, then shift out of the largest steel cog then back into that cog and re-check for rubbing
-
Switch the clutch switch lever to ON, and Shift through all the gears one last time to check for any outstanding issues - make small adjustments (1 click) at a time if necessary.. A little goes a long way!
-
-
-
Did you inspect or replace your shift housing and cable? This is a common source of shifting issues, don't sleep on it!
-
Check Derailleur hanger is straight: 12s systems are very sensitive to misalignment between components - if you cannot solve shifting/noise issues with the barrel adjuster, have your derailleur hanger checked using a Park Tool DAG, Shimano® TL-RD11, or other derailleur hanger checking tool. Straighten as necessary
-
Shift quality in the largest sprockets is heavily affected by b-limit screw adjustment. If you are experiencing issues upshifting from the aluminum sprockets, adjust the b-limit screw out (counter-clockwise) to move the upper derailleur pulley towards the cassette. Adjust ¼ turn at a time then test shifting.
-
Remember that b-limit adjustment is affected by suspension sag, so even if shifting is great in the stand, your setup will change somewhat with you sitting on the bike, so b-limit setup may need to be dialed out to account for suspension sag.
-


Thanks for reading, now get out there and ride!
Thanks for reading, now get out there and ride!