


Tools
Parts
-
-
e*thirteen cranks may use one of three different bolt/extractors
-
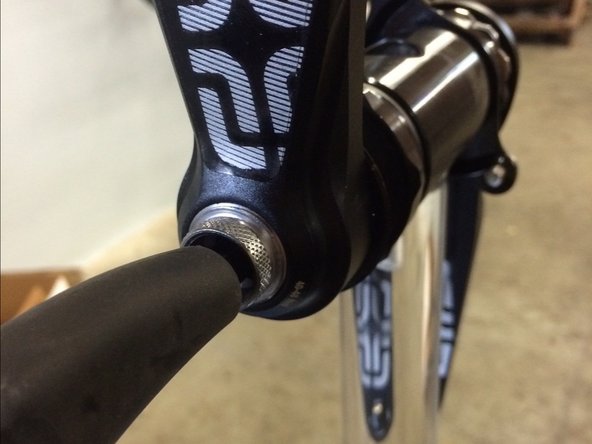
Current cranks will use a silver non-drive fixing bolt, skip to step 2 for removal instructions
-
Carbon cranks use a black bolt but the same method for removal
-
Older cranks with a cap with six small holes over the crank bolt use a self extractor, skip to step 7 for removal instructions
-
For older aluminum TRSr cranks that use a black bolt skip to step 8
-
-
-
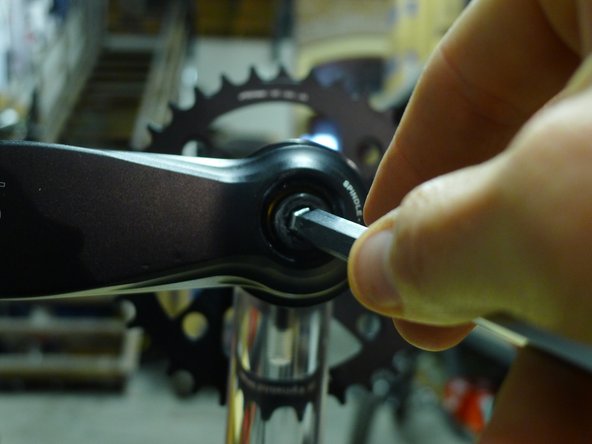
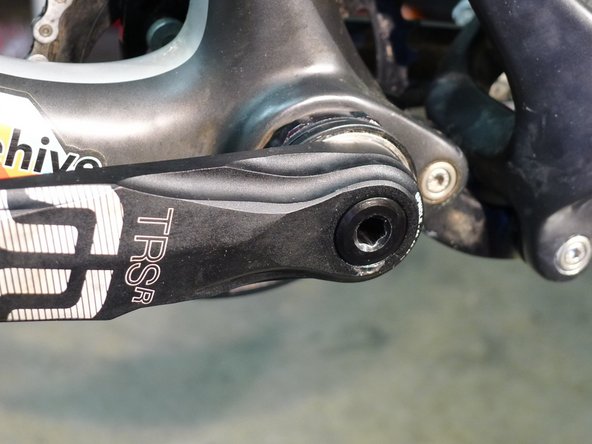
Remove the crank fixing bolt with an 8mm hex wrench
-
Be sure to remove the bolt washer also
-
-
-
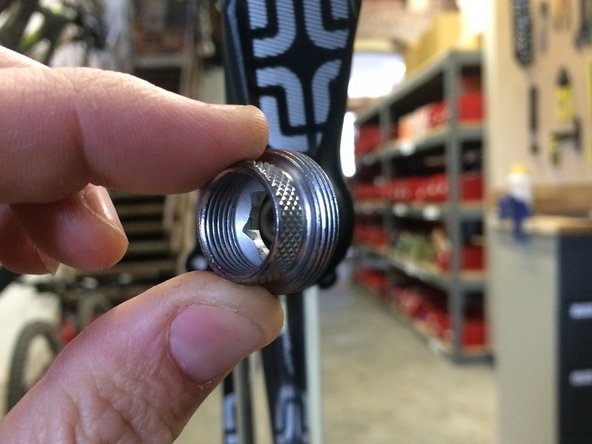
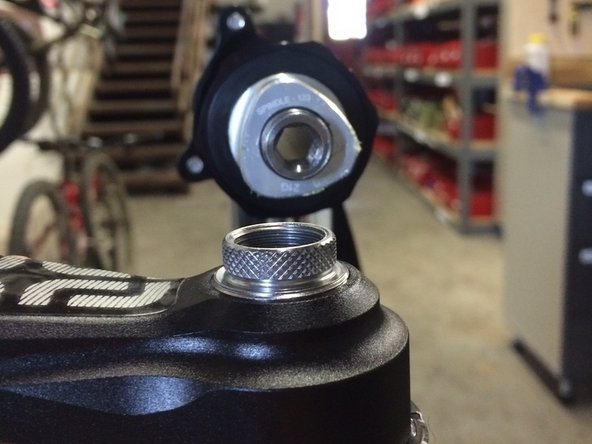
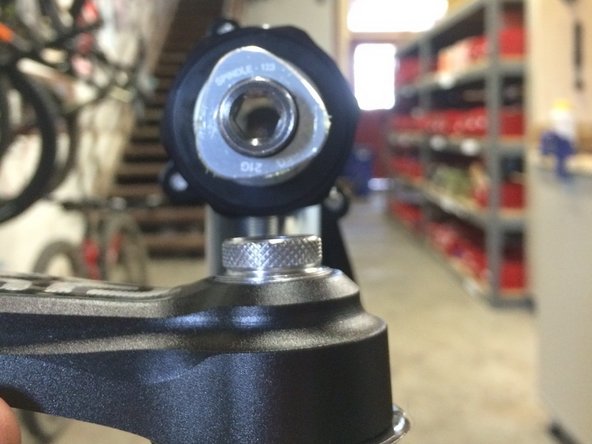
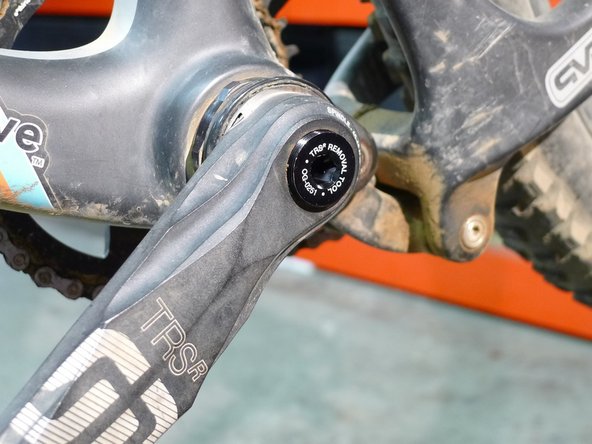
Lightly grease and install the threaded barrel crank removal tool (included with cranks). Our proprietary E*thirteen crank removal tool must be used on all 2015-2017 cranks.
-
Tighten the tool it until it is 100% inside the threads of the spindle, it should not stick out past the end face of the spindle
-
-
-
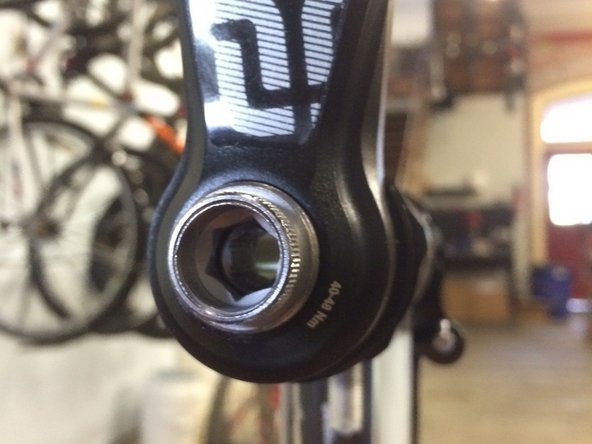
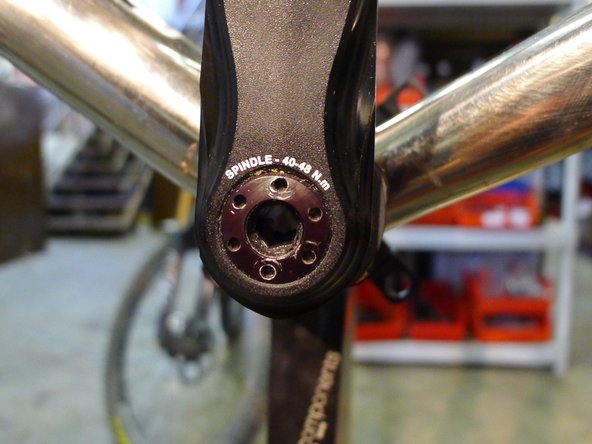
Lightly grease the threads and face of the extractor plate tool and install it into the crank arm
-
Tighten using a 10mm hex wrench until snug, do not over tighten but be sure the tool is bottomed out inside the arm
-
-
-
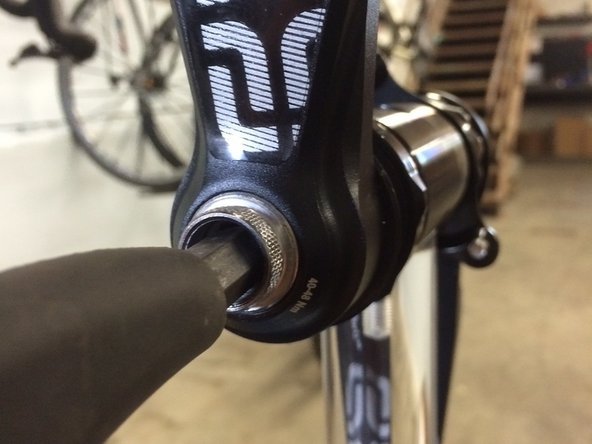
Insert the 8mm hex wrench through the hole in the hex on the extractor plate and into the other half of the extractor tool
-
turn the 8mm hex counterclockwise
-
When the tool hits the extractor plate it will get harder to turn, keep turning the tool to remove the crank arm from the spindle
-
-
-
Remove the crank arm
-
Remove the tool from the spindle and arm
-
-
-
To remove cranks using a self extractor cap, simply turn the 8mm hex screw counter clockwise. This will loosen the bolt, then remove the arm
-
-
-
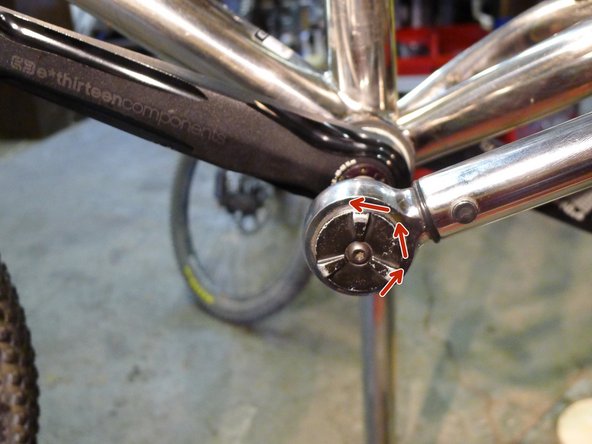
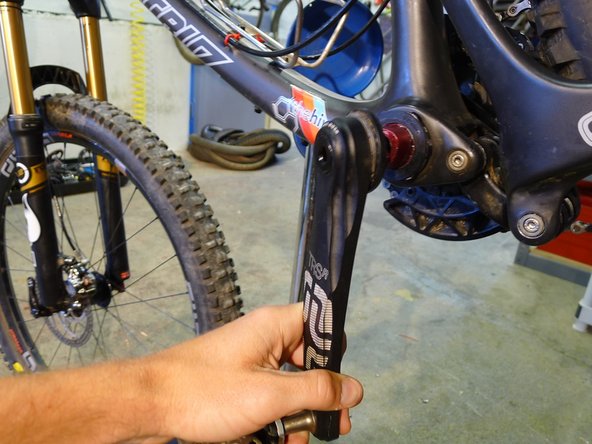
TRS race cranks do not use a self extractor like some of our other cranks, so an Isis or Octalink crank removal tool like the Park Tool CCP-44 must be used to remove the cranks.
-
We also include a small removal tool with the cranks for trailside needs
-
-
-
For either tool, start by removing the screw with an 8mm hex wrench
-
Be sure to remove the bolt and the washer from the crank arm
-
-
-
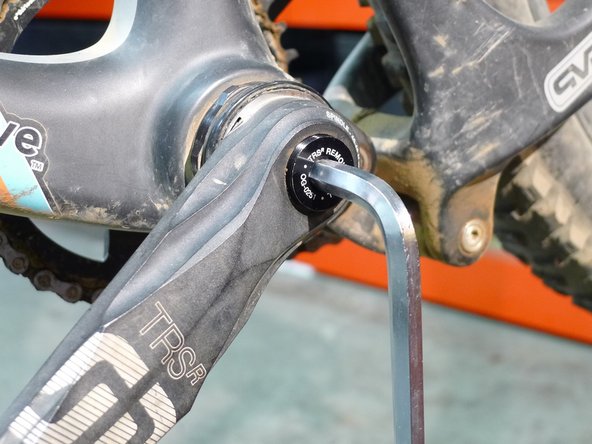
Thread the tool into the non-drive arm until the tool bottoms out
-
Once the tool is fully threaded in, pull sharply on the pedal end of the crankarm, this will release the crank arm
-


Thanks for reading, now get out there and ride!
Thanks for reading, now get out there and ride!