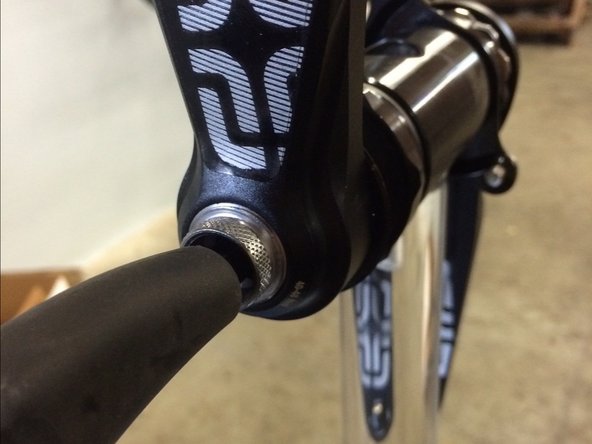
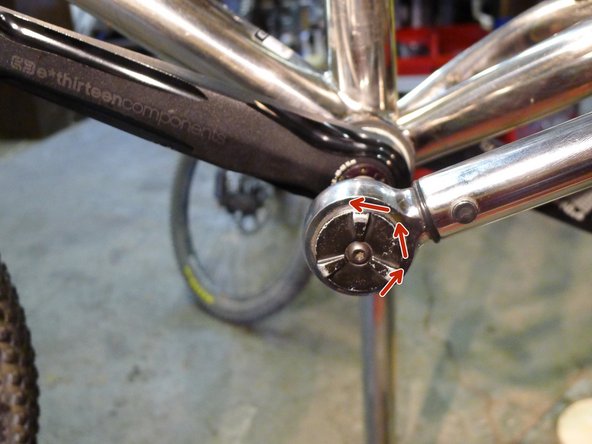
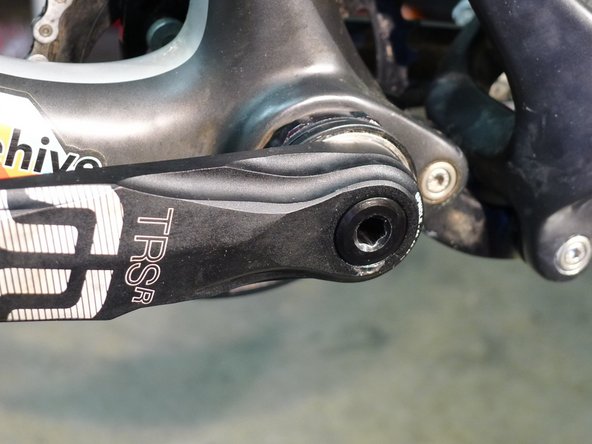
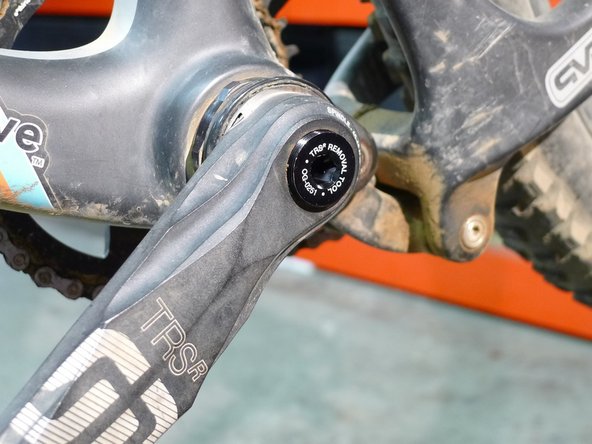
1. e*thirteen cranks may use one of three different bolt/extractors
    • e*thirteen cranks may use one of three different bolt/extractors

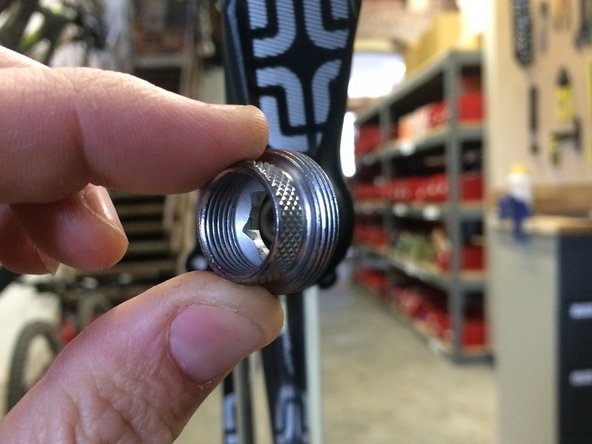
    • Current cranks will use a silver non-drive fixing bolt, skip to step 2 for removal instructions

    • Carbon cranks use a black bolt but the same method for removal

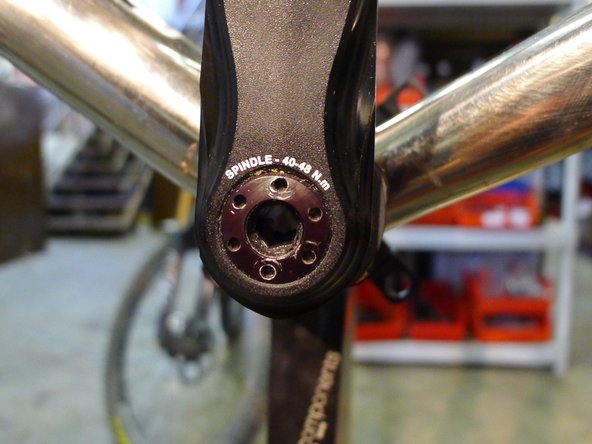
    • Older cranks with a cap with six small holes over the crank bolt use a self extractor, skip to step 7 for removal instructions

    • For older aluminum TRSr cranks that use a black bolt skip to step 8

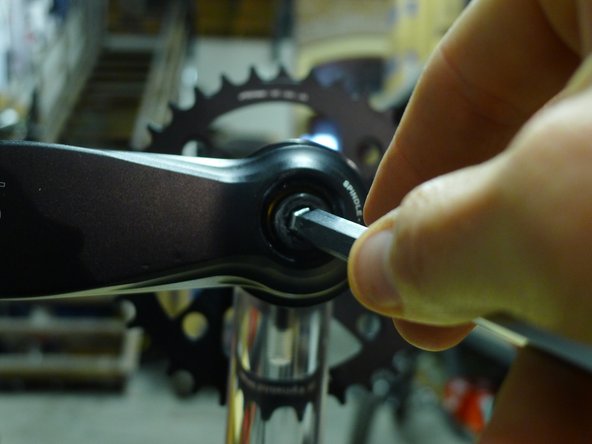
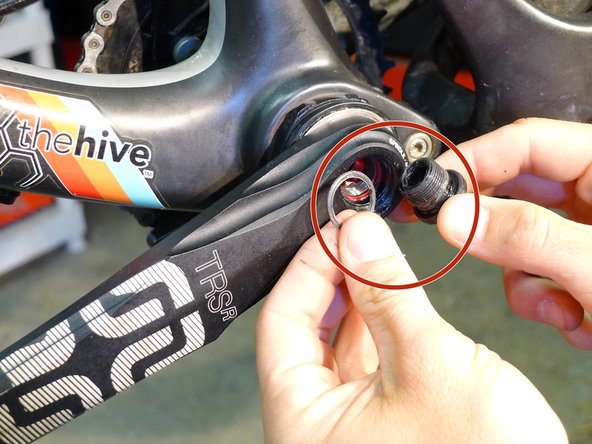
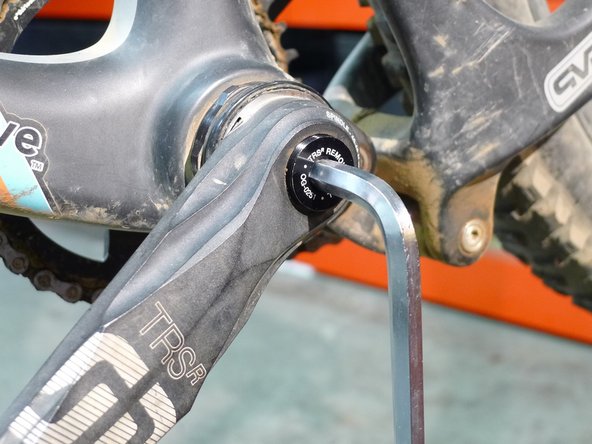
  2. Remove the crank fixing bolt with an 8mm hex wrench Be sure to remove the bolt washer also
    • Remove the crank fixing bolt with an 8mm hex wrench

    • Be sure to remove the bolt washer also

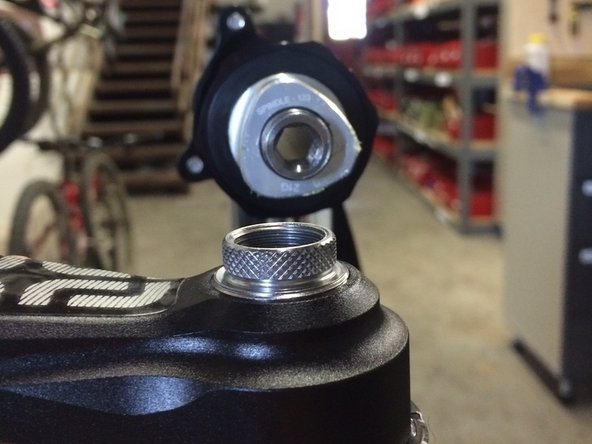
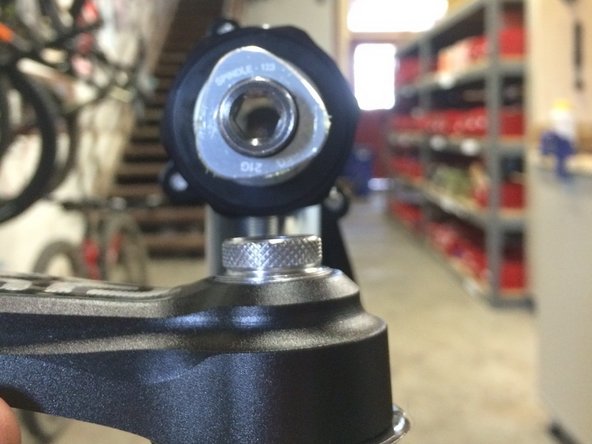
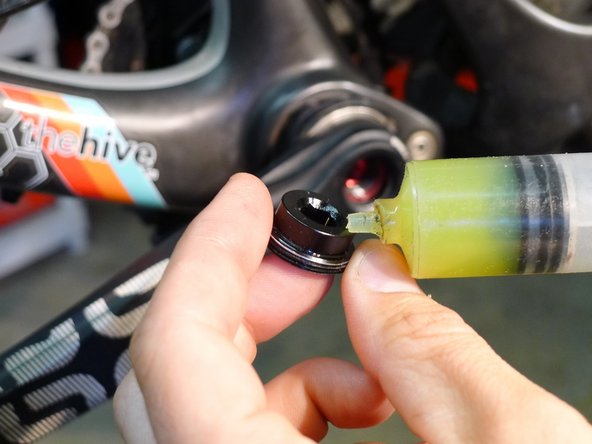
  3. Lightly grease and install the threaded barrel crank removal tool (included with cranks). Our proprietary E*thirteen crank removal tool must be used on all 2015-2017 cranks. Tighten the tool it until it is 100% inside the threads of the spindle, it should not stick out past the end face of the spindle
    • Lightly grease and install the threaded barrel crank removal tool (included with cranks). Our proprietary E*thirteen crank removal tool must be used on all 2015-2017 cranks.

    • Tighten the tool it until it is 100% inside the threads of the spindle, it should not stick out past the end face of the spindle

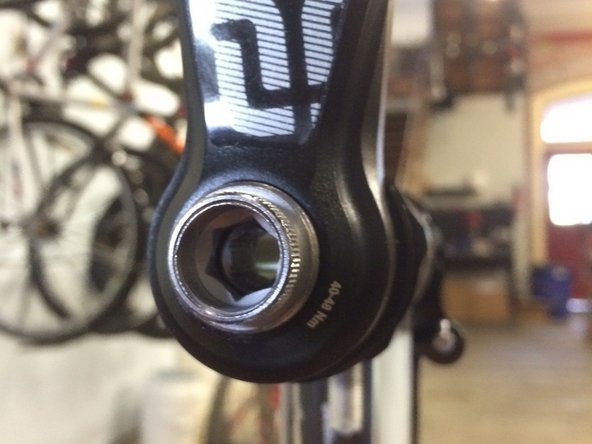
  4. Lightly grease the threads and face of the extractor plate tool and install it into the crank arm Tighten using a 10mm hex wrench until snug, do not over tighten but be sure the tool is bottomed out inside the arm Tighten using a 10mm hex wrench until snug, do not over tighten but be sure the tool is bottomed out inside the arm
    • Lightly grease the threads and face of the extractor plate tool and install it into the crank arm

    • Tighten using a 10mm hex wrench until snug, do not over tighten but be sure the tool is bottomed out inside the arm

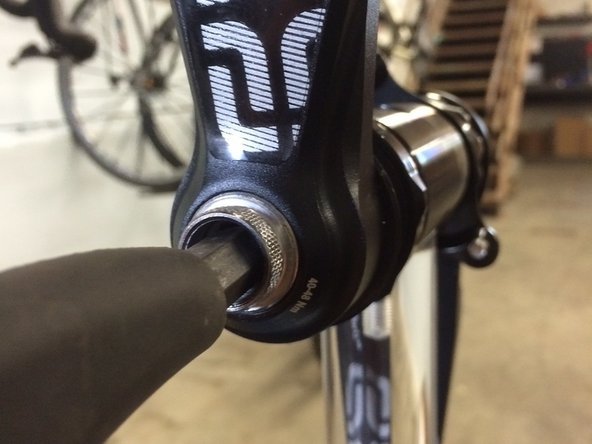
  5. Insert the 8mm hex wrench through the hole in the hex on the extractor plate and into the other half of the extractor tool turn the 8mm hex counterclockwise
    • Insert the 8mm hex wrench through the hole in the hex on the extractor plate and into the other half of the extractor tool

    • turn the 8mm hex counterclockwise

    • When the tool hits the extractor plate it will get harder to turn, keep turning the tool to remove the crank arm from the spindle

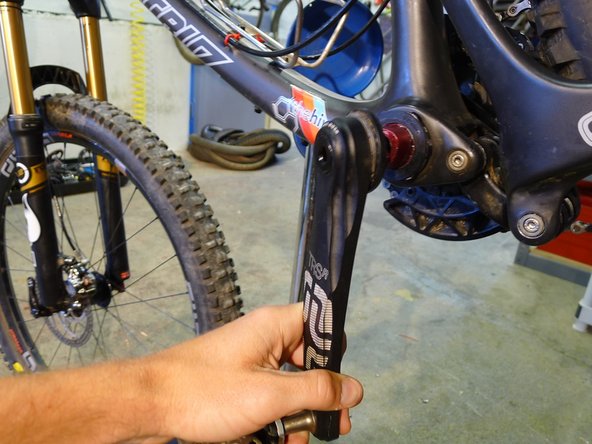
  6. Remove the crank arm
    • Remove the crank arm

    • Remove the tool from the spindle and arm

  7. To remove cranks using a self extractor cap, simply turn the 8mm hex screw counter clockwise. This will loosen the bolt, then remove the arm To remove cranks using a self extractor cap, simply turn the 8mm hex screw counter clockwise. This will loosen the bolt, then remove the arm
    • To remove cranks using a self extractor cap, simply turn the 8mm hex screw counter clockwise. This will loosen the bolt, then remove the arm

  8. TRS race cranks do not use a self extractor like some of our other cranks, so an Isis or Octalink crank removal tool like the Park Tool CCP-44 must be used to remove the cranks. We also include a small removal tool with the cranks for trailside needs
    • TRS race cranks do not use a self extractor like some of our other cranks, so an Isis or Octalink crank removal tool like the Park Tool CCP-44 must be used to remove the cranks.

    • We also include a small removal tool with the cranks for trailside needs

  9. For either tool, start by removing the screw with an 8mm hex wrench Be sure to remove the bolt and the washer from the crank arm Be sure to remove the bolt and the washer from the crank arm
    • For either tool, start by removing the screw with an 8mm hex wrench

    • Be sure to remove the bolt and the washer from the crank arm

  10. If using the Hive removal tool, grease the face of the tool and the threads
    • If using the Hive removal tool, grease the face of the tool and the threads

    • For instructions on the Park Tool CCP-44, please see their website

  11. Thread the tool into the non-drive arm until the tool bottoms out Once the tool is fully threaded in, pull sharply on the pedal end of the crankarm, this will release the crank arm Once the tool is fully threaded in, pull sharply on the pedal end of the crankarm, this will release the crank arm
    • Thread the tool into the non-drive arm until the tool bottoms out

    • Once the tool is fully threaded in, pull sharply on the pedal end of the crankarm, this will release the crank arm

Conclusion

Thanks for reading, now get out there and ride!

The Hive - Jeremy

Member since: 12/05/2012

49 Guides authored

0 Comments

Add Comment

View Statistics:

Past 24 Hours: 11

Past 7 Days: 72

Past 30 Days: 396

All Time: 88,169