


-
-
Before installing any threaded bottom bracket (BB) it is vital that the bottom bracket shell is faced and the threads are chased by a professional bicycle mechanic
-
Debris in the threads can damage both the frame and BB
-
A misaligned BB shell will lead to premature bearing wear
-
A BB shell that is too wide can cause damage to the crank and BB. Even a BB shell that is only 0.5mm too wide can cause problems
-
Most good bike shops will have these tools and understand that this is an important part of frame prep
-
-
-
Now that the BB shell is prepared, measure it to ensure that it is in spec and to determine the number of spacers needed under the BB
-
BB shells should measure exactly or slightly under 68mm, 73mm, 83mm or 100mm depending on your frame, check with your local shop if your measurements are off before proceeding
-
Determine the number of BB spacers needed using the chart
-
-
-
Lightly grease frame and BB threads
-
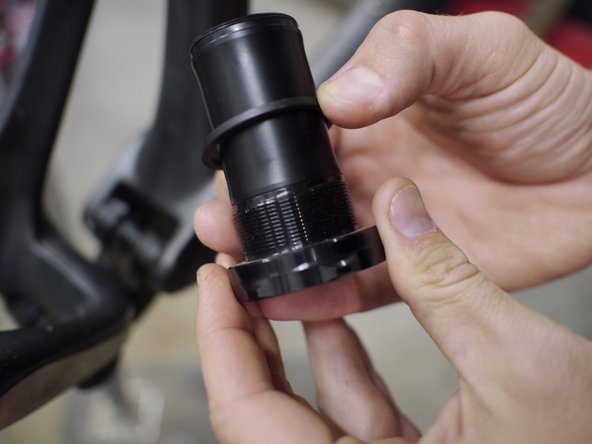
Install the center tube into one side of the BB before installing
-
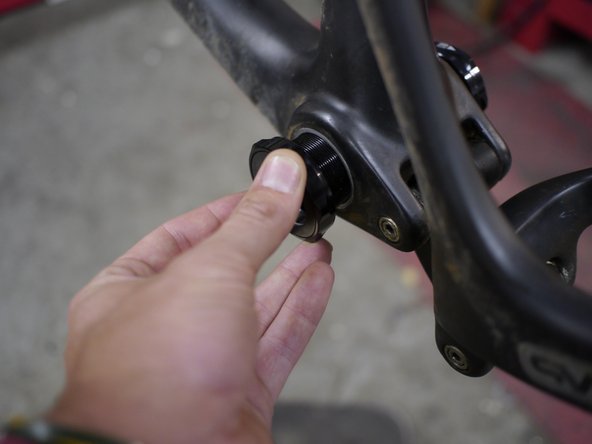
Install prescribed spacers on BB cup and thread into the frame
-
The drive side cup will be reverse (left hand) thread
-
The non-drive cup will be a standard (right hand) thread
-
If you are installing a BB mounted chainguide or an E-type derailleur it will replace one of the 2.5mm drive side spacers. When greasing the BB shell, be sure that the BB face and the guide mounting hole are free of grease. This will keep the guide from twisting.
-
-
-
Install the non-drive side BB cup making sure the center tube is properly aligned
-
-
-
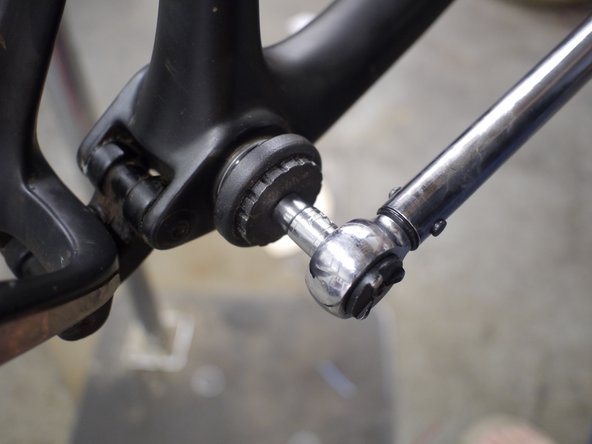
Using the e*thirteen BB tool in conjunction with a 10mm hex bit (if using an older version tool as shown) or if using a newer tool with the large hole in the middle a 16 lobe / 44mm OD socket (such as the Park BBT-19) and torque wrench, tighten the BB cup to 34-41nm
-


Thanks for reading, now get out there and ride!
Thanks for reading, now get out there and ride!
