-
-
e*thirteen valves work with all e*thirteen rims. If you are using a rim from another manufacturer please refer to the diagram to check if e*thirteen valves will work for your rims.
-
-
-
Start by choosing the proper rubber base for your rim.
-
Rims with curved valleys will use the curved base.
-
Rims with flat valleys will use the flat O-ring base.
-
-
-
Install the base of the valve through the valve hole and ensure that the curvature of the rubber seal matches the curvature of the rim well.
-
Press firmly.
-
-
-
Install the valve stem.
-
Tighten the valve to hand tight.
-
Do not overtighten - this can cause leaking and make the valve impossible to remove on the trail if you get a flat.
-
The base of the valve includes a hex in the head in case the valve is twisting, a 4mm hex wrench can be used to hold it.
-
-
-
Start by choosing the correct width tape for your rims.
-
For 23-25mm internal width rims use 25mm wide tape.
-
For 26-28mm internal width rims use 28mm wide tape.
-
For 29-30mm internal width rims use 30mm wide tape.
-
-
-
Thoroughly clean your rims with denatured alcohol.
-
If your rim has been taped before, be sure to remove any pieces of old tape or adhesive.
-
Make sure the rims are clean and dry before taping.
-
-
-
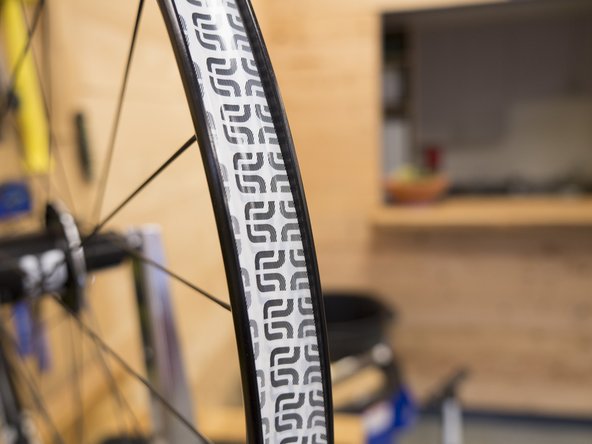
Begin taping about 10cm from the valve hole; you will cover the valve hole as soon as you start taping.
-
Press the first 10cm of tape down into the rim valley to make sure it is well attached to the rim.
-
-
-
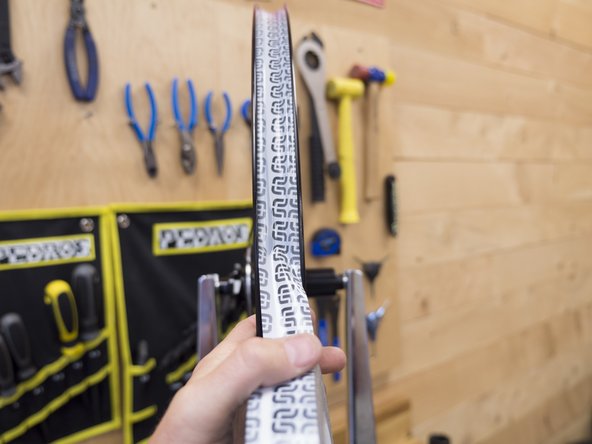
Now add some tension to the tape - it will stretch slightly to allow for easier application.
-
Continue taping the rim, keeping the tape tight and making sure it is centered in the rim.
-
Cover the rim with two layers of tape, stop once you have passed the valve stem for the third time (this means a short area over the valve hole with have three layers of tape).
-
-
-
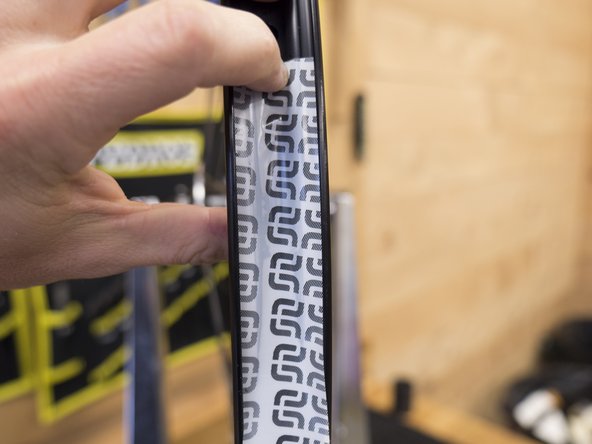
As you get near the valve hole for the last time, cut the tape so it covers 10cm past the valve hole.
-
Without stretching the tape, apply it to the rim and press it firmly into the rim valley.
-
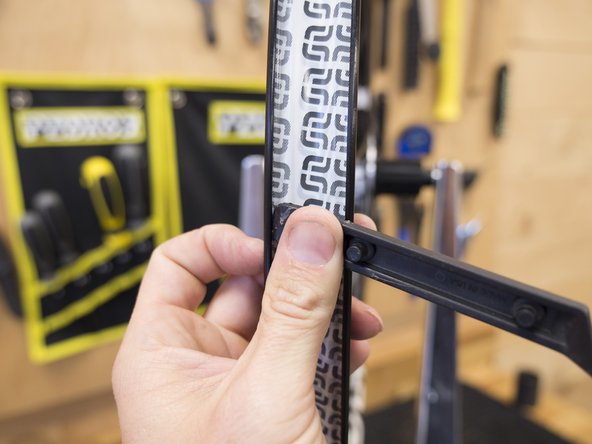
Using your finger or a plastic tire lever, carefully go around the rim pressing the tape down firmly into the tire bead and rim bed to make sure the tape is sticking properly.
-
-
-
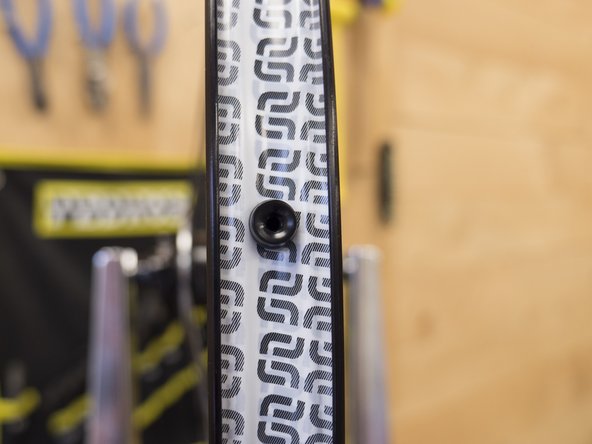
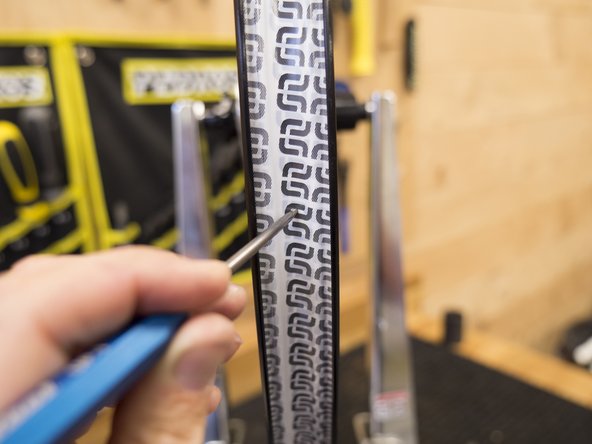
Using an awl or other pointy instrument, carefully poke a hole in the tape at the valve hole location.
-
The hole should be slightly smaller than the valve as the tape will stretch around the valve.
-
-
-
Before installing your tire, double check that your tubeless tape and valve are installed properly, this will save you from potential headaches later
-
-
-
Start by installing one side of the tire onto the rim. Be sure to line those logos up.
-
-
-
Install 80% of the other side of the tire
-
Pour in tire sealant
-
-
-
Install the rest of the tire.
-
We recommend not using tire levers as they can damage the tire.
-
-
-
Pump it up and check to make sure the bead has seated all the way around.
-