Introduction
This guide will walk you through the steps to install e*thirteen Tire Plasma sealant into your tubeless gravel or MTB tire.
Tools
Parts
-
-
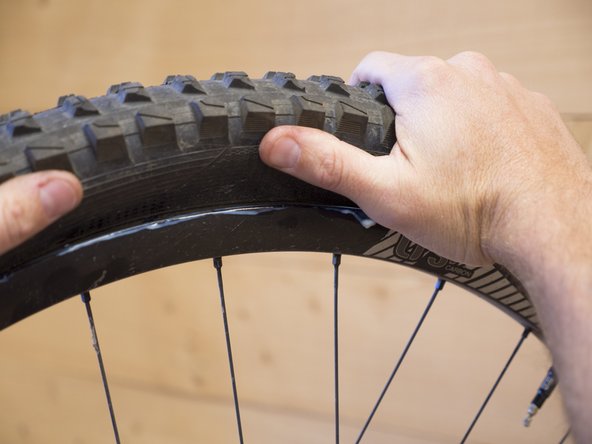
Before installing sealant, ensure that your rim tape is properly installed with no bubbles or edges pulling up. Also check the valve is correctly tightened and installed. Plasma valves and some other valves have directional grommets which must be installed in the correct orientation with the rim channel.
-
TIRE PLASMA™ is an acrylic-based tire sealant formulated to provide quick and efficient puncture blocking. It contains acrylic resin which may cause allergic reactions. Flush with water in case of eye contact. Safety glasses recommended. If swallowed, contact a physician immediately. MSDS can be found here.
-
-
-
Shake the sealant bottle vigorously for 30 seconds.
-
Using the table, determine the proper amount of sealant for your tire size.
-
-
-
If not using our Quickfill Valves move on to step 4 of this guide.
-
Install tire on rim, fully seating both beads.
-
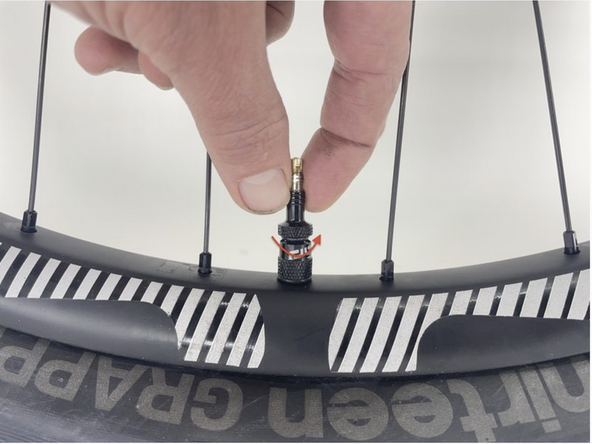
Remove valve stem carrier to access sealant port.
-
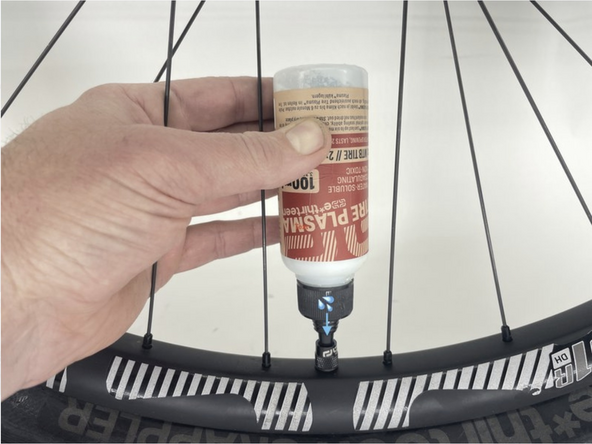
Using the e*thirteen Direct Inject Bottle, install e*thirteen Plasma sealant through the sealant port.
-
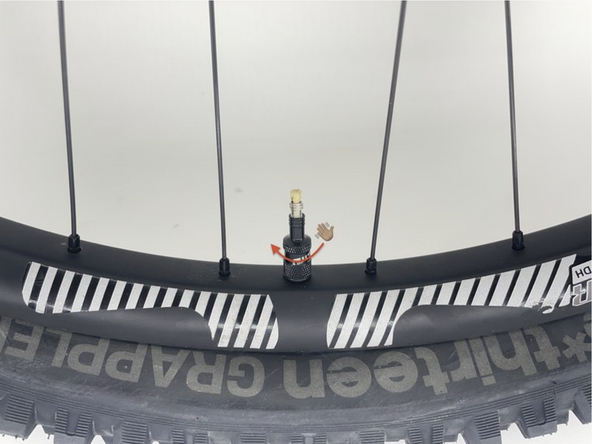
Reinstall valve stem carrier.
-
-
-
Pour sealant directly into the tire.
-
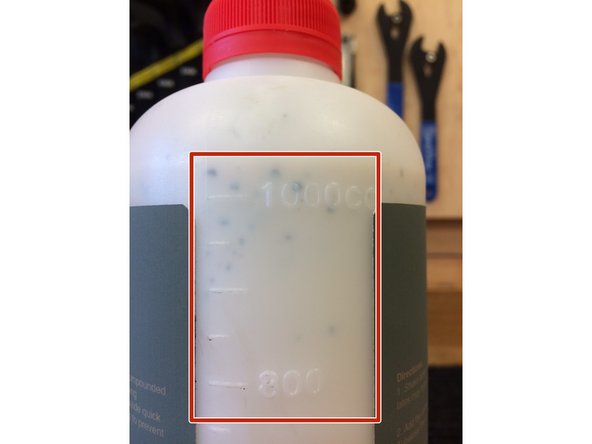
Use the CC gauge on the bottle to measure the correct amount of sealant.
-
CC and ML are equivalent
-
-
-
Seat the tire bead on the rim.
-
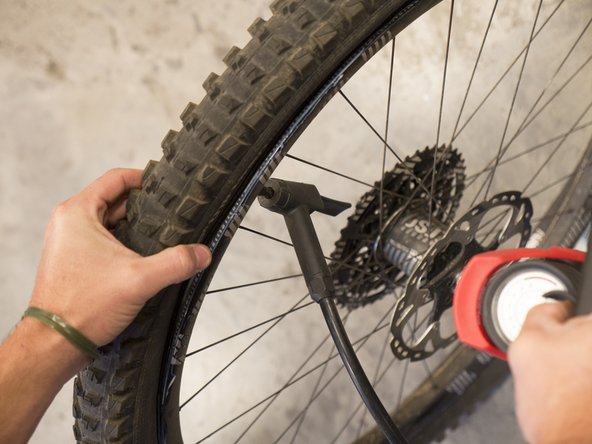
Begin inflating the tire. During the inflation process, inspect bead to ensure it is staying within the rim well. Inflate slowly until the entire bead has seated in place.
-
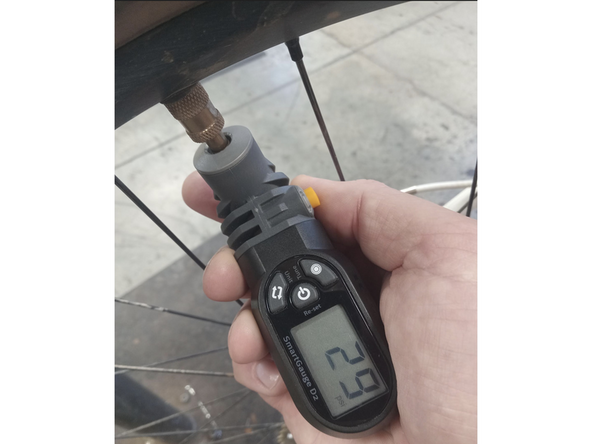
Inflate tire to 5psi under the maximum pressure recommended by the tire or rim.
-
Never inflate over the maximum recommended tire pressure for the rim or tire! Doing so could result in the tire exploding off the rim and potential injury or damage to the tire and rim.
-
-
-
Install wheel on bike and ride bike around for 3-5 minutes to ensure the sealant is coating the inside of the tire well.
-
Deflate the tire to your usual running PSI.
-
One of the best things you can do after installing your tubeless setup to help ensure good function is to GO FOR A RIDE. This will distribute the sealant and help fill any small stubborn pores in the tire casing.
-
It is normal for new tires to lose some air overnight and during the first days/weeks of being installed. Tires with lighter weight casings, such as XC, gravel or road tires will be much more likely to loose air due to the casing thickness. Due to this, it is important to check pressure before each ride.
-
Still having trouble? Check out our tubeless troubleshooting guide here.
-
Thanks for reading, now get out there and ride!
Thanks for reading, now get out there and ride!


