


Tools
Parts
-
-
There are two options for mounting the LG1+ chainguide
-
Directly to ISCG or ISCG05 tabs
-
Or under a threaded bottom bracket using the ISCG05 adapter included with the ISCG05 version of the guide
-
If your bike does not have ISCG or ISCG05 tabs or a threaded bottom bracket there is no way to mount the guide to your frame
-
-
-
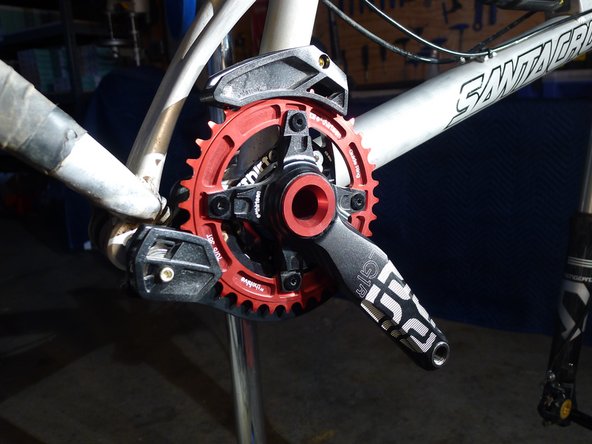
Your cranks must not have inner chaining tabs
-
Inner chainring tabs will interfere with the backplate of the guide
-
This is true of most single ring chainguides, not just ours
-
-
-
For either mounting, start with the cranks off of the bike
-
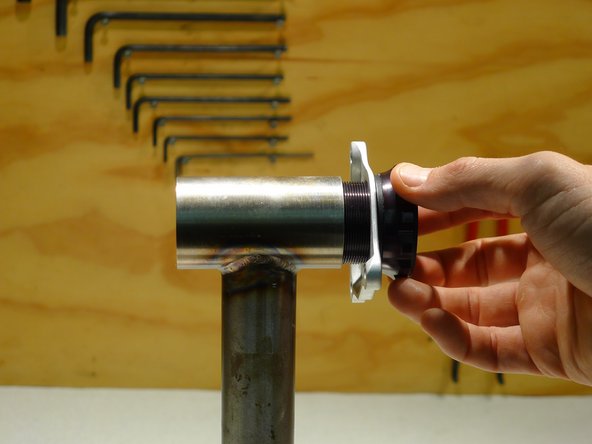
If you are going to use the BB mount adapter, remove your bottom bracket cup and install the adapter, replacing the 2.5mm spacer that is closest to the frame. If there is only one spacer, replace it.
-
If there is no spacer, contact your crank and bottom bracket manufacturer
-
Be sure the flat side of the adapter is facing outward
-
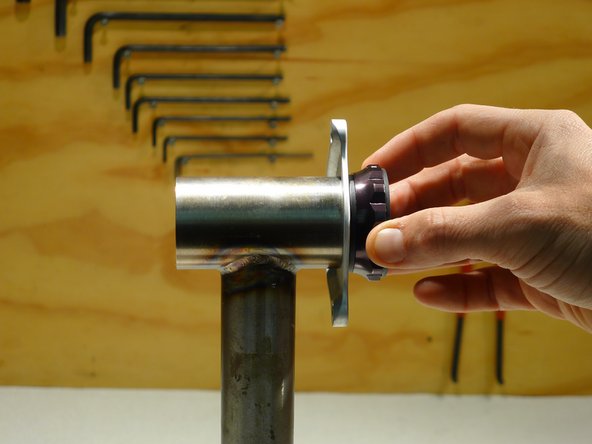
Remove all grease from the mounting face of the adapter; this will help to keep it from spinning on impact
-
-
-
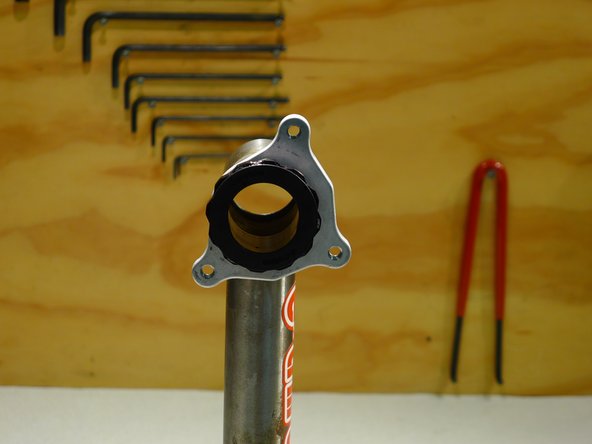
Clock the adapter such that the upper bolt hole is in the one o’clock position
-
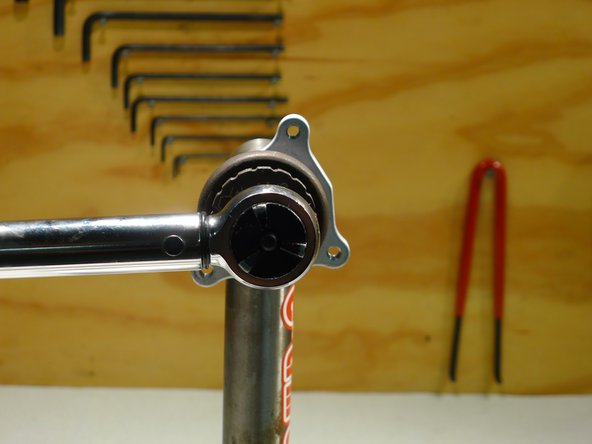
Tighten the BB to manufacturers torque spec
-
-
-
Now that everyone has some form of ISCG tabs, lets install the guide
-
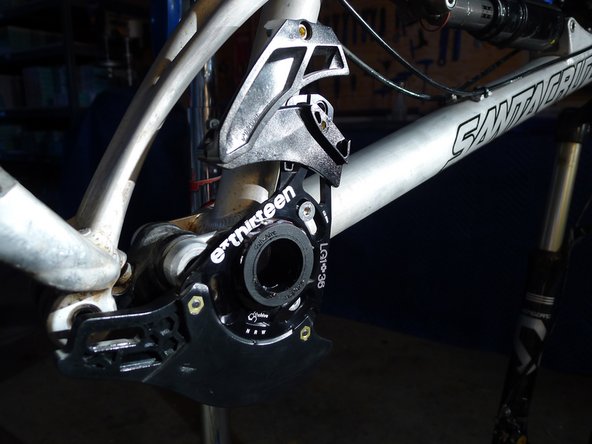
Start by removing the upper and lower sliders by loosening the 4mm hex bolts
-
Fit the guide over the BB cup and onto the ISCG tabs
-
For ISCGold tabs you will need to remove the BB to fit the backplate over the BB in most cases
-
Install the upper ISCG fixing bolt, just hand tighten for now
-
-
-
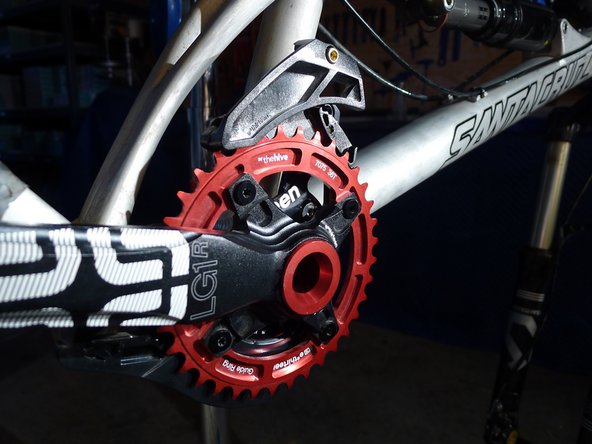
Reinstall cranks to manufacturer’s specs
-
Reinstall the guide’s upper slider
-
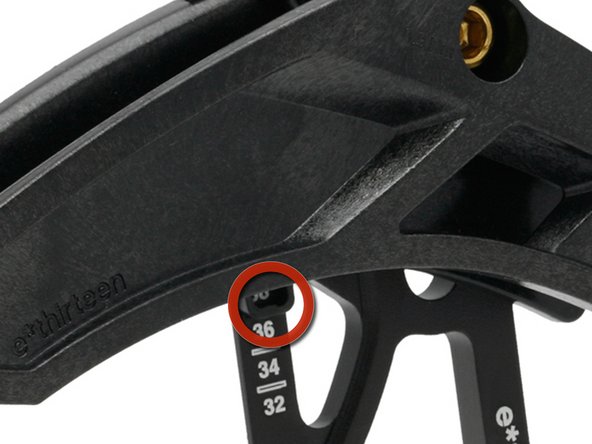
Position the slider with the chainring size window showing the proper chainring size
-
Torque slider bolt to 0.9nm
-
-
-
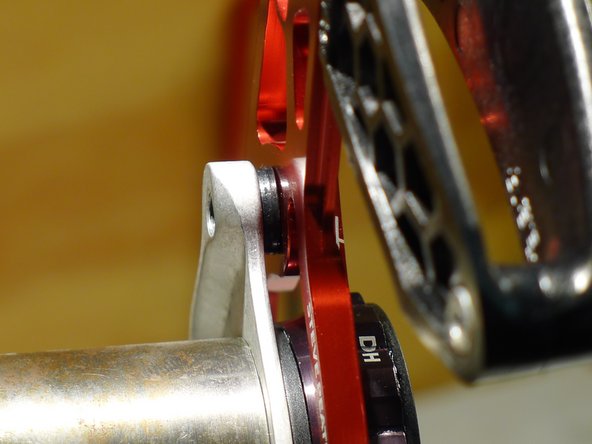
Using the provided ISCG washers between the backplate and the ISCG tabs (or adapter), position the guide such that the seam on the upper slider is centered on the chainring
-
The same number of spacers should be used under each of the three mounting bolts
-
If using more than 2mm of spacers, use the longer bolts
-
-
-
Reinstall the lower slider and adjust it into the proper chainring size position using the marks on the back of the bashguard, torque to 0.9nm
-
-
-
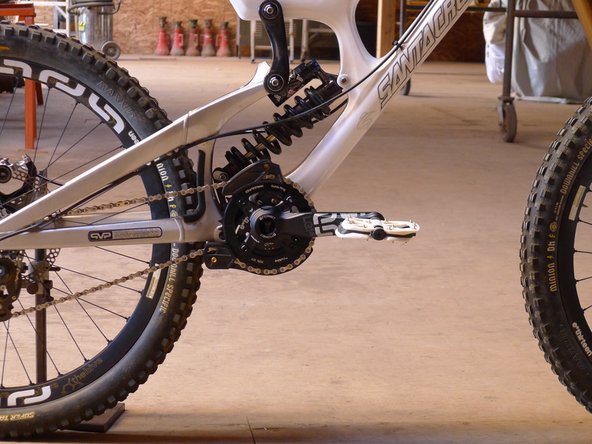
Clock the guide such that the upper slider is at 11-12 o’clock position
-
Remember that if you have a longer travel bike the guide will rotate slightly as the bike run through its travel, you can see on this V10 that we have the guide closer to 12 o'clock to protect the lower roller
-
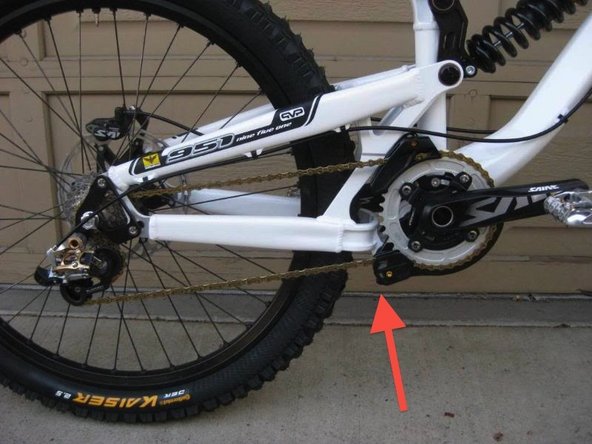
On bikes with dropped chainstays such as the Intense 951, frame interference may force the guide into incorrect clocking, this will make the lower roller more prone to impacts
-
Tighten ISCG bolts to 6nm
-
-
-
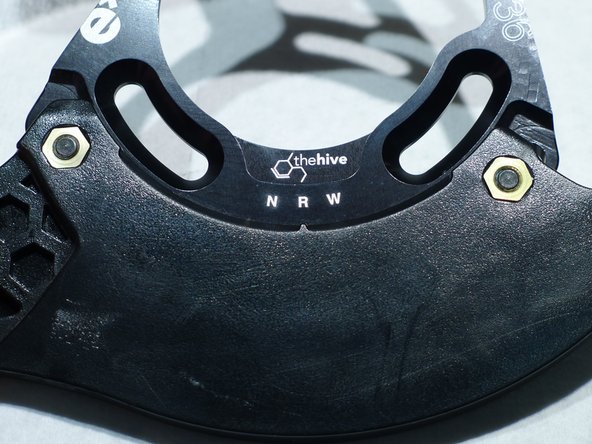
It is possible to loosen the direct mount bashguard and adjust the angle between the upper and lower sliders as needed by the frame design
-
Most frames will use the Regular position
-
Bikes with dropped chainstays may need the Wide position (such as the Intense in step 9)
-
Hardtails and bikes with elevated chainstays can use the Narrow position to provide more chain tension as needed
-


Thanks for reading, now get out there and ride!
Thanks for reading, now get out there and ride!