


Introduction
This guide covers the process of mounting the chainring to the crank arm. It does not cover removal or install of the crank to the bicycle - please reference your crank manufactures guidelines for those steps.
-
-
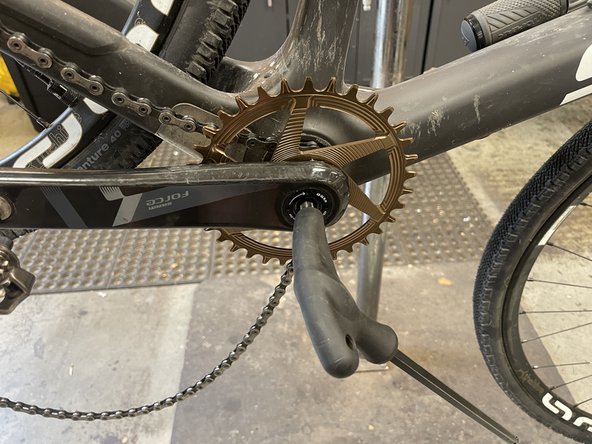
Reference your crank mfg instructions for removing your crank and take the driveside arm off the bike.
-
Lay out the crank with ring and tools on a clean workbench. Most 3-bolt cranks use mounting bolts with T25 torx heads but other sizes do exist. In this example, we are showing the T25 wrench for removal and a 1-20Nm torque wrench with T25 bit for install.
-
Using the T25 wrench, or wrench appropriate to the chainring mounting bolts found on your cranks, remove the 3 bolts fully from the crank
-
You will now be able to remove the chainring from the crank arm.
-
-
-
Clean and lightly grease 3-bolt chainring interface.
-
Apply Loctite 242 or similar medium strength threadlocker to the threads of the fasteners.
-
Install the chainring onto the crankarm and using the appropriate sized wrench, tighten the bolts snug in the order shown in image 3 of this step
-
-
-
Using a torque wrench, tighten the mounting bolts to 8-9 Nm or 71-80 in/lbs. This should be done in the same pattern as the bolts were snugged down in the last step.
-
Reinstall and torque the crank arm per the manufactures specifications.
-
You're done....now get out and ride!
-


Thanks for reading, now get out there and ride!
Thanks for reading, now get out there and ride!