


-
-
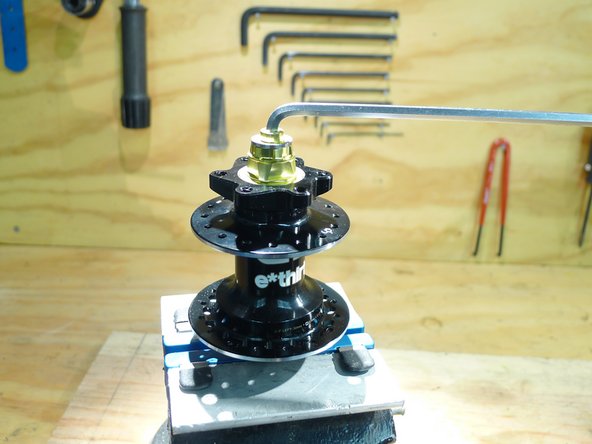
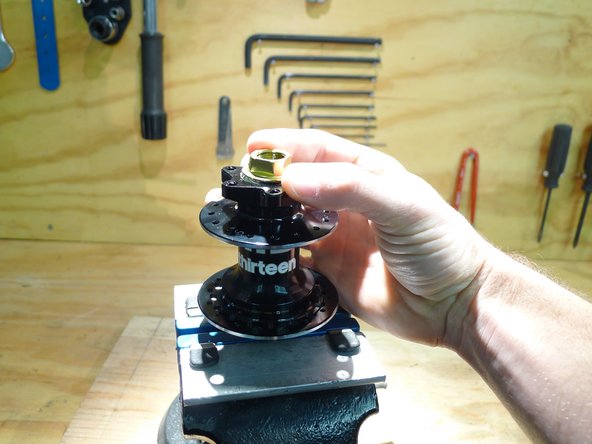
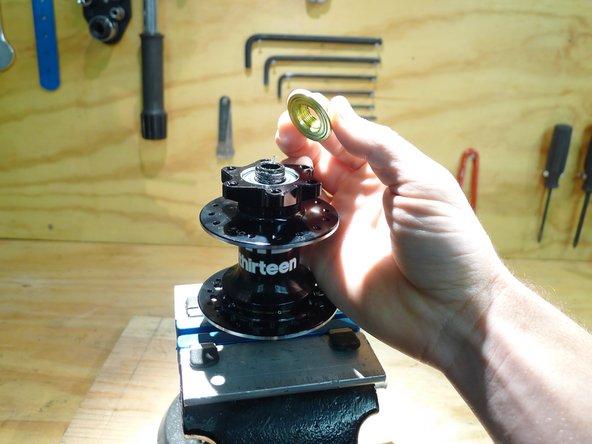
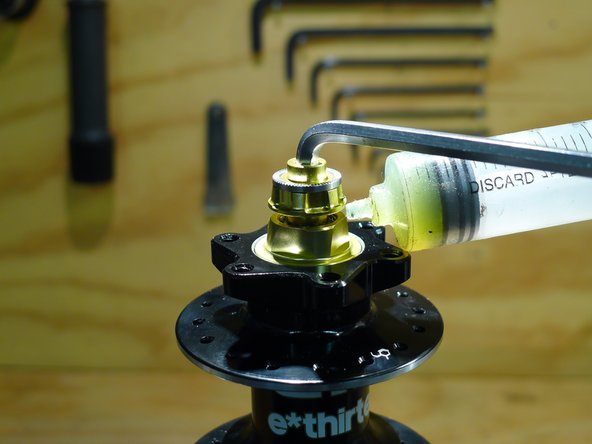
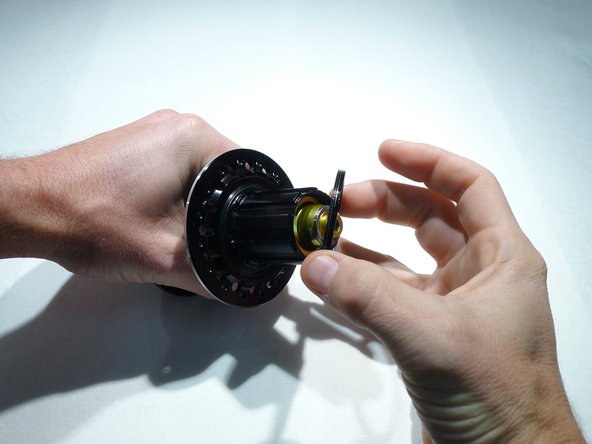
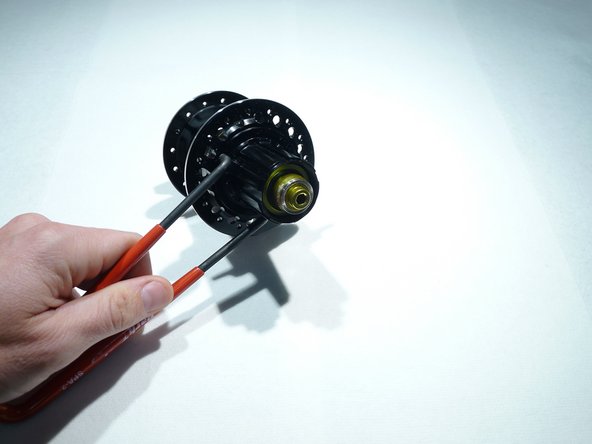
Remove freehub lockring by turning counter clockwise with pin spanner
-
-
-
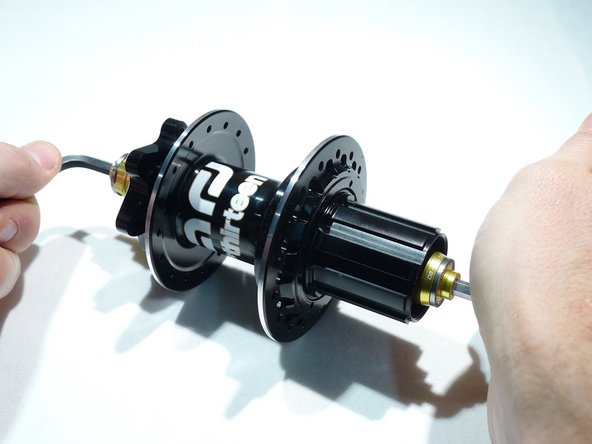
Using two 5mm hex wrenches, loosen the endcaps by turning them counter clockwise from each other
-
The driveside endcap will normally loosen first
-
-
-
Remove the driveside endcap
-
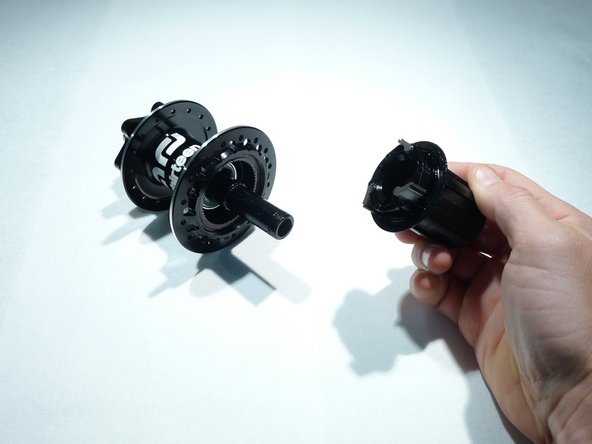
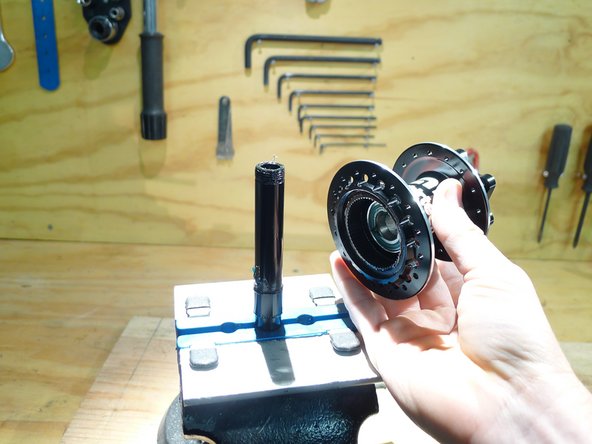
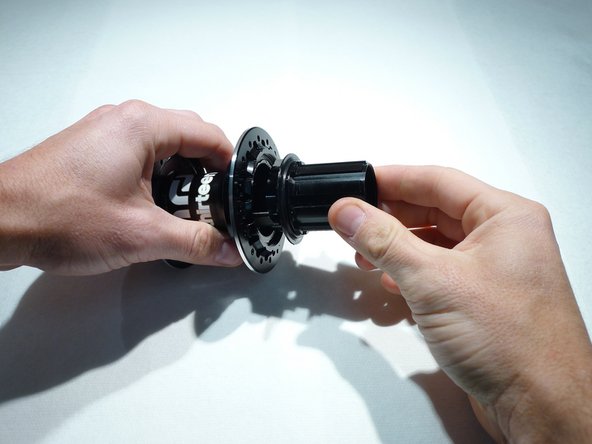
Slide freehub assembly off of the axle
-
Be careful not to lose the pawls as they may fall while removing the freehub body
-
-
-
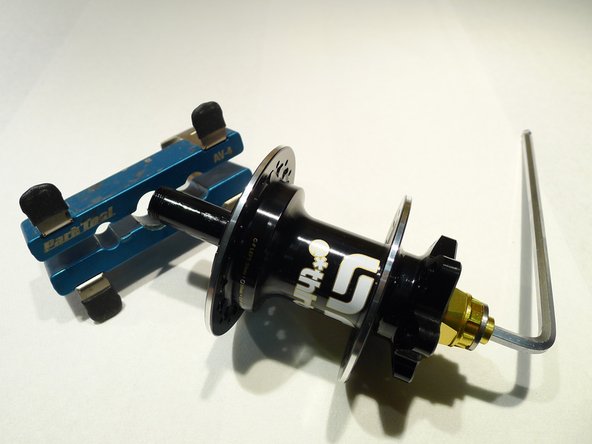
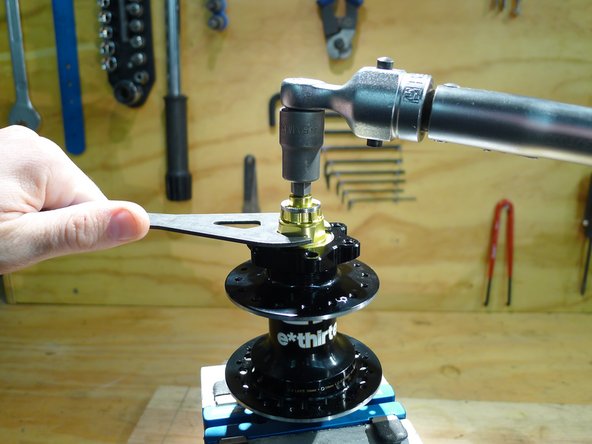
Use an axle vise or insert the flats on the drive side of the axle into a smooth jaw vise
-
While holding the axle in the vise, loosen the non-drive endcap by turning it counter-clockwise
-
-
-
The preload adjuster may need to be held with a cone wrench while loosening the non-drive endcapdrive side
-
Loosen the preload ring by turning it clockwise
-
Slide the axle out of the hub shell by pushing from the non-drive side to the drive side
-
-
-
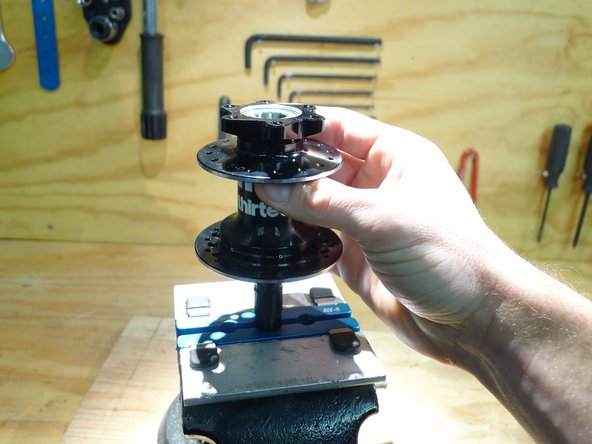
Slide the hub body off of the axle
-
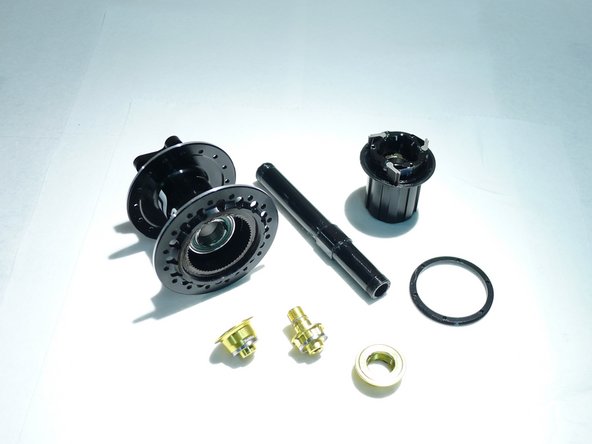
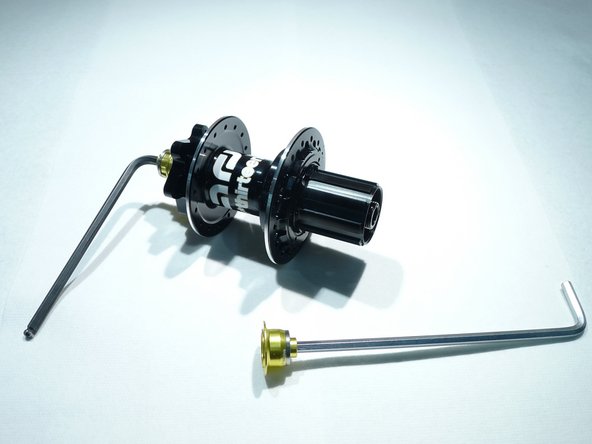
At this point the hub is most of the way apart, you can service bearings, replace worn parts or just clean things up
-
Next, Let's install the axle
-
-
-
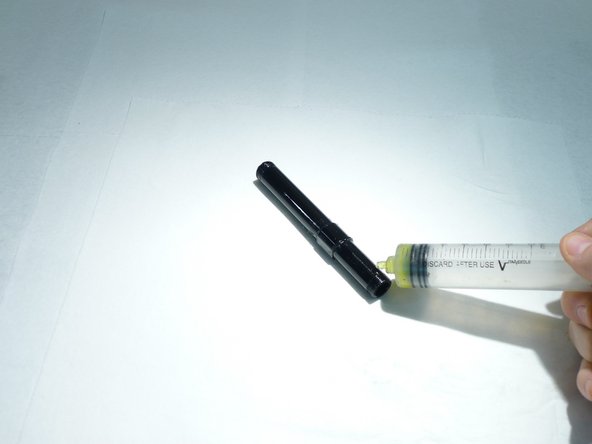
Lightly grease steel axle
-
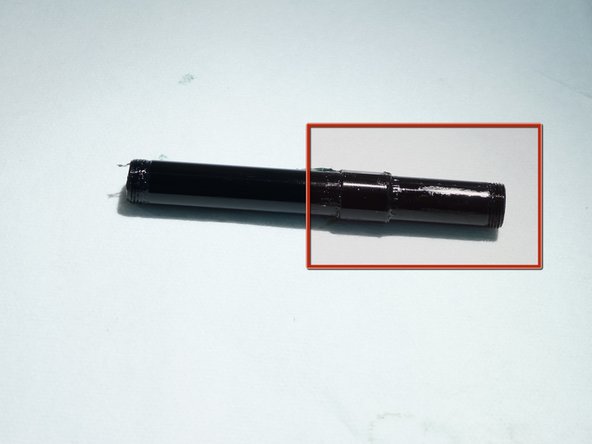
Remember the drive side of the axle is the side with the bearing surface for the freehub body
-
Slide the axle into the hub from the driveside
-
Use an axle vise or insert the flats on the drive side of the axle into a smooth jaw vise
-
-
-
While holding the axle in the vise, install the preload adjustment ring by turning it counter-clockwise
-
Tighten the preload adjuster by hand
-
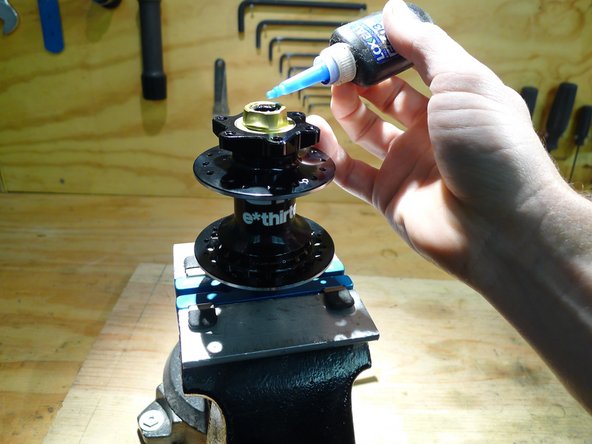
Put two drops on medium strength thread locker on the threads inside the non-drive side axle
-
-
-
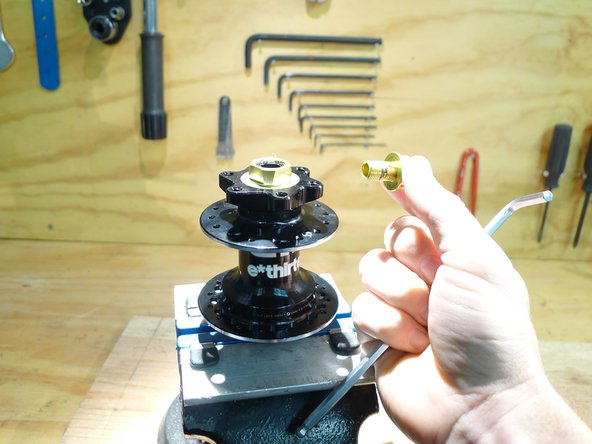
Install the non-drive endcap by turning it clockwise
-
Lightly grease the face where the endcap and preload ring will meet
-
Adjust the bearing preload using the preload ring
-
Tighten the preload ring so the bearings no longer have play in them, but such that they also do not have excess drag
-
-
-
When you are happy with the adjustment, hold the preload ring with a cone wrench and tighten the non-drive endcap to 6nm
-
Remove the axle from the vise
-
-
-
Next, install the freehub assembly
-
Learn how to lube the freehub properly using the freehub service instructions
-
Slide the freehub body over the axle
-
Turn freehub counterclockwise so that the pawls compress the springs and slide into the hub
-
A tool may be used to lightly compress the pawls
-
-
-
Put one drop of medium strength threadlocker on threads inside the driveside endcap
-
Install the endcap by turning clockwise
-
Tighten to 6nm
-
-
-
Reinstall the freehub dust seal by turning clockwise
-
tighten to snug
-


Thanks for reading, now get out there and ride!
Thanks for reading, now get out there and ride!