


Introduction
This guide will assist with axle/freehub assembly for riders who purchased an e*thirteen XCX Gravel rear wheel. The aftermarket rear wheels come with the axle and freehub assembled together in a small box included with the wheels.
-
-
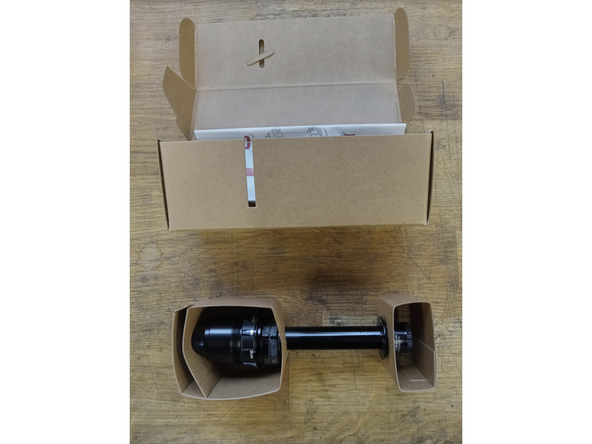
Orient your box so that the top is pointing up. Open your new wheel box.
-
Inside you will find a small box which contains the axle and freehub body.
-
-
-
Pull out the wheel and remove the packaging.
-
Remove the freehub cap.
-
-
-
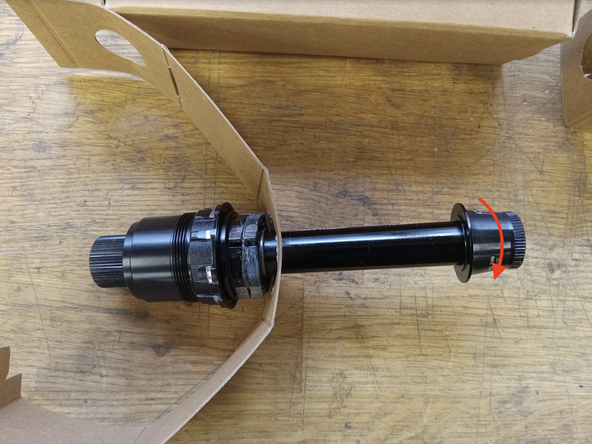
Open the axle box and remove your hub axle/freehub.
-
Remove the non-driveside Axle endcap by pulling it away from the driveside hub axle while turning counter-clockwise. Hold the driveside of the axle in place while loosening the endcap.
-
Remove the packaging from around the freehub body
-
-
-
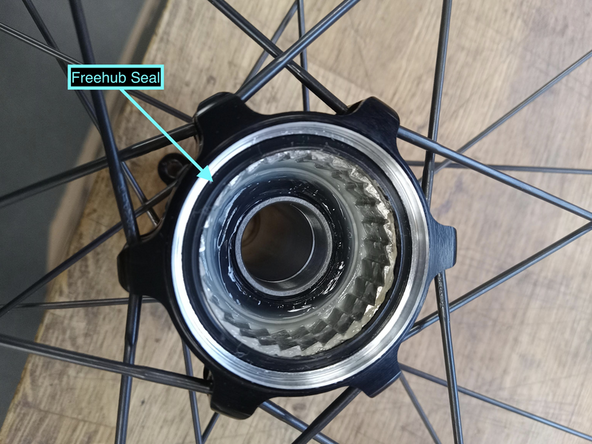
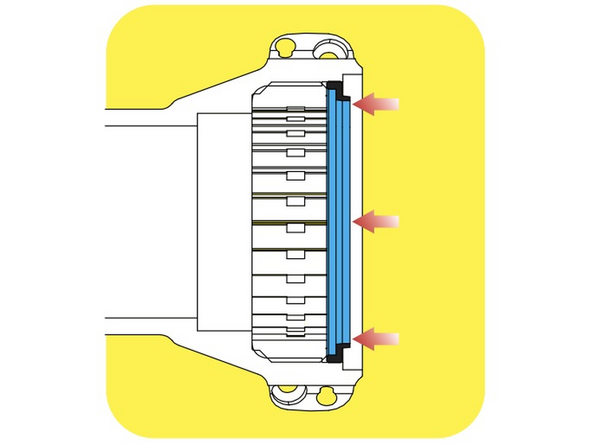
Ensure your hubshell seal is completely seated and oriented in the correct direction. (This should be ok if you are assembling a new wheel, though if you have recently serviced or removed the seal its a good idea to doublecheck)
-
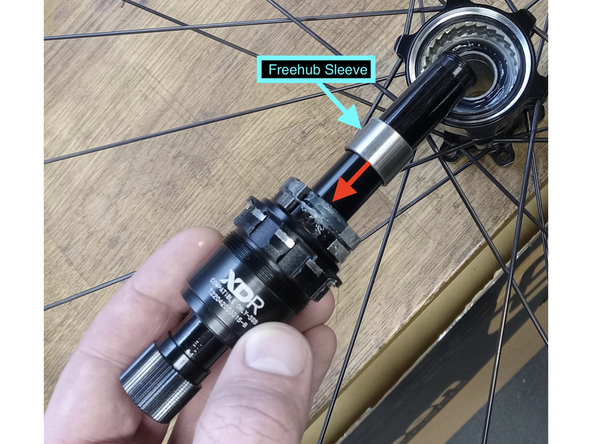
Ensure the freehub sleeve is installed on the axle behind the freehub body.
-
Slide the freehub spacer flush against freehub internals.
-
-
-
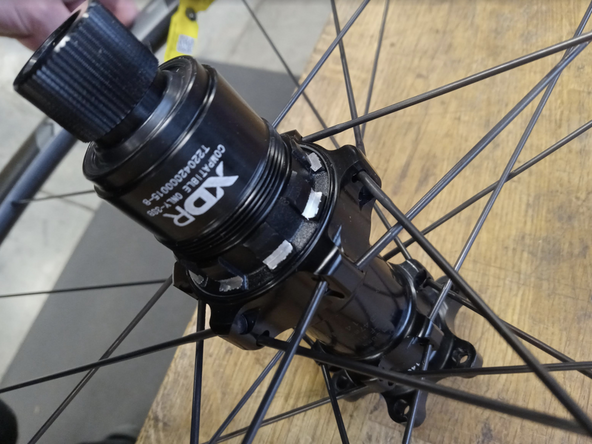
Insert the axle into the drive side of the hub.
-
Gently apply pressure to the freehub and rotate counter clockwise. This will engage the pawls and seat the freehub in the hub shell.
-
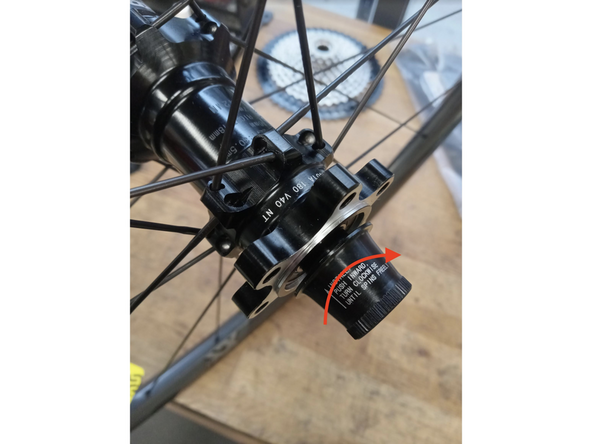
Install non-drive axle endcap. Hold the driveside of the axle in place while loosening the endcap. Apply pressure and tighten clockwise until endcap spins freely.
-
You have completed your hub assembly!!!
-


Thanks for reading, now get out there and ride!
Thanks for reading, now get out there and ride!
