Parts
No parts specified.
-
-
The EX cog should only be used with a new, or nearly new drivetrain. Your chain and cassette should show no wear prior to install. Worn components will affect shifting performance.
-
For Shimano 10sp drivetrains it is vital that your chain is installed correctly for good shifting performance. Refer to your Shimano chain users manual for more information.
-
For 1x use, a mid cage or longer derailleur must be used
-
For 2x use a long cage derailleur must be used
-
Do not use with a 3x system
-
Always refer to your drivetrain manufacturer's recommendations on chain wrap
-
-
-
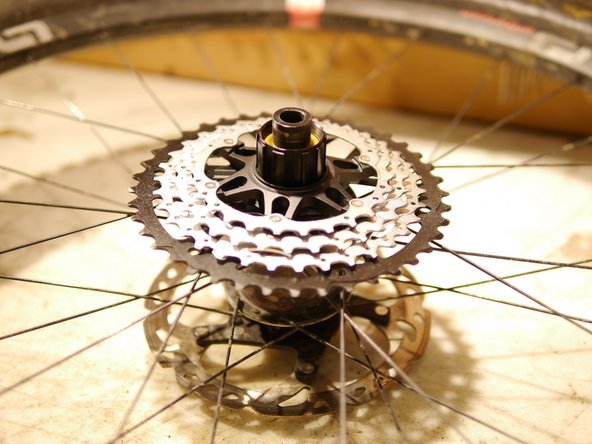
Start by installing the EX cog onto your freehub body
-
The side with the logos should be down towards the hub
-
-
-
Install your cassette
-
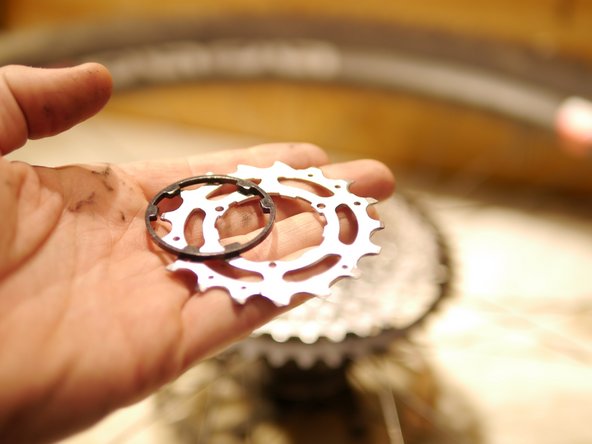
To fit the EX cog, one of the cassette cogs will need to be left out
-
If using the 40t EX cog, leave out the 15t cog and spacer
-
If using the 42t EX cog, leave out the 17t cog and spacer
-
Continue installing the cassette cogs, be sure each cog is facing the correct direction, refer to your cassette owners manual for more information
-
-
-
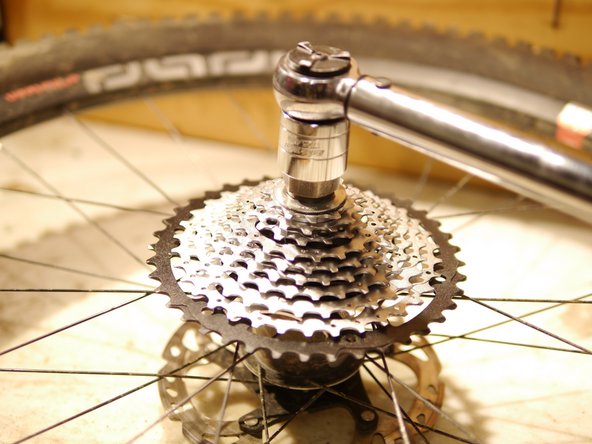
Lightly grease and install the cassette lockring and torque to spec.
-
-
-
Install the wheel back on the bike
-
Check shifting quality by shifting through the higher gears (smaller cogs)
-
If your cassette is not shifting properly, adjust the derailleur using only the smaller cogs.
-
If you are unsure how to adjust your rear derailleur, consult your derailleur owners manual or visit your local bike shop
-
You should have perfect shifting in these smaller cogs before adjusting shifting into the EX cog.
-
-
-
Shift into the EX cog
-
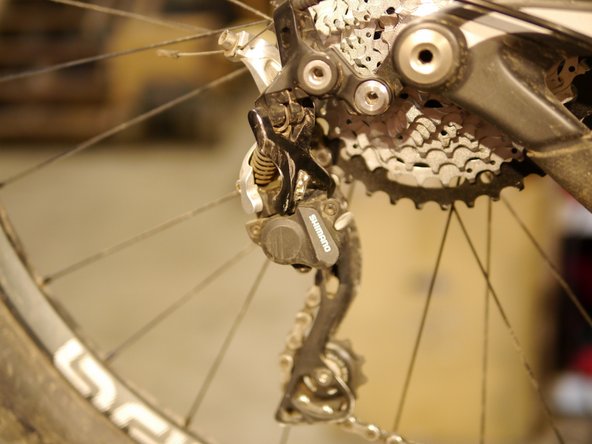
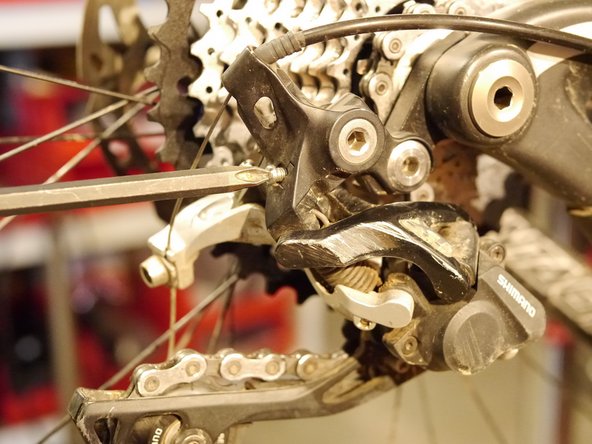
Adjust the B-limit screw so that there is a 5-6mm gap between the upper derailleur pulley teeth and the teeth on the EX cog
-
If you are unsure how to adjust your B-limit screw, consult your derailleur owners manual or visit your local bike shop
-
You can also hear when the B-limit is not adjusted correctly as the teeth will grind together. Adjust the B-limit screw in until quiet
-
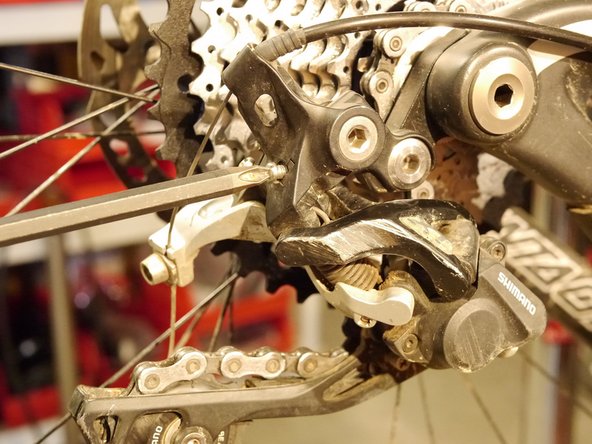
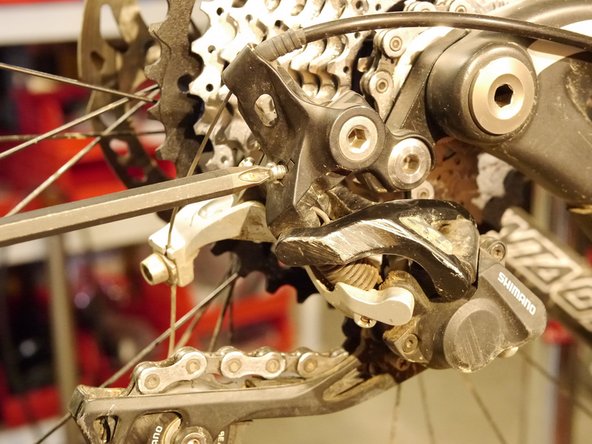
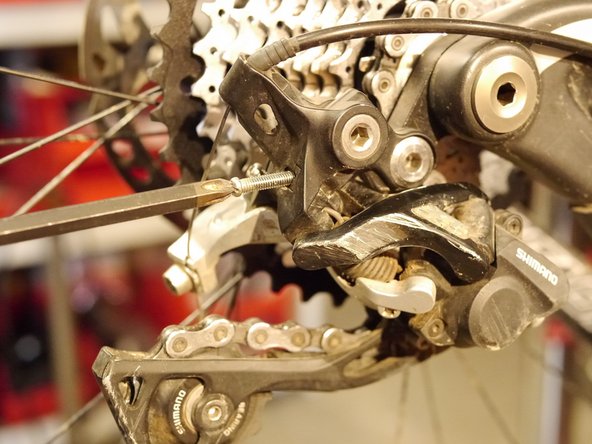
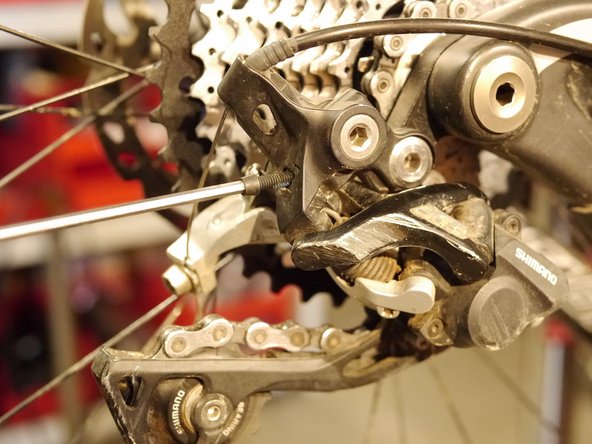
For the 42t cog, you will likely need to install the provided longer B-limit screw
-
-
-
Simply remove the stock B-limit screw and install the new one
-
-
-
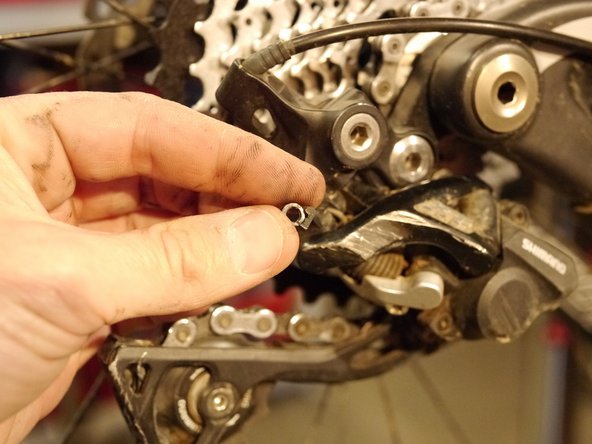
Be careful not to lose the small plastic washer
-
If it comes out be sure to re-install it
-
-
-
Check your shifting and go ride!
-
Thanks for reading, now get out there and ride!
Thanks for reading, now get out there and ride!


