


Video Overview
-
-
Before installing your cranks, be sure to face and chase your BB shell. This step is vital to ensuring a trouble free install and long bottom bracket life
-
Use our bottom bracket (BB) install instructions to install the BB required by your frame
-
For all of our cranks we offer BBs to fit frames with BSA threaded, BB30, PF30 and BB86/92 shells
-
If you are unsure which BB you need for your frame, check with your local shop or the frame manufacturer to see which standard their BB shell is designed around
-
-
-
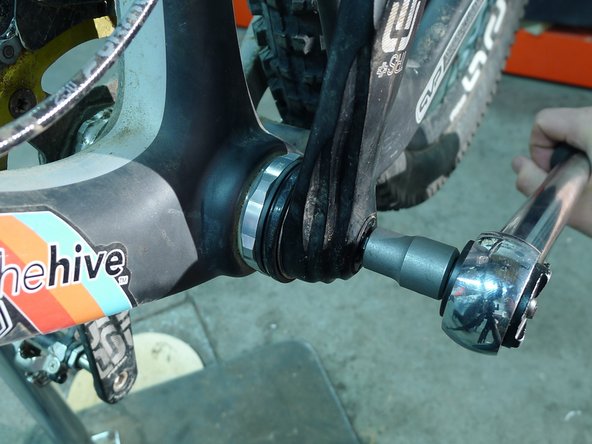
With the BB already installed, start by greasing the crank spindle and polygon interface
-
Slide the driveside arm and spindle assembly through the BB. Do not use a hammer as this may damage the bearings
-
Check to be sure the driveside arm is bottomed out on the BB
-
-
-
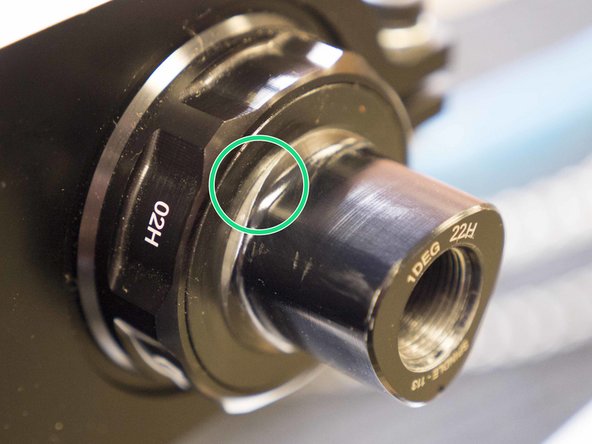
Check the polygon interface to see how far it is protruding from the BB
-
You should see nearly 100% of the P3 interface protruding from the BB, if this is not the case either your BB shell is oversized or the BB may have been installed improperly. Stop install, measure BB shell width and refer to BB install instructions
-
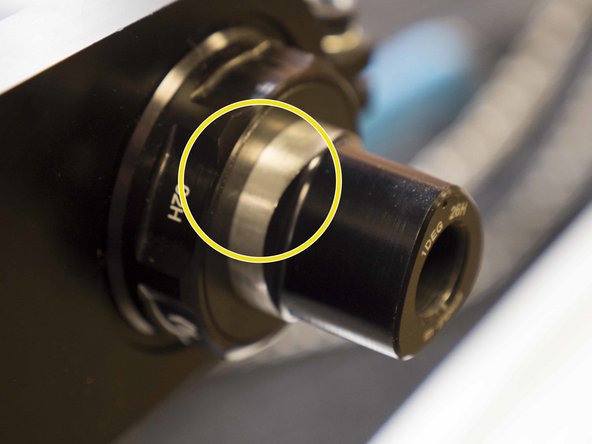
Carbon cranks will show ~1cm of exposed spindle
-
-
-
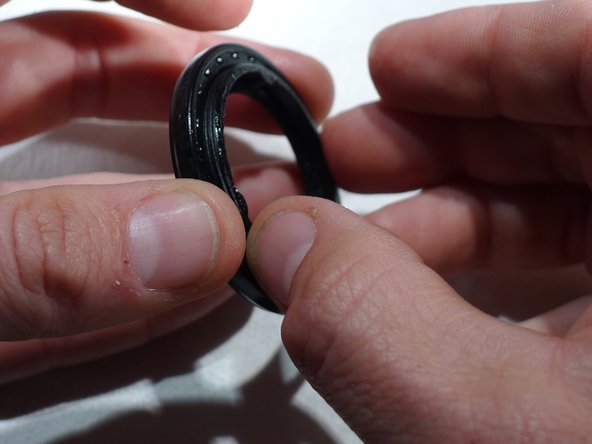
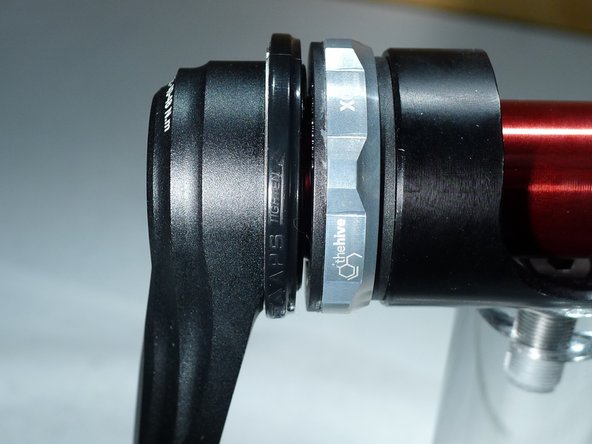
Install the APS adjuster if not already installed
-
lightly grease and install the spring
-
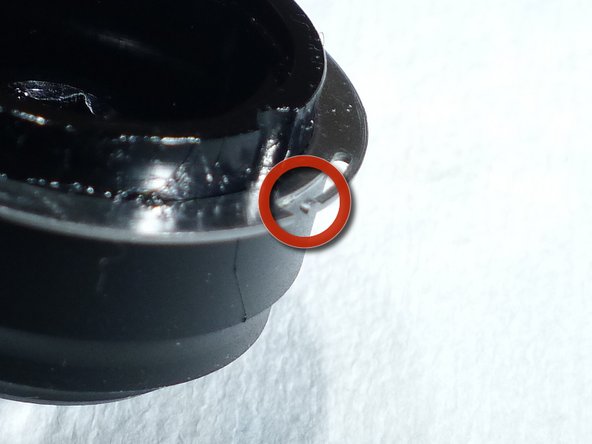
Be sure the spring tang is facing out from the arm
-
-
-
lightly grease the APS adjuster
-
thread the APS adjuster together and install on top of the spring
-
notches on the outer ring should press up against the spring
-
the cup portion of the inner ring should fit over the arm
-
-
-
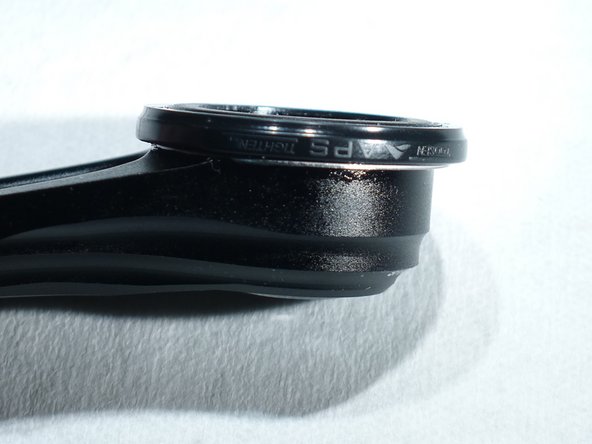
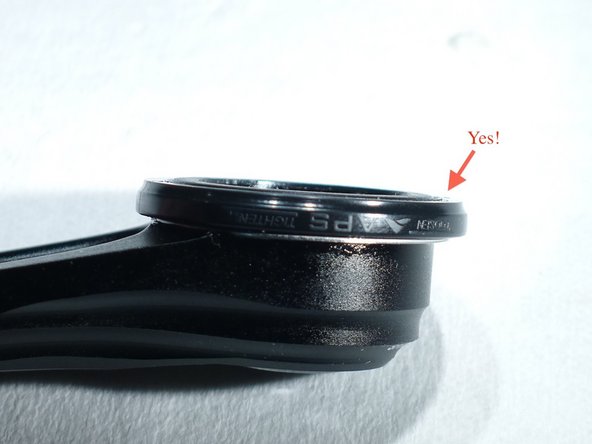
Before installing the arm turn the out ring of the APS adjuster such that the adjuster is in its flattest position
-
-
-
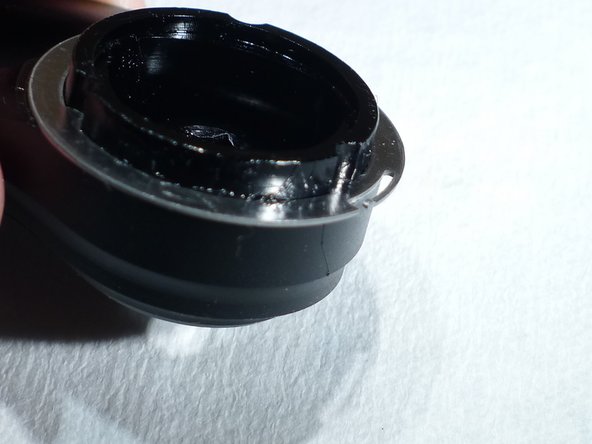
Grease the polygon interface inside the non-drive arm
-
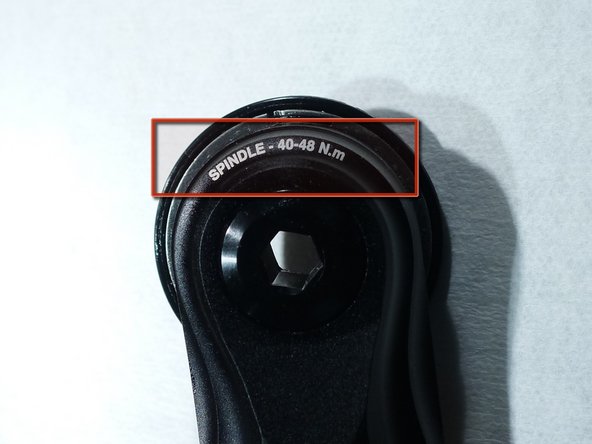
Install the non-drive arm using a 8mm hex wrench
-
Torque the non-drive arm to 40-48nm
-
-
-
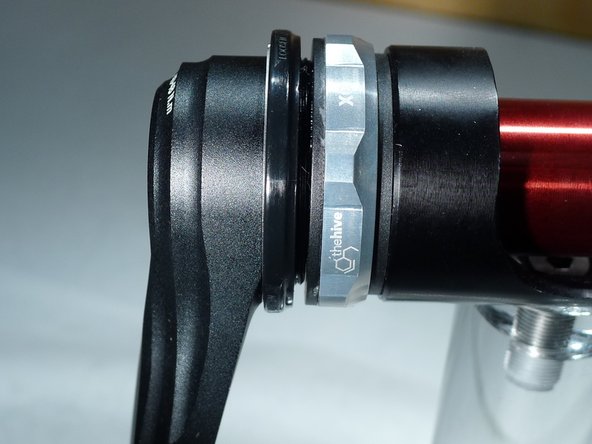
Adjust bearing preload by turning the APS adjuster counter-clockwise
-
note how the inner portion of the adjuster moves and closes the gap between the adjuster and the bearing
-
Hand tighten the APS adjuster until no side to side play is felt in the spindle
-
This can be double checked by squeezing the non-drive arm against the bikes chainstay
-


Thanks for reading, now get out there and ride!
Thanks for reading, now get out there and ride!
Cancel: I did not complete this guide.
One other person completed this guide.