


Parts
-
-
Before installing your cranks, be sure to face and chase your BB shell. This step is vital to ensuring a trouble free install and long bottom bracket life
-
Use our bottom bracket (BB) install instructions to install the BB required by your frame
-
For all of our cranks we offer BBs to fit frames with BSA threaded, BB30, PF30 and BB86/92 shells
-
If you are unsure which BB you need for your frame, check with your local shop or the frame manufacturer to see which standard their BB shell is designed around
-
-
-
With the BB already installed, start by greasing the crank spindle and polygon interface
-
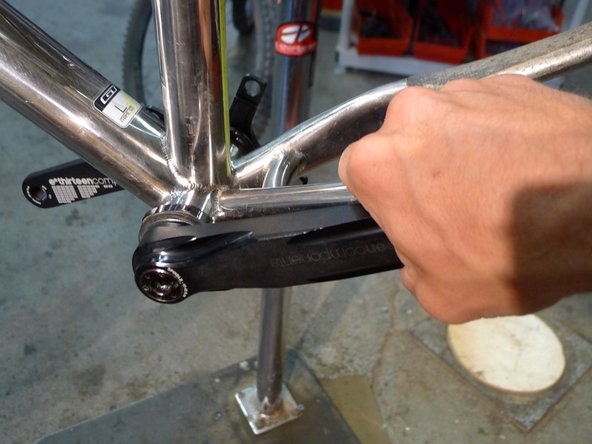
Slide the driveside arm and spindle assembly through the BB. Do not use a hammer as this may damage the bearings
-
Check to be sure the driveside arm is bottomed out on the BB
-
-
-
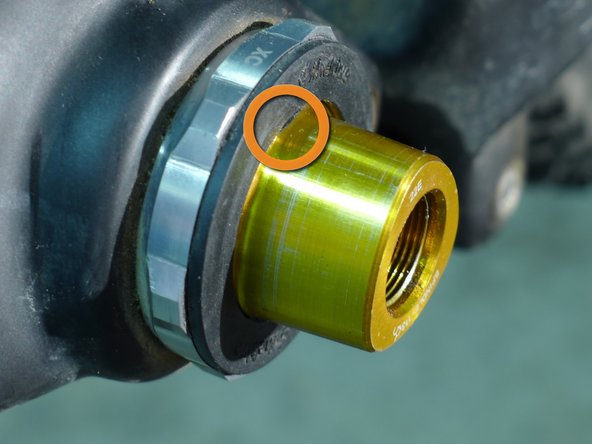
Check the polygon interface to see how far it is protruding from the BB
-
You should see nearly 100% of the machined interface protruding from the BB, if this is not the case either your BB shell is oversized or the BB may have been installed improperly. Stop install, measure BB shell width and refer to BB install instructions
-
Conversely, if you see more than 3-4mm of spindle protruding from the BB you may not have used enough spacers in the BB assembly. Stop install, measure BB shell width and refer to BB install instructions
-
-
-
Slip the wave washer over the spindle
-
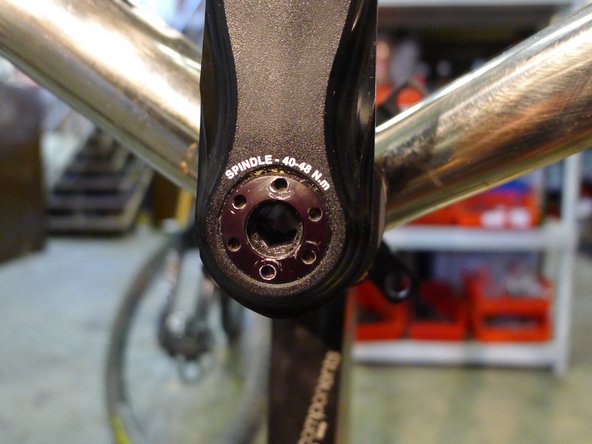
Lightly grease the inside of the non-drive crank arm and install the arm
-
Torque to spec: 40-48nm
-
-
-
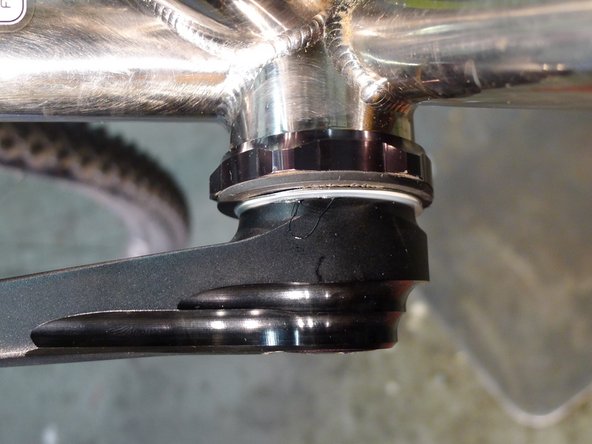
Inspect the wave washer.
-
The wave washer is used to pre-load the bearings. It should be nearly, but not completely flat to properly pre-load the bearings. Use the included spindle spacers to add preload to the system and compress the wave washer. Be sure to torque the non-drive arm to spec after each arm removal.
-
Why the spacers? Frame tolerances are such that we need to add some variability to the system, this means that even if your BB shell is not perfect you can shim the cranks to fit.
-
-
-
You can check for side to side play in the spindle by squeezing the non-drive arm against the chainstay, if you get movement, and another spindle spacer.
-
Add spacers until the wave washer is properly preloaded. Do not add too many spacers.
-
If the cranks are tight at this point, the bearings are over pre-loaded. Stop, measure the BB shell width and refer to BB install instructions.
-
-
-
It is important not to use too many spacers in the system as this can affect the durability of the P3 connect interface.
-
If the cranks feel tight, or do not spin, the bearings are over pre-loaded and the interface may no be bottomed out properly. Stop, measure the BB shell width and refer to BB install instructions.
-
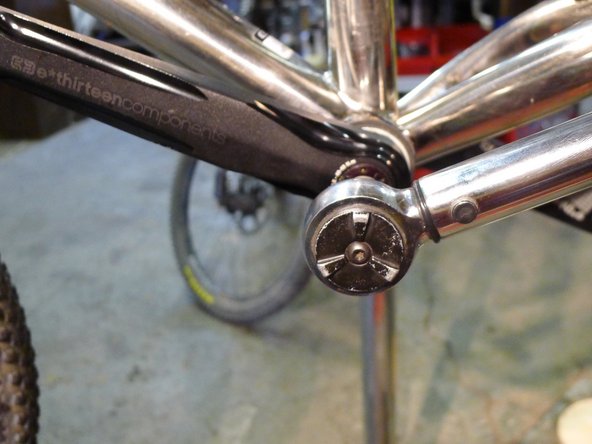
For the P3 connect interface to be fully set, the end of the spindle will bottom out on the inside face of the non-drive crank arm.
-
Adding too many spindle spacers, or spacers under the BB can prevent the interface from connecting correctly.
-


Thanks for reading, now get out there and ride!
Thanks for reading, now get out there and ride!